There’s something magical about Halloween crafting with kids. The season practically begs for a little mess, a lot of imagination, and creatures with far too many eyes.
This fork-painted spider is one of those projects that looks impressive but comes together with things you probably already have around the house. Best of all, the “fur” texture that makes this spider so spooky-cute is created with a humble plastic fork. Let’s get crafty!
Craft Supplies:
Gather these supplies before you start:
- Cardstock – any color works
- Black paint – washable tempera or acrylic craft paint
- A plastic fork – this is your secret texturing tool
- Black-and-white striped paper straws – for the legs
- Assorted googly eyes – the more mismatched, the better
- Elmer’s school glue – washable and easy for kids to handle
Directions:
- Lay a sheet of cardstock flat on your work surface. If you’re worried about drips, slip some newspaper or a plastic tablecloth underneath first. Painting can get messy, and that’s half the fun.
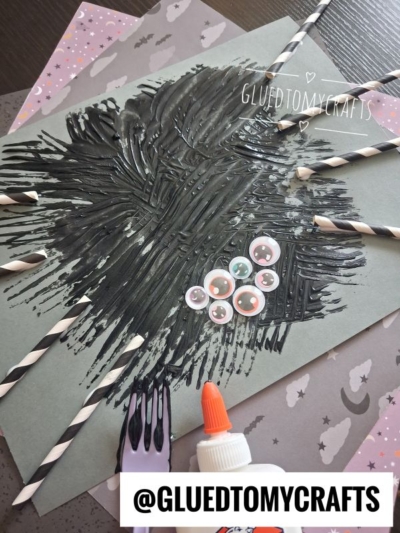
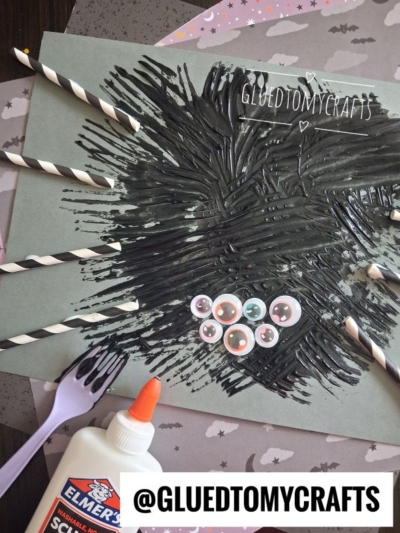
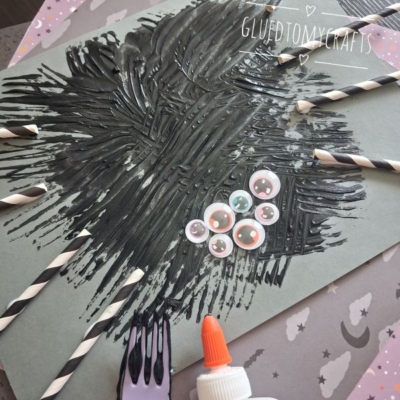
- Squeeze a generous blob of black paint into the center of your cardstock. Now grab your plastic fork. Press the tines into the paint and drag them outward in short strokes, working around the blob in every direction. This creates that grooved, feathered look that makes the spider’s body appear wonderfully furry and a little bit creepy. Keep stamping and dragging until you have a round, textured body with fuzzy edges radiating out.
- Set your painting aside to dry. While you wait, cut your striped paper straws into leg-length segments. You’ll need eight pieces total, so measure them out to be roughly even. The diagonal black-and-white stripes give the legs a playful, storybook feel.
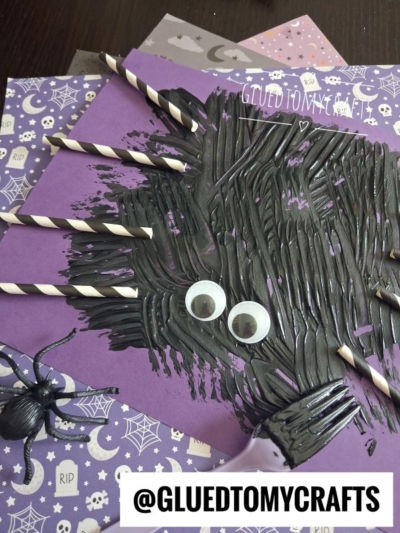
- Once the paint is dry to the touch, it’s time to assemble your spider. Add a dab of Elmer’s glue to the end of each straw segment and press four legs onto each side of the body. Angle them outward so your spider looks ready to scurry off the page. Hold each one down for a few seconds to help it stick.
- Here’s the part kids love most. Cluster a handful of googly eyes near the bottom of the body and glue them in place. Mix up the sizes and colors for extra personality. Want a truly spooky spider? Pile on seven or eight eyes. There are no rules here, and that’s exactly the point.
- Let everything dry completely, and your fork-painted spider is ready to show off!
RELATED —> Paint Splat and Crepe Paper Spider Craft Idea
That’s all it takes to turn a fork, some straws, and a splash of paint into a Halloween masterpiece. Whether you’re crafting at home or leading a classroom full of eager little artists, this project is bound to bring plenty of giggles and gasps.
We’d love to see how your spiders turn out! Snap a photo of your finished creatures and share them with us. Happy crafting, and happy Halloween!
Are you by chance looking for more fun and easy Halloween kid craft ideas? Check out these past posts, listed below, on the blog for some spooky inspiration!
- Paper Plate Jack O’ Lantern
- Eyeball Frame Decor
- Terra Cotta Pot Pumpkin
- Halloween Black Cat
- Paper Plate Spider
- Paper Plate Witch
- Recycled Egg Carton Spider
- Paper Plate Spider Web

Paper Straw and Fork Painted Halloween Spider Craft Idea
Fork-paint a spooky spider with kids this Halloween! Use a plastic fork, paper straws, and googly eyes for an easy, fun craft!
Here’s your checklist of supplies to bring this craft to life:
- Cardstock Paper
- Craft Paint
- Paper Straws
- Wiggle Eyes
- Embellishments
- School Glue
Prepare your creative haven by laying down a protective cover before the crafting magic begins!
Directions:
- Lay a sheet of cardstock flat on your work surface. If you're worried about drips, slip some newspaper or a plastic tablecloth underneath first. Painting can get messy, and that's half the fun.
- Squeeze a generous blob of black paint into the center of your cardstock. Now grab your plastic fork. Press the tines into the paint and drag them outward in short strokes, working around the blob in every direction. This creates that grooved, feathered look that makes the spider's body appear wonderfully furry and a little bit creepy. Keep stamping and dragging until you have a round, textured body with fuzzy edges radiating out.
- Set your painting aside to dry. While you wait, cut your striped paper straws into leg-length segments. You'll need eight pieces total, so measure them out to be roughly even. The diagonal black-and-white stripes give the legs a playful, storybook feel.
- Once the paint is dry to the touch, it's time to assemble your spider. Add a dab of Elmer's glue to the end of each straw segment and press four legs onto each side of the body. Angle them outward so your spider looks ready to scurry off the page. Hold each one down for a few seconds to help it stick.
- Here's the part kids love most. Cluster a handful of googly eyes near the bottom of the body and glue them in place. Mix up the sizes and colors for extra personality. Want a truly spooky spider? Pile on seven or eight eyes. There are no rules here, and that's exactly the point.
- Let everything dry completely, and your fork-painted spider is ready to show off!

Grab our favorite books via our Amazon affiliate link! In our Amazon storefront you will find books, toys and craft supplies we absolutely love using for our Glued To My Crafts tutorials!
If you've enjoyed our content or have any thoughts to share, we'd love to hear from you! Mention @gluedtomycrafts or tag #gluedtomycrafts on Instagram!