
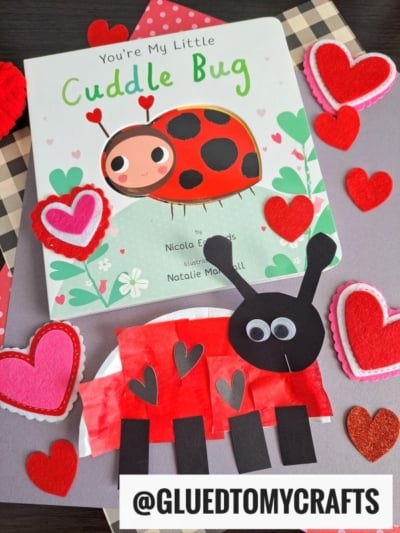
Need a fun project this weekend? Why not make a paper plate ladybug craft with the kids! It’s easy and they’ll love it!

Red Ladybug Craft Made From A Paper Plate
Happy Thursday my crafty friends! I got another easy spring themed kid craft to share with you all today and this one is just as easy & inexpensive as my previous kid friendly ideas {just how we like it around here on Glued To My Crafts!}
So before I “bore” you with useless big words and lengthy descriptions – I’ll get straight to the fun by introducing the tutorial for this Paper Plate Ladybug idea. All it requires is a large paper plate, red tissue paper and black cardstock. VERY basic materials you probably have on hand!
On that note, I just hope my post inspires and sparks tons of crafty time with you & your child today! I bet you could even tie this ladybug art project idea into story time if you choose! Happy crafting, my friends!
RELATED —> Cupcake Liner Ladybugs

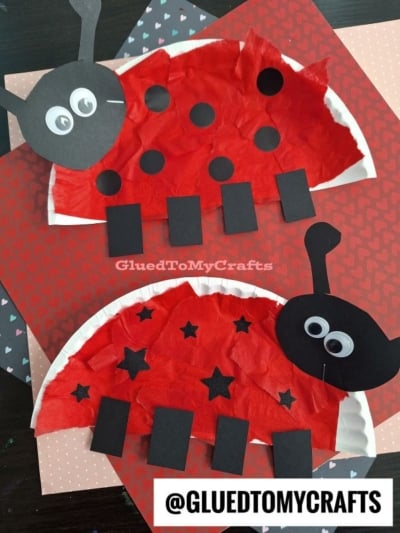
This easy paper plate ladybug craft is perfect for kids of all ages! With just a few simple supplies, you can create an adorable red and black bug that’s perfect for spring!
Craft Supplies:
- Large Paper Plate
- Red Tissue Paper
- Black Cardstock Paper
- White Cardstock Paper
- School Glue
- Scissors
- Stapler
Directions:
- First have your children cut their red tissue paper into small squares {perfect for practicing cutting skills}
- Take your paper plate and cut it into half. Reserve one for your ladybug craft and save the other for another day {perhaps even using it for our Paper Plate Umbrella craft}
- Now put a good amount of glue all over the paper plate half.
- Have children place the tissue paper on top of the glue, until it’s completely covered.
- While they are working on that, cut out some ladybug features from the cardstock. Don’t forget about those iconic black spots!
- To finish off the Paper Plate Ladybug kid craft – simply staple on the cardstock pieces to their designated spots on the paper plate and display proudly!
RELATED —> Potato Stamped Ladybug
If you are looking for even MORE easy spring themed kid craft ideas, be sure to check out these fun posts listed below.
- Tissue Paper Carrot
- Apple Print Flowers
- Soda Bottle Ladybug
- Chocolate Ladybug Cards
- Cupcake Liner Bunnies
- Paper Bag Bunny
- Paper Plate Hot Air Balloon
- Handprint Ladybug
Be sure to FOLLOW US ON PINTEREST so you never miss a new tutorial from us!

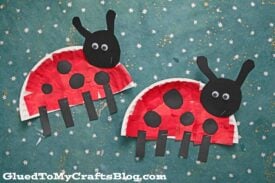
Paper Plate Ladybug Craft Idea
Here’s your checklist of supplies to bring this craft to life:
Prepare your creative haven by laying down a protective cover before the crafting magic begins!
Directions:
- First have your children cut their red tissue paper into small squares.Tissue Paper
- Take your paper plate and cut it into half. Reserve one for your ladybug craft and save the other for another day.1 Large Paper Plate
- Now put a good amount of glue all over the paper plate half.
- Have children place the tissue paper on top of the glue, until it’s completely covered.
- While they are working on that, cut out some ladybug features from the cardstock paper. Don't forget about those iconic black spots!Cardstock Paper
- To finish off the red ladybug craft – simply staple on the cardstock pieces to their designated spots on the paper plate and display proudly!2 Wiggle Eyes

CLICK HERE TO PRINT THE DIRECTIONS FOR THIS CRAFT