
Get creative with the kids this weekend! This colorful paper plate caterpillar craft is a fun and easy way to get your little ones exploring their artistic side!

Paper Plate Hungry Caterpillar
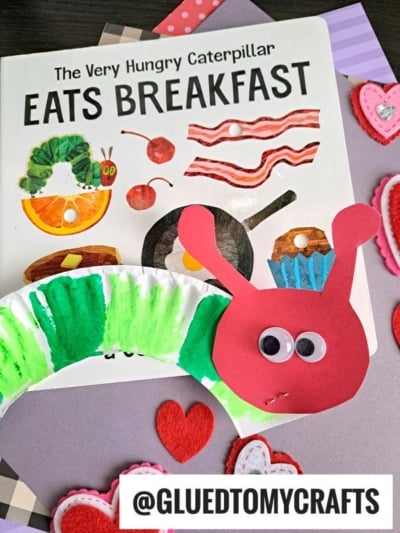
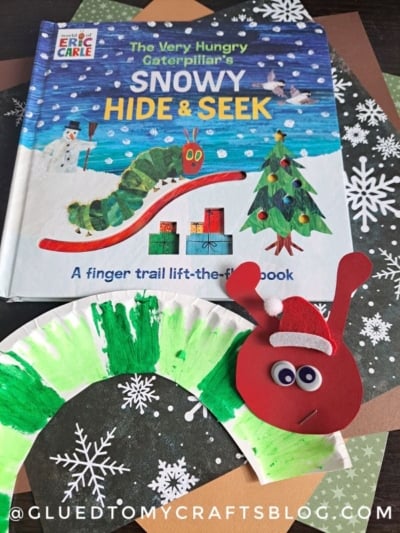
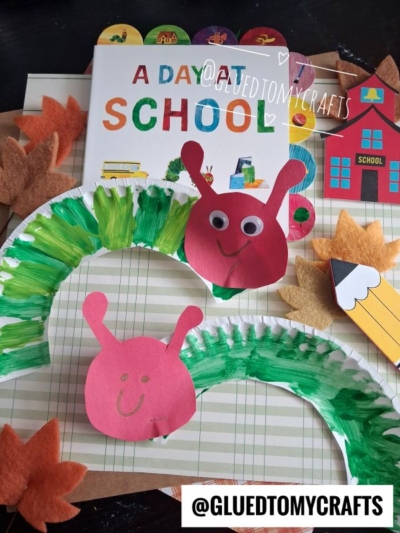
Calling ALL my Eric Carle fans!!! I’ve shared quite a few kid crafts in the past month centered around this particular author and today I’m bringing yet another fun & kid friendly craft to the table! This time it’s titled Paper Plate Caterpillar!
Lately my son has really fallen in love with the book The Very Hungry Caterpillar {we’ve checked it out from the library so many times now!} He likes to follow the caterpillar throughout the book and I like to throw in some educational spins by pointing out colors, shapes, fruits, etc. It’s a really great “classic” book that I’m eager to add to our collection full time soon.
So without ado – today I present to you our super easy and inexpensive Paper Plate and Marker Caterpillar art project idea that goes along PERFECTLY with our beloved Eric Carle book. So let’s grab those craft supplies and get to work on this simple kids craft ASAP. You can find the full step-by-step Eric Carle inspired craft tutorial below!
Happy crafting {and reading} with your little ones, my friends! We hope you have a blast recreating this latest craft tutorial from us!
RELATED: Paper Plate Ladybug and Paper Plate Stoplight

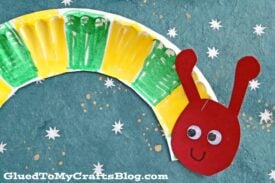
Learn how to make this adorable paper plate hungry caterpillar craft with your kids! This is a great craft for all ages and can be added to a story time theme!
Craft Supplies:
- Large Paper Plate
- Craft Scissors
- Sharpie Markers
- Cardstock Paper
- Medium Sized Wiggle Eyes
- School Glue
- Hand-Held Office Stapler
Directions:
- First grab your large paper plate and scissors,
- Cut the paper plate in half, straight up the center to make TWO equal pieces.
- Now carefully cut out the center portion on each paper plate half. You just want the rim left for each caterpillar craft.
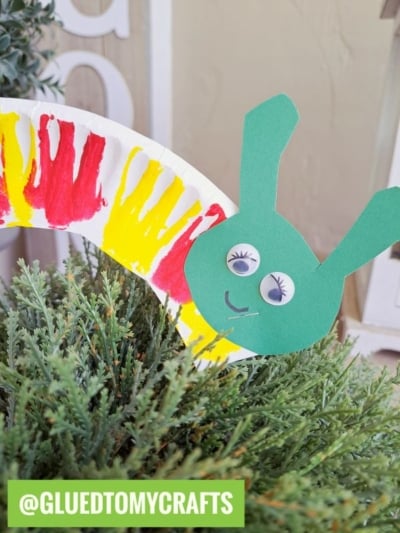
- Next grab the various Sharpie markers and color the paper plate however YOU like. You can do a solid color or do a patterned design like we did.
- When you are done with the coloring step, set it aside to let it dry completely while you trim out the other caterpillar features {antennas, head etc} from your colored cardstock.
- To finish off the Paper Plate Caterpillar kids craft – simply staple the finished cardstock pieces in their designated spots and glue on the wiggle eyes so he can see.
- Then display proudly!
- Don’t forget to share pictures with us when you are done crafting! #gluedtomycrafts
RELATED —> Paper Plate Seahorse

If you are looking for even MORE easy kid craft ideas that go along with our favorite children’s books, be sure to check out these fun posts listed below:
- Paper Plate Cookie
- Paper Plate Leopard
- Dr Seuss Inspired Fish
- Paper Plate Pigeon
- Thumbprint Caterpillar Cards
- Paper Plate Cat In The Hat
- Paper Plate Baker
- Cupcake Liner Caterpillar
- Eric Carle Paper Plate Spider
- Wooden Spoon Caterpillar
Paper Plate Caterpillar Craft
Here’s your checklist of supplies to bring this craft to life:
- School Glue
Prepare your creative haven by laying down a protective cover before the crafting magic begins!
Directions:
- First grab your large paper plate and scissors.1 Large Paper Plate
- Cut the paper plate in half, straight up the center to make TWO equal pieces.
- Now carefully cut out the center portion on each paper plate half. You just want the rim left for each caterpillar craft.
- Next grab the various Sharpie markers and color the paper plate however YOU like. You can do a solid color or do a patterned design like we did.
- When you are done with the coloring step, set it aside to let it dry completely while you trim out the other caterpillar features {antennas, head etc} from your colored cardstock.Cardstock Paper
- To finish off the Paper Plate Caterpillar craft – simply staple the finished cardstock pieces in their designated spots and glue on the wiggle eyes so he can see.2 Wiggle Eyes
- Then display proudly!

Grab our favorite books via our Amazon affiliate link! In our Amazon storefront you will find books, toys and craft supplies we absolutely love using for our Glued To My Crafts tutorials!
