
Looking for a fun and simple craft idea for your little ones to recreate this fall season? Look no further than this tissue paper apple craft!
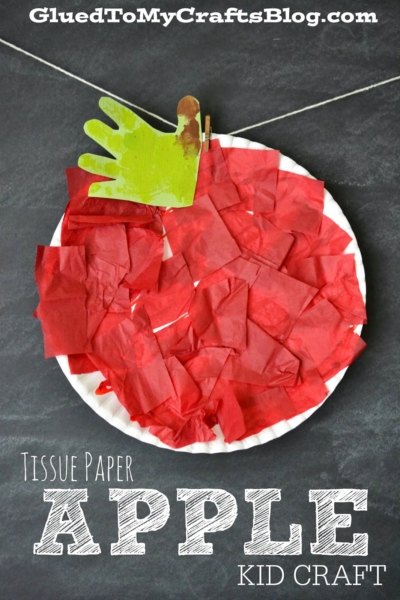
Paper Plate Red Apple Craft
Hi friends! I’m so excited that you landed on today’s paper plate & tissue paper apple art project idea!
School is already in full swing in many areas, but if your children are still at home this week and are begging you to do a craft with them – you are in for a real treat!
Today I’m sharing another kid friendly activity that is SUPER simple to pull together. I call it my “Paper Plate & Tissue Paper Apple” tutorial.
It has a back-to-school theme, as well as a fall theme. And it’s just that – a red apple made out of tissue paper, a paper plate and glue. That’s it! For an added bonus – I add my son’s handprint for the leaf AND colored our regular school glue so craft time smelt amazing too!
On that note, it’s time to make it happen. So grab your craft supplies and keep scrolling to find the full apple craft tutorial below! Happy crafting, my friends!
RELATED: Stamped Mason Jar Jam and Tissue Paper Fall Tree


Get crafty this weekend with a fun apple-inspired project! All you need are paper plates, tissue paper, and a bit of creativity to make your own colorful fruit!
Craft Supplies:
- Large Paper Plate
- Red {or green} Tissue Paper
- School Glue
- Basic Paper Craft Scissors
- Cardstock Paper
- Brown Craft Paint
- Green Craft Paint
- Hand-Held Office Stapler
To make the scented/colored glue – add a single powder pack of red/cherry flavored Kool-Aid to your glue and stir w/a kebab stick until well combined. Use like you normally would in your crafting.
Directions:
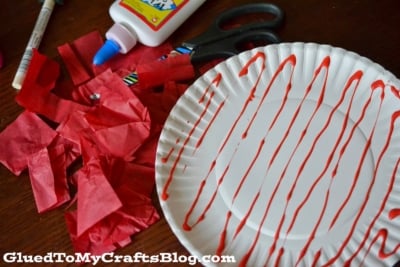
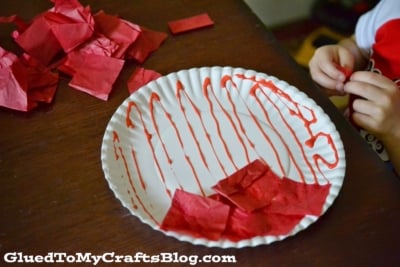
- First thing first – cut your red tissue paper into small squares.
- Now slather a good amount of school glue all over the large paper plate.
- Have your child place the tissue paper on top of the glue until the paper plate is completely covered. Set aside.
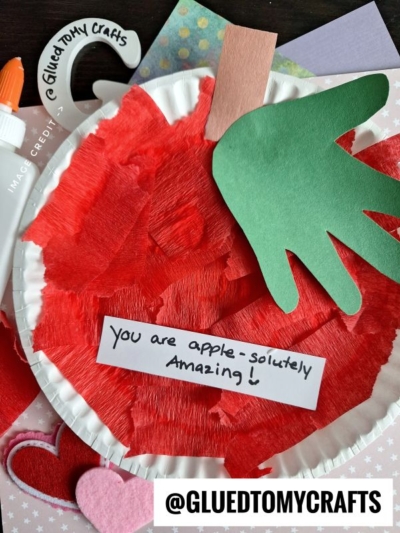
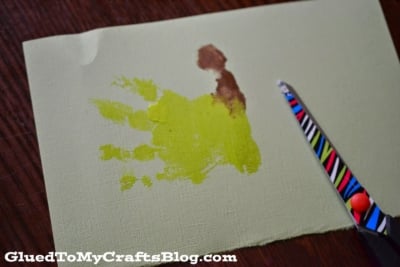
- For the stem/leaf of the apple – make your child’s hand print on cardstock. For this, I painted my son’s four fingers green and his thumb brown. Press down on the paper. Let the paint dry completely.
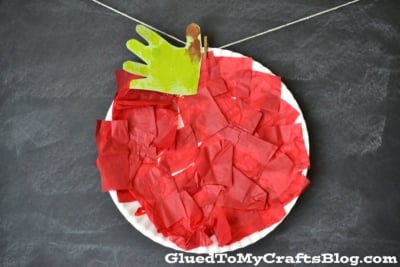
- Trim out the handprint and staple to your paper plate, to give the look of an apple.
- Now go ahead and let your piece dry completely before you display the finished paper plate apple proudly for all to see!
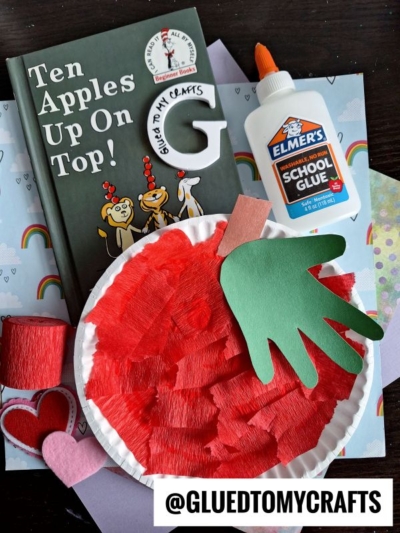
Book Pairing Ideas:
Looking for the perfect reads to complement our latest craft tutorial? Here are some book suggestions that pair beautifully with your creative journey! Dive into these titles and let your imagination flow while you craft. Happy reading and crafting!
- Little Naturalists: Johnny Appleseed by Kate Coombs
- Goodbye Summer, Hello Autumn by Kenard Pak
- It’s Fall! by Renée Kurilla
- Bad Apple: A Tale of Friendship by Edward Hemingway
- Apple Countdown by Joan Holub
- Halloween in the Orchard by Phyllis Alsdurf
- The Biggest Apple Ever by Steven Kroll
- How to Make an Apple Pie and See the World by Marjorie Priceman
- Winston and the Missing Apples by Simply Country Ranch
RELATED —> A is for Apple Craft

If you enjoyed this paper plate apple craft post – you may also enjoy these kid friendly craft activities on Glued To My Crafts right now:
- Paper Plate Shark
- Paper Plate Fish Bowl
- Cupcake Liner Apple Cards
- Paper Plate Raccoon
- Paper Plate Honey Bee
- Paper Plate Grinch
- Paper Bowl Apple
- Paper Plate Candy Apples
- Craft Felt Apple Trees

Paper Plate & Tissue Paper Apple Craft
Here’s your checklist of supplies to bring this craft to life:
- 1 Large Paper Plate
- Tissue Paper red
- Cardstock Paper
- Craft Paint green and brown
- School Glue
Prepare your creative haven by laying down a protective cover before the crafting magic begins!
Directions:
- First cut your tissue paper into small squares.
- Slather a good amount of glue all over the paper plate.

- Have your child place the tissue paper on top of the glue until the paper plate is completely covered. Set aside.
- For the stem/leaf of the apple - make your child's hand print on cardstock. For this, I painted my son's four fingers green and his thumb brown. Press down on the paper. Let the paint dry completely.
- Trim out the handprint and staple to your paper plate, to give the look of an apple.
- Now go ahead and let your piece dry completely before you display the finished paper plate apple proudly for all to see!
CLICK HERE TO PRINT THE DIRECTIONS FOR THIS CRAFT