
Get your kids excited about learning and creative play with this simple paper plate school bus craft. Perfect for toddlers to elementary kids, find out how you can make it today!

School Bus Craft Made From A Paper Plate
Can you believe the new school year has already started up? Crazy, right? And who can forget the excitement centered around it all? From riding the school bus to a fresh box of crayons – ALL the little things really create the fondest memories. Don’t they?
So without ado – today I’m sharing how you and your child can make a simple Paper Plate School Bus on the fly and have some big “ear to ear” smiles afterwards.
And of course – this paper school bus idea is a kid friendly craft is super easy, inexpensive and fun for all ages! You could even add your child’s picture in one of the windows to really give it a personal feel!
These paper plate and tissue paper buses don’t require fancy tools OR a big wallet either. It’s just plain ole’ simple craft fun that is sure to create some excitement {and memories} for those first days of school! So let’s rev up those engines, grab these supplies and get these crafted up today!
Happy crafting, my friends! Don’t forget to share pictures of your child’s school bus made from a paper plate on our Facebook page to admire! I can’t wait to see them! #gluedtomycrafts
RELATED —> Popsicle Stick School Bus

Looking for craft ideas to keep your kids entertained and having fun? Try this easy school bus paper plate craft now! Perfect way to add some learning fun to their day.
Craft Supplies:
- Large Paper Plate
- Yellow Tissue Paper
- Black Cardstock Paper
- Small Scrapbook Stickers
- School Glue
- Craft Scissors
- Stapler
Directions:
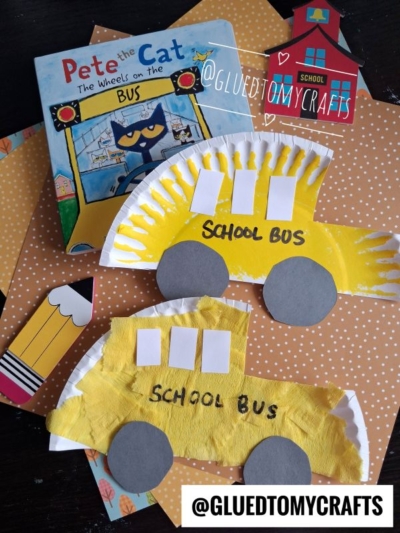
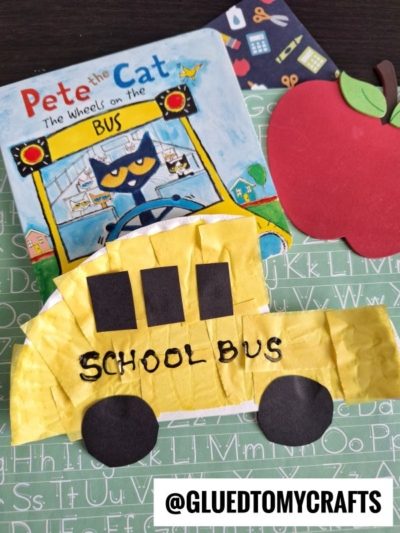
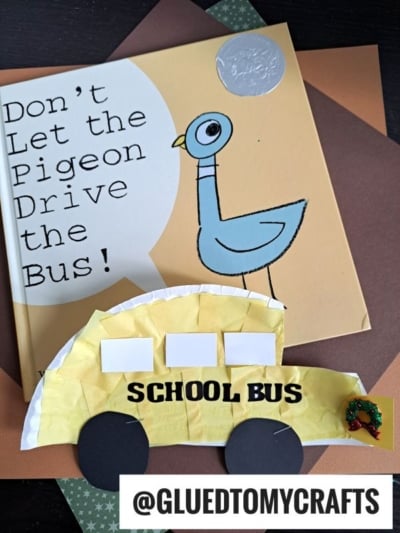
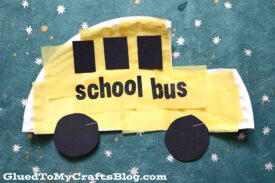
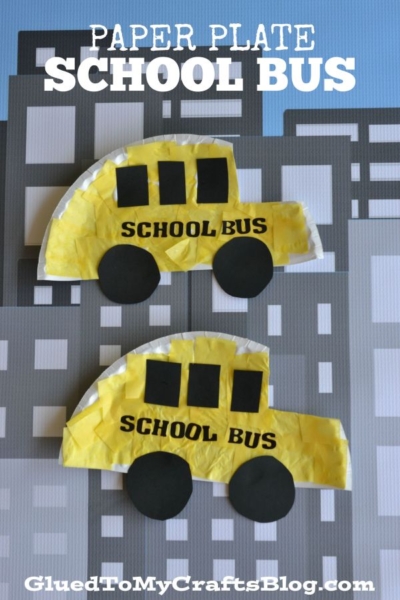
- First cut your paper plate in half. Straight up the center. This will give you TWO school buses.
- Go ahead and cut a small triangle/slot out of one side {see my example} to give the school bus its long, iconic front.
- Now take your tissue paper and cut it into small squares {let the kids practice their cutting skills}
- Take your paper plate halves and put a good amount of glue all over them.
- Have children place the tissue paper on top of the glue, until they are completely covered.
- When they are done with that, set aside to let them dry completely while you trim out the other bus features from your cardstock {think tires, windows, etc}
- To finish off the Paper Plate School Bus kid craft – simply staple/glue the cardstock pieces in their designated spots.
- Then have children spell out “School Bus” with stickers and add other embellishments to really make it their own!
- Now display proudly for all to see!
RELATED —> Popsicle Stick Pencils
If you are looking for even MORE “back to school” themed crafts, similar to this paper plate school bus tutorial, be sure to check out these great blog posts, listed below, on Glued To My Crafts right now!
Back To School Printables
School Bus Picture Frame
Tissue Paper Apple
Back To School Gnome
Don’t Let Pigeon Drive The Bus Craft
Decorative Ruler Frame
School Bus Photo Ornament

Paper Plate School Bus Craft
Here’s your checklist of supplies to bring this craft to life:
Prepare your creative haven by laying down a protective cover before the crafting magic begins!
Directions:
- First cut your paper plate in half. Straight up the center. This will give you TWO school buses.1 Large Paper Plate
- Go ahead and cut a small triangle/slot out of one side to give the school bus its long, iconic front.
- Now take your tissue paper and cut it into small squares.Tissue Paper
- Take your paper plate halves and put a good amount of glue all over them.
- Have children place the tissue paper on top of the glue, until they are completely covered.
- When they are done with that, set aside to let them dry completely while you trim out the other bus features from your cardstock {think tires, windows, etc}Cardstock Paper
- To finish off the Paper Plate School Bus kid craft – simply staple/glue the cardstock pieces in their designated spots.
- Then have children spell out "School Bus" with stickers and add other embellishments to really make it their own!Scrapbook Stickers
- Now display proudly for all to see!

Grab our favorite books via our Amazon affiliate link! In our Amazon storefront you will find books, toys and craft supplies we absolutely love using for our Glued To My Crafts tutorials!