
Looking for an easy and fun paper plate craft to celebrate Easter? Check out this guide of how to make a paper plate Easter scene with your kids!
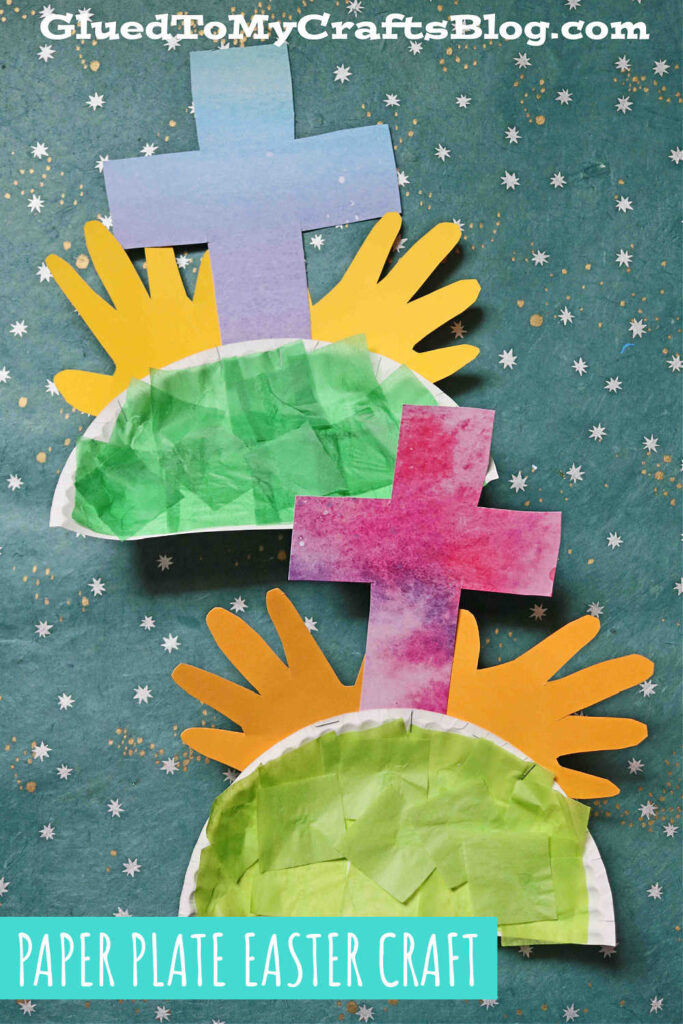
Paper Plate Easter Sunrise
Whether you are looking for something for the kids to make on Sunday school or an Easter morning event – today’s Paper Plate Easter Scene kid craft idea is sure to be loved by all! Even adults will love recreating one!
It’s safe to say, this craft idea is super inexpensive to make and can be pulled together with ease for a large group gathering. Plus with the handprint element for the sunrise – wow! That would make for an awesome keepsake as well!
So what are you waiting for? Follow our full tutorial below for this paper plate and handprint Easter scene craft and get ready to make a one-of-a-kind Easter themed piece today!
Happy crafting, my friends!!! Don’t forget to share pictures with us of your child’s finished paper plate sunrise creations by tagging us on Instagram! We can’t wait to hear from you this season! #gluedtomycrafts
RELATED: Easter Sunrise and Cross and Tissue Paper Baby Chick


Get ready for the spring season with this fun and easy paper plate craft project. Perfect for little ones, it will keep them occupied throughout the day while creating a memorable keepsake!
Craft Supplies:
- Large Paper Plate
- Green Tissue Paper
- Scissors
- Stapler
- School Glue
- Yellow Cardstock Paper
- Scrapbook Paper
- Marker or Pencil
Directions:
- First cut your paper plate in half. This will make TWO Easter crafts. You will only need ONE half per kid. Set aside your paper plate.
- Next grab your green tissue paper.
- Cut it into small squares and place in a pile.
- Now grab your paper plate half and glue.
- Put a good amount of glue all over the paper plate.
- Have children place the tissue paper on top of the glue, until it’s completely covered. This will represent the grass/hill.
- Set it aside till later.
- Now grab all your sheets of paper.
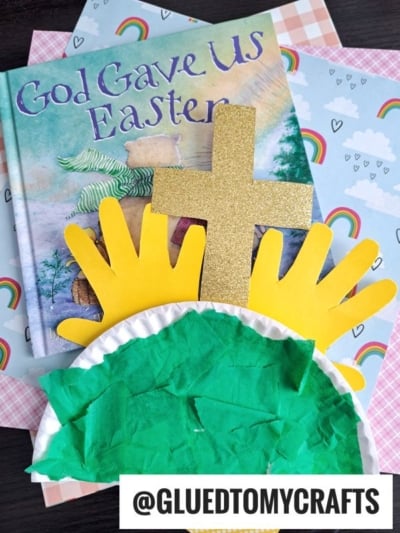
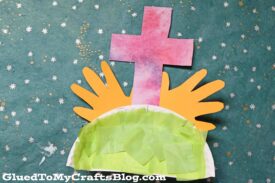
- Out of the scrapbook paper, cut out a simple cross shape.
- Out of the yellow cardstock, trace your child’s hands and trim out.
- To finish off the Paper Plate Easter Scene – staple your paper pieces in place on the paper plate. The cross should be in the center and the handprints on the side to represent the sun rising.
- Then display proudly for ALL to see!!!
RELATED —> Paper Plate Spring Scene
Did you love today’s paper plate Easter scene craft idea from Glued To My Crafts?
Then be sure to check out our Tape Resistant Cross post that is also on our website right now! They both would pair nicely together – hint hint!

Paper Plate Easter Scene Craft
Here’s your checklist of supplies to bring this craft to life:
Prepare your creative haven by laying down a protective cover before the crafting magic begins!
Directions:
- First cut your paper plate in half. This will make TWO Easter crafts. You will only need ONE half per kid. Set aside your paper plate.1 Large Paper Plate
- Next grab your green tissue paper.Tissue Paper
- Cut it into small squares and place in a pile.
- Now grab your paper plate half and glue.
- Put a good amount of glue all over the paper plate.
- Have children place the tissue paper on top of the glue, until it's completely covered. This will represent the grass/hill.
- Set it aside till later.
- Now grab all your sheets of colored paper.
- Out of the scrapbook paper, cut out a simple cross shape.Scrapbook Paper
- Out of the yellow cardstock paper, trace your child's hands and trim out.Cardstock Paper
- To finish off the Paper Plate Easter Scene - staple your paper pieces in place on the paper plate. The cross should be in the center and the handprints on the side to represent the sun rising.
- Then display proudly!!!

CLICK HERE TO PRINT THE DIRECTIONS FOR THIS CRAFT