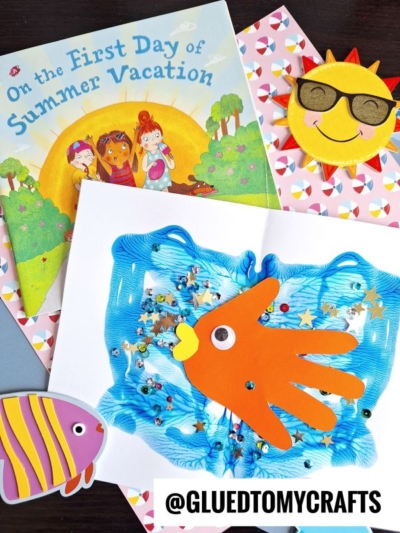
Want to keep your kids entertained? Check out this easy paint splat ocean scene craft that is perfect for all ages!

SPLASH into crafty fun this upcoming summer, with Glued To My Crafts and our latest Paint Splat Ocean Scene kid craft idea! Perfect for an “under the sea” themed craft day, that is sure to make awesome epic memories!

Are you looking for a fun and creative craft idea for your kids that will transport them to an ocean of imagination? Look no further!
In today’s blog post, we are excited to share with you an innovative and interactive craft idea that combines the simplicity of paper and the vibrancy of paint to create an ocean-themed masterpiece.
This activity is perfect for a rainy day, a homeschool art lesson, or a weekend project that will entertain and inspire your little ones.
So gather your supplies and get ready to dive deep into the world of paper and paint as we guide you through this enchanting underwater adventure!

Inspired by the beauty and wonder of the ocean, this latest “paint splat” craft is designed to spark your child’s imagination and bring out their artistic side!
Craft Supplies:
- Cardstock Paper
- Blue Tulip Puffy Paint
- Pencil
- Googly Eyes
- Scissors
- Glue Stick
- Ocean Stickers
Directions:
- First things first – fold your cardstock in half. Straight up the center.
- Next open it back up and squirt a few lines of blue paint squiggles with ON ONE SIDE before closing up the cardstock paper again.
- Once the paper is closed for the second time, gently take your hand and “caress” the paint around inside, so it makes a fun symmetrical “ocean” print design on both sides of the paper {keep in mind – paint might ooze from the sides of the cardstock, so be sure to work in an area that can get dirty!}
- Now you are ready to open it back up to reveal the water design underneath.
- Grab your remaining pieces of cardstock paper, along with the pencil and scissors.
- Trace your hand on the yellow paper.
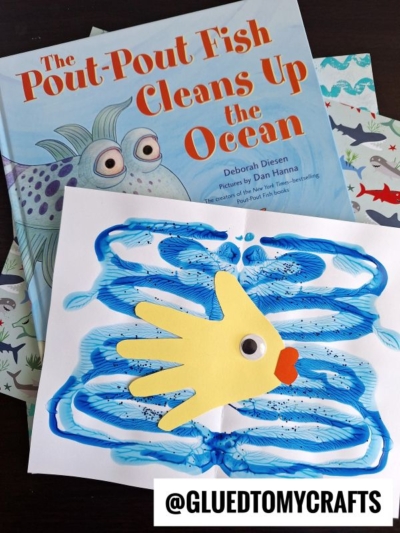
- Trim out the design. This will become your fish.
- Glue the cutout to the center of your paint splat design.
- Add a small “heart” lip shape, along with the googly eye.
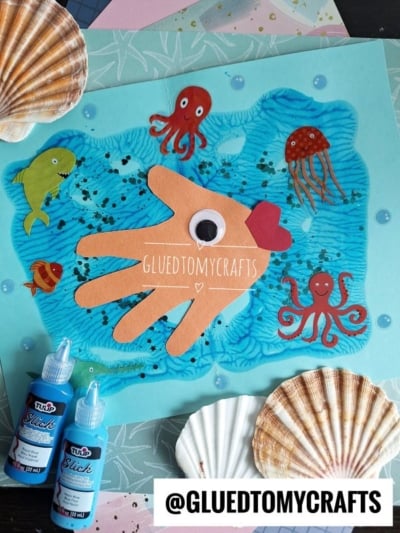
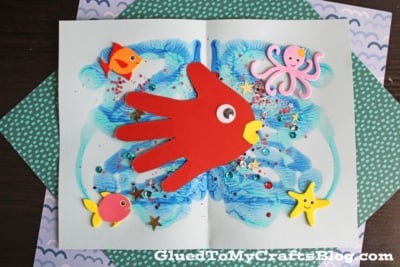
- Once finished, add any other embellishments you like.
- Then set aside to let it dry completely, before displaying proudly!
RELATED —> Cupcake Liner Seahorse
Be sure to also head on over to my blog post titled Chalk Art Jellyfish post to see how we used sidewalk chalk to bring an ocean scene to life!
FOLLOW US ON PINTEREST SO YOU NEVER MISS A TUTORIAL FROM US!

Paint Splat Ocean Scene Craft
Want to keep your kids entertained? Check out this easy paint splat ocean scene craft that is perfect for all ages!
Here’s your checklist of supplies to bring this craft to life:
- Cardstock Paper
- Tulip Puffy Paint
- Ocean Stickers
- Wiggle Eyes
- School Glue
- Pen or Pencil
Prepare your creative haven by laying down a protective cover before the crafting magic begins!
Directions:
- First things first - fold your cardstock in half. Straight up the center.
- Next open it back up and squirt a few lines of blue paint squiggles with ON ONE SIDE before closing up the cardstock paper again.Tulip Puffy Paint
- Once the paper is closed for the second time, gently take your hand and "caress" the paint around inside, so it makes a fun symmetrical "ocean" print design on both sides of the paper {keep in mind - paint might ooze from the sides of the cardstock, so be sure to work in an area that can get dirty!}
- Now you are ready to open it back up to reveal the water design underneath.
- Grab your remaining pieces of cardstock paper, along with the pencil and scissors.
- Trace your hand on the yellow paper.
- Trim out the design. This will become your fish.
- Glue the cutout to the center of your paint splat design.
- Add a small "heart" lip shape, along with the googly eye.Wiggle Eyes, Cardstock Paper
- Once finished, add any other embellishments you like.Ocean Stickers
- Then set aside to let it dry completely, before displaying proudly!
CLICK HERE TO PRINT THE DIRECTIONS FOR THIS CRAFT
If you've enjoyed our content or have any thoughts to share, we'd love to hear from you! Mention @gluedtomycrafts or tag #gluedtomycrafts on Instagram!