Are you looking for something easy for the kids to make this Easter?
Maybe you are looking for something for Sunday school or maybe even VBS this summer?
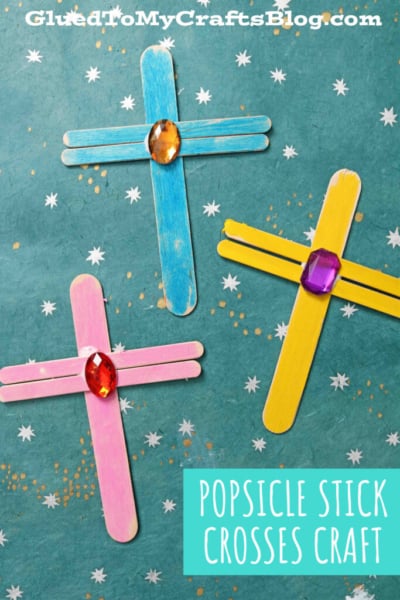
Look no further because today’s SUPER SIMPLE Popsicle Stick Crosses kid craft idea, is perfect for ANY and ALL the above!!
Crosses Made From Craft Sticks
Speaking from my experience, when it comes to Sunday school, VBS or Easter Sunday service, as a church leader or teacher you are “probably” looking for something EASY for the kids to make and show off in honor of the “season.” And in most cases, it has to be something that is on a tight budget as well so more kids can participate in a timely fashion. Am I right?!
So that is why I came up with today’s Popsicle Stick Crosses kids craft idea. The supplies are minimal and the steps are short as well. In most cases, you could even pre-glue the popsicle sticks together the night before in a cross formation and skip drying time to hurry up the “crafting process.” From there, kids can decorate however they like {with whatever you provide} and still have some crafty fun along with their peers.
If you like, you could also hot glue ribbon to the back of the crosses for easy hanging and/or displaying or maybe even adding some magnets on the back for little ones to show off at home on the fridge. I just love this craft stick Easter cross craft idea because there are so many ways to take it but still keep everything within the theme!
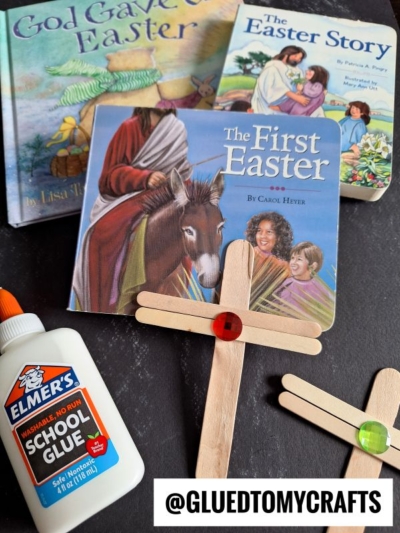
Are you ready to tackle this craft idea? Let’s grab those craft supplies and find the full tutorial from Glued To My Crafts below! I hope you our simple tutorial gets let those creative juices start flowing like crazy! I just know you are going to love the end results on this one!
Happy crafting {and decorating} my friends! If you don’t mind, I would LOVE to see pictures of your popsicle stick Easter cross creations, when you are done, on our Facebook page! I can’t wait to see your beautiful Easter pieces! #gluedtomycrafts
RELATED —> Paper Easter Sunrise

THE EASY HOW-TO:
- To recreate these crosses – all you need is ONE jumbo popsicle stick and TWO regular popsicle sticks per cross craft. You can either use pre-colored popsicle sticks {usually found at your local craft store} or paint your wooden pieces for an added step. It mainly depends on your time constraint and/or budget. But please go ahead and use whatever you like! The un-colored wood ones are just as good and fun!
- For the next step, you can use hot glue or school glue. Hot glue is more of an instant dry time, while school glue takes longer. Just glue your popsicle sticks together in a cross formation. Easy peasy!
- Then comes the customization. You can use things like rhinestones, buttons, glitter glue – whatever you might have on hand. Think sequins, loose craft glitter, beads – so many options You could even dig out stickers, small picture cutouts etc.
- Once done – that’s it! Of course, you will need some dry time but this is pretty much the steps for this craft, unless you decide to add ribbon and/or a magnet to the back. Like I mentioned – super easy!
- My last tip is, if you are doing this in a classroom setting, give everyone a paper plate to work on and place their finished cross on. Be sure to write their name somewhere on the paper plate as well for easy identification. This will allow them to carry the wet piece home with ease!
RELATED —> Torn Paper Easter Sunrise
Be sure to also check out our Paper Plate Easter Scene post for another religious kid craft idea! It would definitely pair nicely with today’s popsicle stick cross tutorial!
