It’s time to get creative! Craft a one-of-a-kind Christmas tree with popsicle sticks and your own unique style. Let’s get started!

Wood Stick & Paper Christmas Trees
There is still time to get your craft on with your child this Christmas season!!! And if you have loved our past EASY kids craft tutorials, you’re going to love the Popsicle Stick Christmas Tree Kid Craft I’m sharing with you all today!
With our simple step-by-step tutorial below, you and your child child will enjoy making Christmas tree pieces out of popsicle sticks and cardstock paper, within minutes.
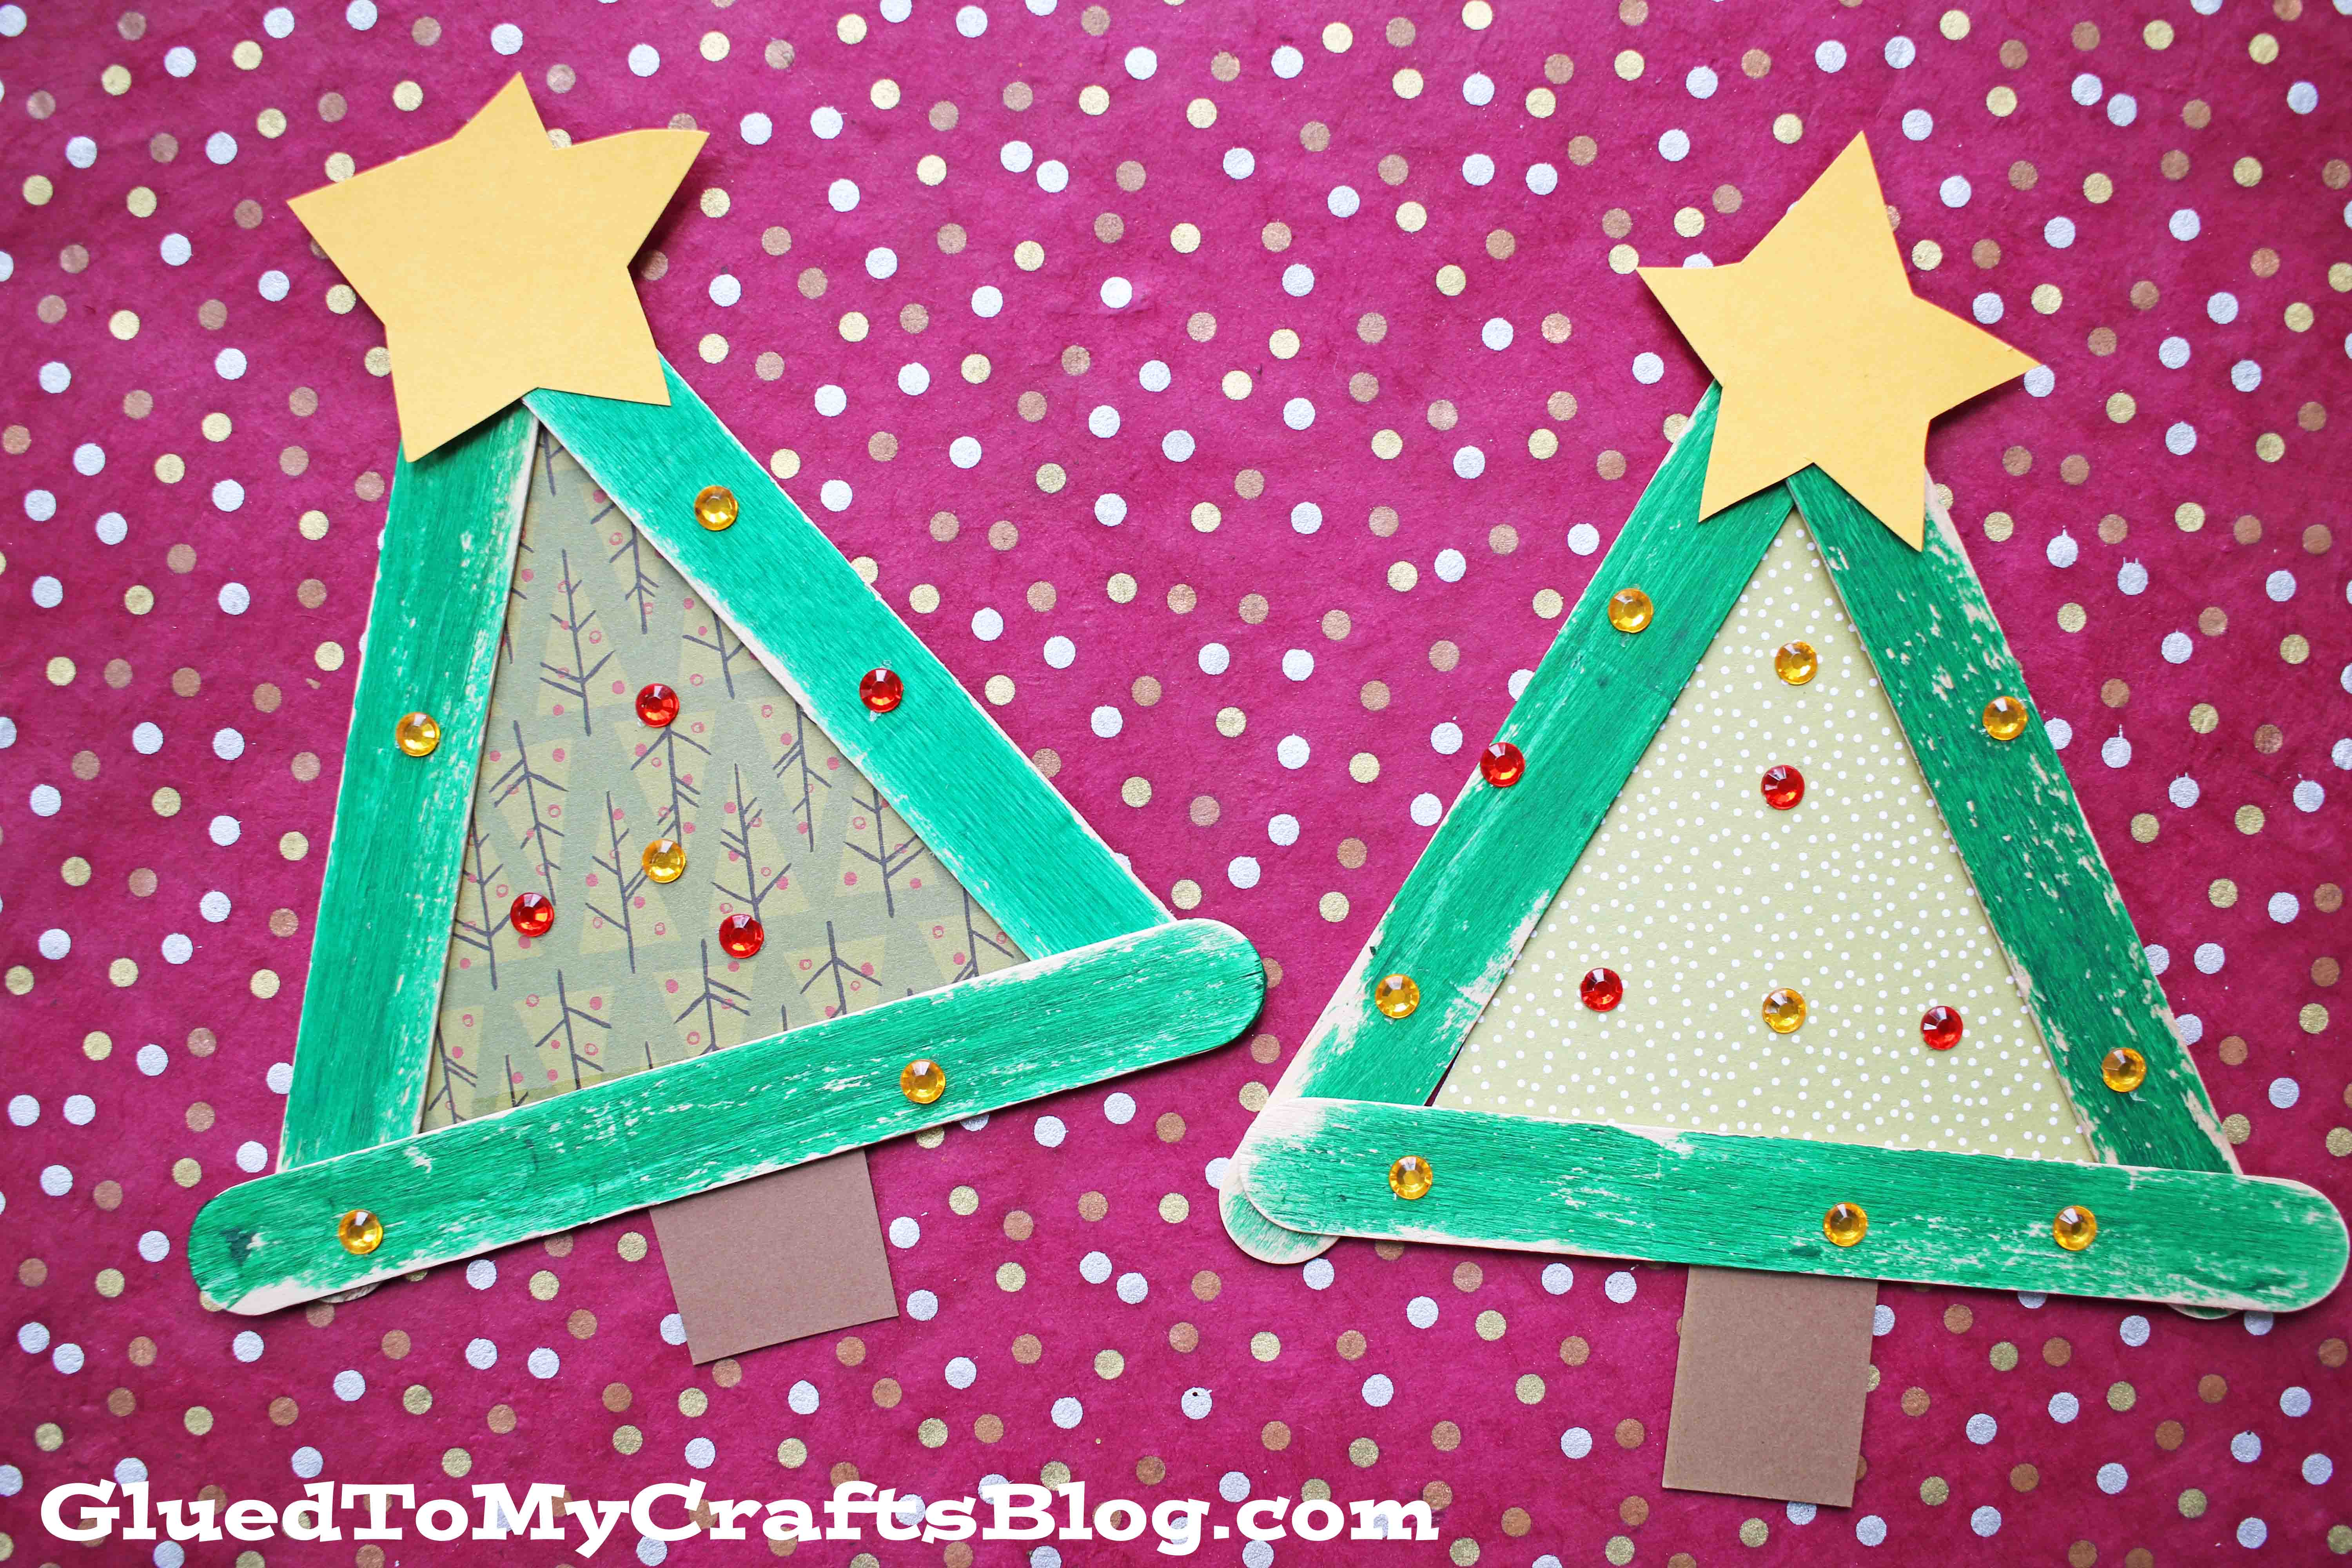
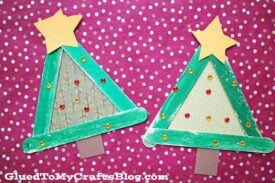
Then you can either display the decorative craft stick trees like we did in our home by turning them into ornaments OR making them the star of your gift packages & cards. The possibilities are endless with this finished piece and they are truly unique like your child too!
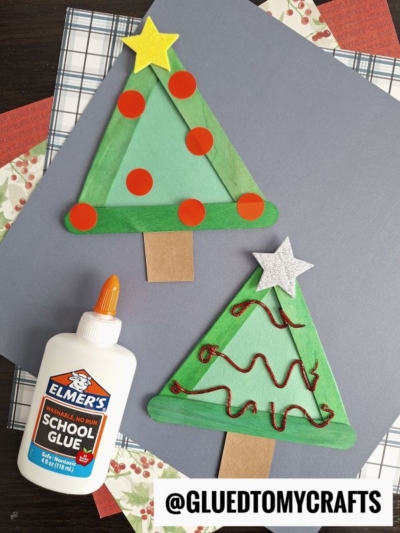
So let’s clear off the table to make room for this fun & festive kid craft. You can make an afternoon out of it and/or even a yearly tradition! Remember – you can also take this custom Christmas tree craft idea and run with it too! You can skip the rhinestones and go with other ways to “jazz” it up. Just have fun with it and make it reflect YOU!!!
Happy crafting my friends! Don’t forget to share pictures of your Craft Stick Christmas Trees with us on our Facebook page to admire! I just LOVE hearing and seeing your excitement when you complete our crafts! #gluedtomycrafts
RELATED: Paper Plate Christmas Bear and Paper Plate Christmas Tree
These popsicle stick Christmas trees are the perfect easy craft for kids! They can be made into ornaments, decorations, or gift tags.
Craft Supplies:
- Jumbo Popsicle Sticks – 3 per craft
- School Glue
- Green Craft Paint
- Foam Paint Brush
- Small Paper Plate
- Green Scrapbook Paper
- Brown Cardstock Paper
- Yellow Cardstock Paper
- Craft Scissors
- Small Craft Rhinestones
Directions:
- First have children assemble the base of their tree by gluing THREE popsicle sticks together to look like a triangle.
- Set aside to let it dry.
- Repeat for each craft stick tree piece you want to make today.
- Next squirt some paint on the paper plate and have children paint their newly made popsicle stick shape completely green.
- Again, set aside to let it dry completely.
- Repeat for each piece.
- Now grab your scissors and all their paper pieces.
- Cut out a large triangle to be the inside of the Christmas tree, from the green scrapbook paper.
- Cut out a small rectangle from the brown cardstock, for the bottom of the craft.
- Also cut out a small triangle from the yellow cardstock, for the top of the craft.
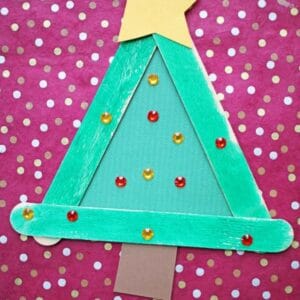
- To finish off the Paper and Popsicle Stick Christmas Tree pieces – glue all your cut out paper pieces in their designated spots on the painted wood shape.
- At this point in time, they can also glue on some small rhinestones for the “ornaments” on the tree.
- Once done, set it all aside to let it dry completely before displaying proudly!
- For displaying – glue some string to the back for easy hanging on the tree or adding to gift packages!
- Don’t forget to snap a few pictures to share with us on your various social media sites! #gluedtomycrafts
RELATED —> Thumbprint Ornaments

AFFILIATE LINK – PAIR OUR CRAFT IDEA WITH THE “PICK A PINE TREE” BOOK
If you are looking for even MORE Christmas themed kid crafts, be sure to check out these fun posts listed below.
And “if” you decide to make this popsicle stick Christmas tree craft with your child today, please share a picture on our Facebook page for us to see. We absolutely LOVE seeing our inspiration come to life in your home and can’t wait to “hear” from you!
- Christmas Tree Pinecones
- Cork Snowman Ornament
- Paper Plate Reindeer
- Paper Plate Wreath
- Chocolate Playdough Recipe
- Christmas Tree Pinecones
- Paper Plate Christmas Tree
- Paper Plate Ornament
Popsicle Stick Christmas Tree Craft Idea
Here’s your checklist of supplies to bring this craft to life:
- Cardstock Paper
- Scrapbook Paper
- 3 Jumbo Popsicle Sticks
- Craft Paint
- Embellishments
- School Glue
- 1 Scissors
Prepare your creative haven by laying down a protective cover before the crafting magic begins!
Directions:
- First have children assemble the base of their tree by gluing THREE popsicle sticks together to look like a triangle.
- Set aside to let it dry.
- Repeat for each craft stick tree piece you want to make today.
- Next squirt some paint on the paper plate and have children paint their newly made popsicle stick shape completely green.
- Again, set aside to let it dry completely.
- Repeat for each piece.
- Now grab your scissors and all their paper pieces.
- Cut out a large triangle to be the inside of the Christmas tree, from the green scrapbook paper.
- Cut out a small rectangle from the brown cardstock, for the bottom of the craft.
- Also cut out a small triangle from the yellow cardstock, for the top of the craft.
- To finish off the Paper and Popsicle Stick Christmas Tree pieces - glue all your cut out paper pieces in their designated spots on the painted wood shape.
- At this point in time, they can also glue on some small rhinestones for the "ornaments" on the tree.
- Once done, set it all aside to let it dry completely before displaying proudly!

Grab our favorite books via our Amazon affiliate link! In our Amazon storefront you will find books, toys and craft supplies we absolutely love using for our Glued To My Crafts tutorials!
