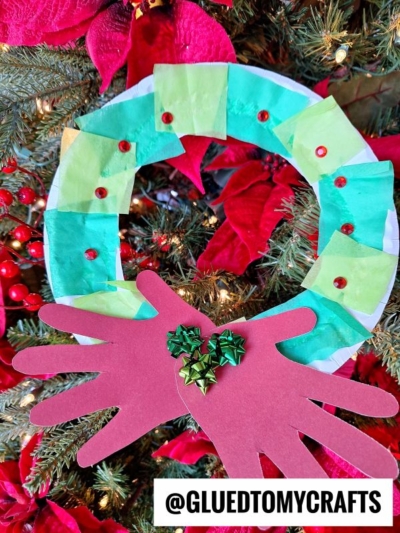
Craft a paper plate Christmas wreath with your kids! This fun and creative holiday DIY project is perfect for little hands and festive seasonal crafting.

Looking for a fun and festive holiday craft that even the little ones can enjoy? Check out this simple paper plate Christmas wreath craft idea – perfect for kids of all ages!

Paper Plate Christmas Wreath Craft Idea
This quick and easy craft project will help create lasting memories, bring everyone together, and add a cheerful touch to any home this holiday season. With just some basic supplies like paper plates, glue and other decorative materials you can make your own creative masterpiece that will be sure to impress friends and guests.
Craft Supplies:
- Large Paper Plate – 1 per craft
- Green Crepe Paper and/or Tissue Paper
- Craft Scissors
- Red Pom Poms
- Red Cardstock Paper
- School Glue
- Marker/Pencil
- Stapler
Directions:
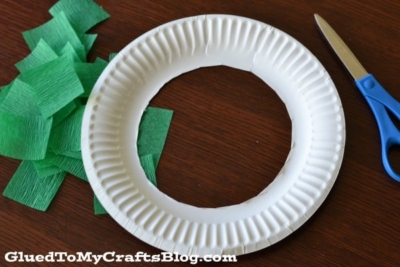
- First cut the center of your paper plate out, leaving a ring for the wreath. Discard the center of the paper plate.
- Next you {or your child} should tear/cut up the green crepe paper into squares.
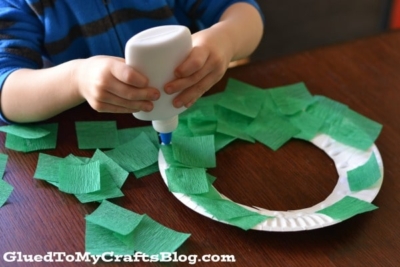
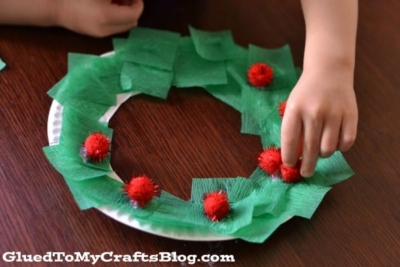
- Now put a good layer of glue all around the the paper plate ring. Have your child place the crepe paper squares on it, until it’s completely covered.
- Once that is done, have them glue some red pom poms all over the wreath. Set aside to let it dry completely.
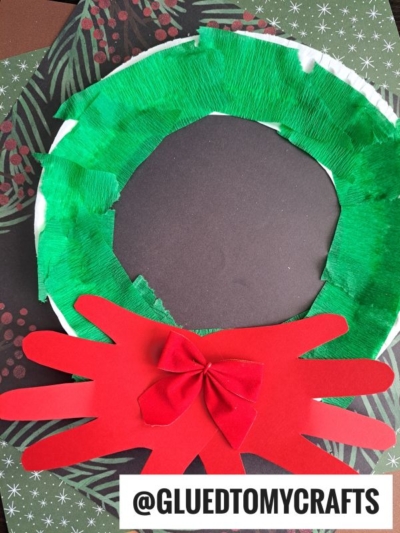
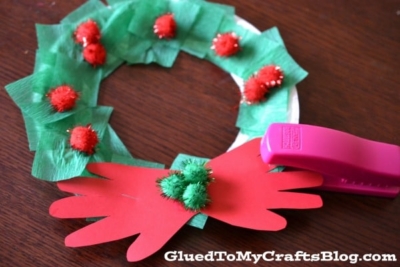
- While that is drying, trace your child’s hands on the red cardstock. Trim those trace-outs out and staple them together to look like a bow.
- Once completely dry, staple on the “bow” to the front of the paper plate Christmas wreath and display the finished piece proudly for ALL to see!
RELATED —> Handprint Christmas Gnome
Looking for another easy Christmas craft idea to make with your little one today? Then be sure to also check out our popular Glitter & Paper Christmas Wreath Idea tutorial! #gluedtomycrafts

Paper Plate Christmas Wreath Craft
Craft a paper plate Christmas wreath with your kids! This fun and creative holiday DIY project is perfect for little hands and festive seasonal crafting.
Here’s your checklist of supplies to bring this craft to life:
Prepare your creative haven by laying down a protective cover before the crafting magic begins!
Directions:
- First cut the center of your paper plate out, leaving a ring for the wreath. Discard the center of the paper plate.1 Large Paper Plate

- Next you {or your child} should tear/cut up the green tissue paper into squares.Tissue Paper
- Now put a good layer of glue all around the the paper plate ring. Have your child place the crepe paper squares on it, until it's completely covered.
- Once that is done, have them glue some red pom poms all over the wreath. Set aside to let it dry completely.Craft Pom Poms
- While that is drying, trace your child's hands on the red cardstock paper. Trim those trace-outs out and staple them together to look like a bow.Cardstock Paper
- Once completely dry, staple on the "bow" to the front of the paper plate Christmas wreath and display the finished piece proudly for ALL to see!

CLICK HERE TO PRINT THE DIRECTIONS FOR THIS CRAFT
If you've enjoyed our content or have any thoughts to share, we'd love to hear from you! Mention @gluedtomycrafts or tag #gluedtomycrafts on Instagram!