Hi friends! The weather is quickly changing outside and it’s time to start thinking about those fall crafts you want {and will} be doing with your child in the coming weeks.
Fall is my favorite season – hands down. I love the cool down in temp, the smells and the colors assorted with it. And guess what? You can celebrate autumn’s SPECTACULAR show of colors with today’s simple and eye-catching Paper Plate Leaf craft idea!

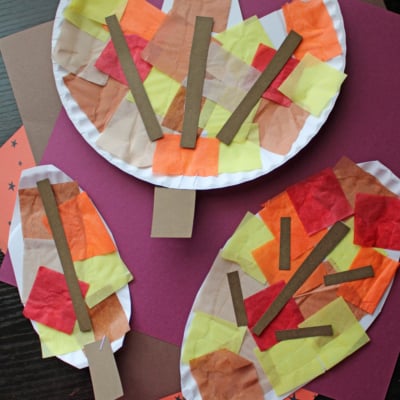
Paper Plate Leaf Craft w/Tissue Paper Squares
No special tools or supplies required – just simple inexpensive fun that ANY age can do during the month of September and October!
When done crafting your own beauties, you can display the finished rainbow colored leaf craft pieces in your home or on the windows to bring a touch of “nature” inside!
Ready to make it happen this afternoon? Then be sure to keep on scrolling to find ALL the details you need to know on recreating this tissue paper leaf craft idea, in the full tutorial below!
Happy crafting, my friends! Please don’t forget to share pictures of your child’s fall inspired paper plate leaves on our Facebook page to admire from afar this fall season! #gluedtomycrafts
RELATED —> Leaf Butterfly In Jar


Want to make a unique leaf craft using tissue paper and paper plates? We have the perfect tutorial to get you started!
Craft Supplies:
- Large Paper Plates
- Tan/Brown Cardstock
- Yellow Tissue Paper
- Orange Tissue Paper
- Tan Tissue Paper
- Craft Scissors
- School Glue
- Stapler
Directions:
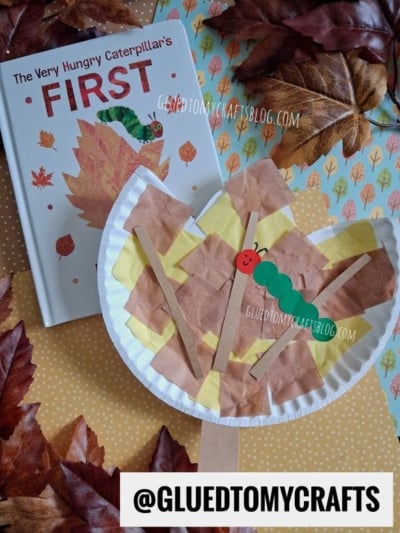
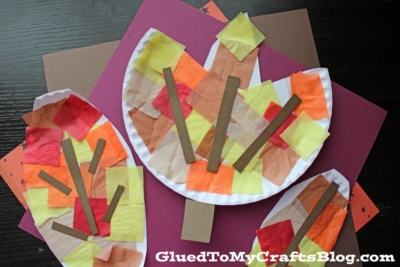
- First cut your paper plates down to look like leaves. We did a football shape and another shape with some curved triangles taken out.
- Next cut/tear your tissue paper into small squares.
- Now take your paper plate cutouts and put a good amount of glue all over them.
- Have children place the tissue paper on top of the glue in a mosaic design, until they are completely covered.
- While they are working on that, cut out a simple stem out of some tan/brown cardstock.
- To finish off the Leaves, staple the cardstock stems to the finished paper plates.
- Then add other embellishments you may see fit before setting aside to let it all dry completely.
- Finally, when done decorating your paper plate leaf, display it proudly for ALL to see!
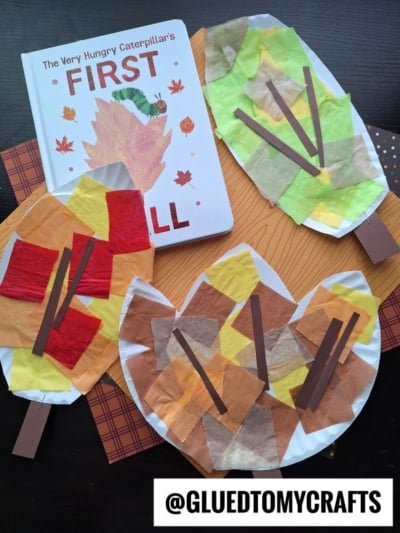
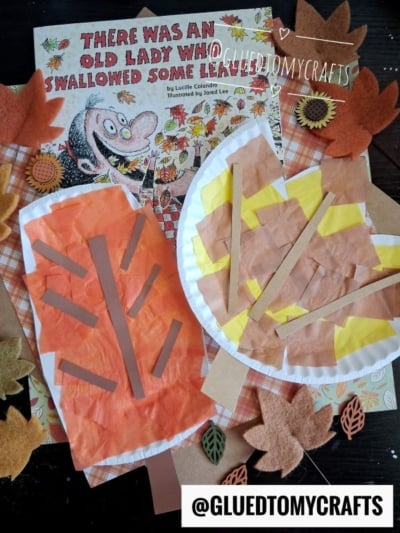
Our Favorite Fall Books:
Here are a few suggestions for books that complement our craft idea. You can purchase them via our affiliate links on Amazon.
- The Leaf Thief by Alice Hemming {my personal fav!}
- Goodbye Summer, Hello Autumn by Kenard Pak
- It’s Fall! by Renée Kurilla
- Sweep by Louise Greig
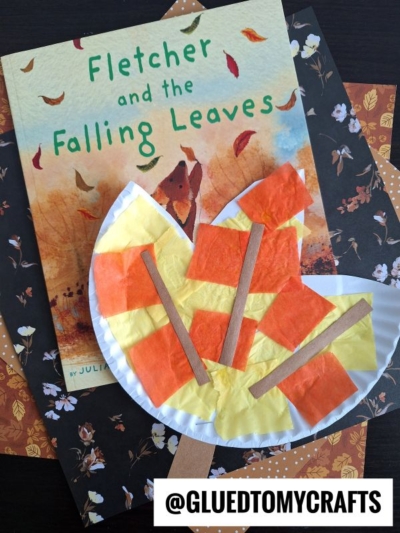
- Fletcher and the Falling Leaves by Julia Rawlinson
- Leaf Man by Lois Ehlert
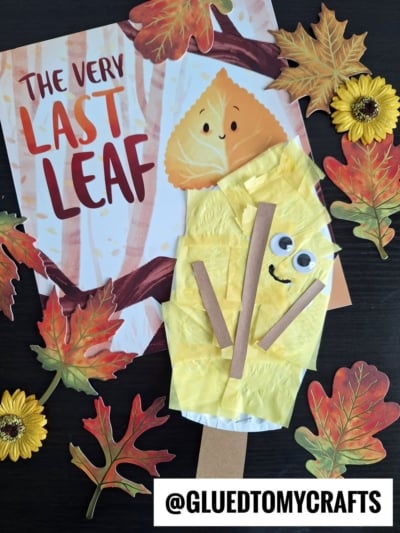
- The Very Last Leaf by Stef Wade
- We’re Going on a Leaf Hunt by Steve Metzger
- The Very Big Fall by Emmy Kastner
- Pete the Cat Falling for Autumn: A Fall Book for Kids by James Dean
RELATED —> Fall Y’all Keepsake
If you are looking for even MORE fall themed crafts I’ve shared on the Glued To My Crafts blog, be sure to check out these posts:
- Popsicle Stick Owls
- Tissue Paper Apple
- Leaf Owls On Paper
- Indian Corn Painting
- Plastic Leaf Craft Ideas
- Handprint Tree Craft
- Popsicle Stick Scarecrow
- Clothespin Leaf Turkeys
- Paper Plate Felt Apple
- Pom Pom Stamped Leaf

Tissue Paper & Paper Plate Leaf Craft
Here’s your checklist of supplies to bring this craft to life:
Prepare your creative haven by laying down a protective cover before the crafting magic begins!
Directions:
- First cut your paper plates down to look like leaves. We did a football shape and another shape with some curved triangles taken out.
- Next cut/tear your tissue paper into small squares.
- Now take your paper plate cutouts and put a good amount of glue all over them.
- Have children place the tissue paper on top of the glue in a mosaic design, until they are completely covered.
- While they are working on that, cut out a simple stem out of some tan/brown cardstock.
- To finish off the Leaves, staple the cardstock stems to the finished paper plates.
- Then add other embellishments you may see fit before setting aside to let it all dry completely.
- Finally, when done decorating your paper plate leaf, display it proudly for ALL to see!

Grab our favorite books via our Amazon affiliate link! In our Amazon storefront you will find books, toys and craft supplies we absolutely love using for our Glued To My Crafts tutorials!