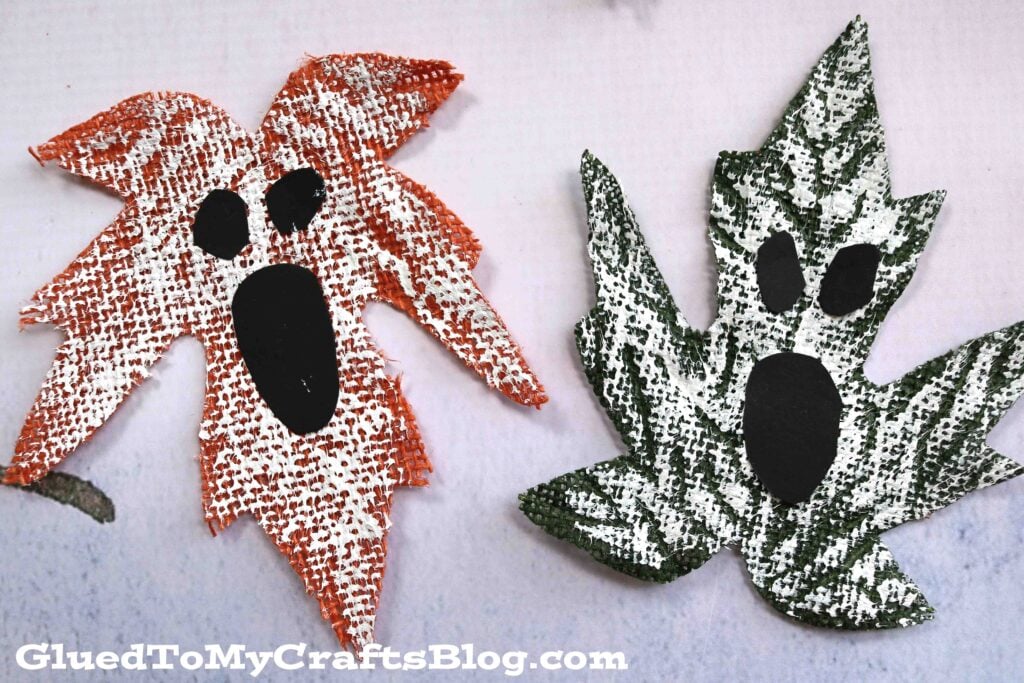
Don’t be spooked by our Painted Ghost Leaves kid craft tutorial! It’s super easy, made with inexpensive materials AND it’s a great way to bring the great outsides, INSIDE!

This Halloween, bring the outdoors inside with our Painted Ghost Leaves craft tutorial! Perfect for kids and adults alike, this activity combines creativity, fun, and a touch of spooky charm. Using simple, inexpensive materials like leaves, paint, and paper, you can create adorable ghostly decorations to haunt your home in the most delightful way.
Whether you’re looking to entertain the little ones or add a personal touch to your Halloween decor, this craft is easy to follow and guarantees a boo-tiful result. So, grab your supplies, roll up your sleeves, and let’s make some ghostly magic happen! 👻
Get your hands dirty this Halloween and have some fun crafting! Create your own painted ghost leaves to decorate your home for the spooky holiday season!
Craft Supplies:
- Large, Plastic Leaves
- White Craft Paint
- Paint Brushes
- Black Cardstock Paper
- Circle Punches
- Basic Craft Scissors
- School Glue
- Paper Plate
Directions:
- Lay a single leaf on a paper plate.
- Squirt some craft paint on top of the leaf.
- Have your child paint their leaf completely white.
- When they are done painting, set it aside to let it dry.
- Now grab your black cardstock and choice of cutting utensil.
- Cut and/or punch out some small eyes and a mouth for your ghost.
- Use the school glue to glue those pieces onto the front of the painted leaf.
- Add any other embellishments you see fit.
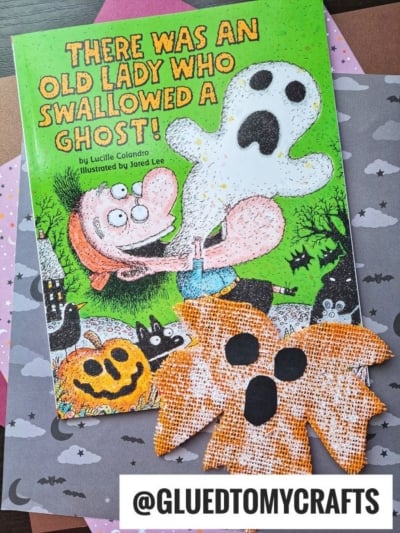
- When ready, display your newly made painted ghost leaves as Halloween decorations around the house or add them to a scrapbook page for custom embellishments.
RELATED —> Paint Splat Witch’s Cauldron

If you are looking for more kid friendly Halloween crafts, similar to today’s painted ghost leaves tutorial, check out these past blog posts listed below:
- Tissue Paper Mummy
- Popsicle Stick Ghosts
- Cotton Ball Ghost Cupcake
- Footprint Ghost Keepsake
- Popsicle Stick Ghosts
- Paper Plate Ghosts
- Halloween Ghost Keepsake
- Stained Glass Ghosts
- Chalk Art Bat In The Night
