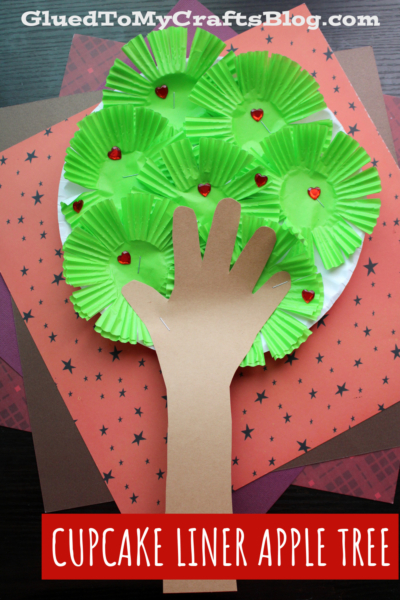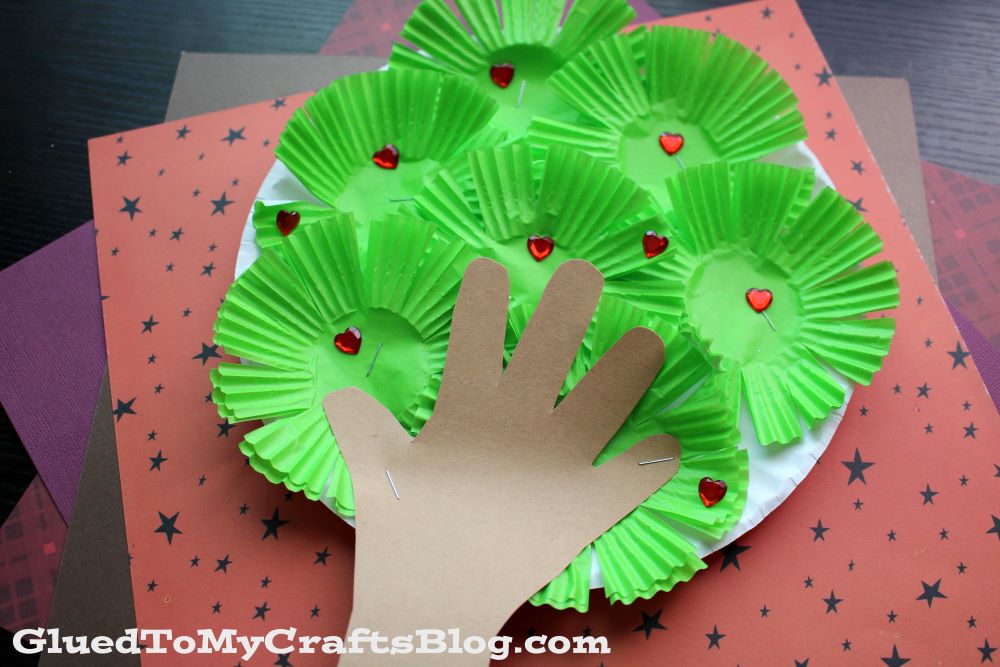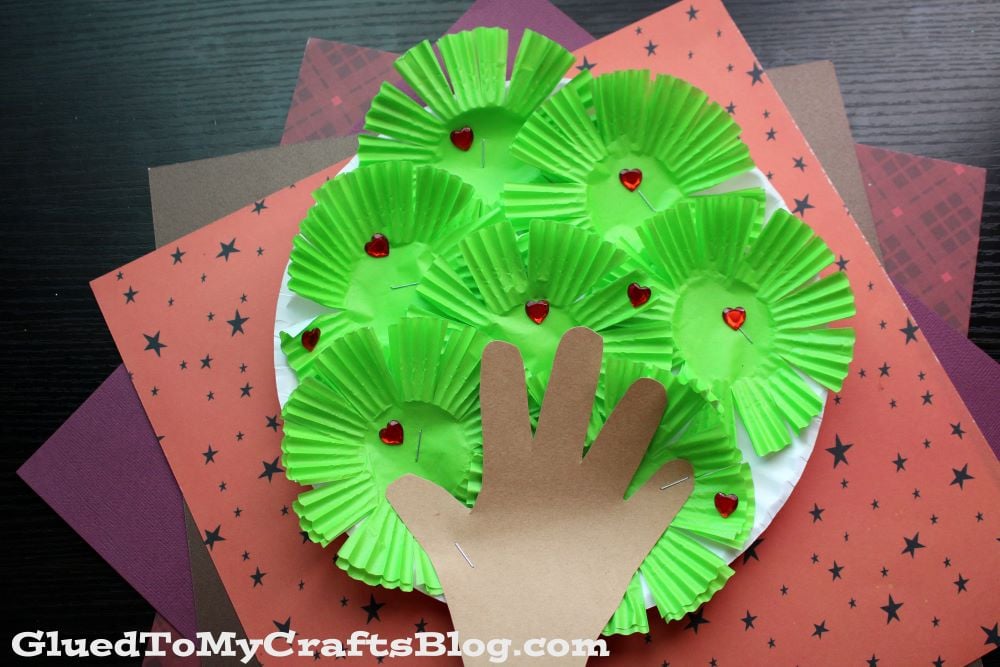
Green colored baking cups and small red sequins, make this happy & whimsical craft idea a whole lot of fun for the fall season! Keep scrolling to see how we made this Cupcake Liner Apple Tree tutorial come to life within minutes!
Apple Tree Craft Made With A Paper Plate & Cupcake Liners
It is the most wonderful time of the year – Apple Season! Have some extra fun with your kiddos and create a beautiful paper plate & cupcake liner apple tree craft.
Not only is it an exciting, creative activity for you both but its a great way to teach children about nature at the same time.
This post will give you the step by step instructions so that your kiddos have an unforgettable time creating their very own apple trees.
So gather up some paper plates, cupcake liners, cardstock paper, glue sticks – whatever supplies you have handy – and get ready to bring your vision to life! Plus, if you love autumn as much as we do (and who doesn’t?), then why not use this craft as decoration in the house or in your kids’ bedrooms? The possibilities are endless!
Happy crafting my friends! Don’t forget to share pictures of your baking cup apple tree creations with us on our Facebook page! #gluedtomycrafts
RELATED —> A is for Apple Craft
Are you looking for a unique craft idea to do with your kids? Or maybe you want to find a creative and fun way to bring the beauty of fall into your home.
Whatever your reason, look no further than this cupcake liner apple tree craft! It’s easy enough for children of all ages, plus adults will love it too!
Craft Supplies:
- Large Green Cupcake Liners
- Large Paper Plate
- Stapler
- School Glue
- Scissors
- Brown Cardstock Paper
- Pencil
- Red Rhinestone Stickers
Directions:
- First things first – the green “leaves” on the tree. Grab your green cupcake liners, a stapler and your craft scissors.
- Take two cupcake liners and flatten them out with your hands.
- Stack them on top of each other and staple them together in the center.
- Use the scissors to cut a “fringe” all around the edge. Fluff it up with your hands.
- Repeat the above steps for about 6-8 times to make several “leaves” for your apple tree.
- Now grab your large paper plate and the school glue.
- Glue the pieces you just made all over the plate, until it’s completely covered.
- Finally – we are going to make the trunk of the tree. Grab your brown cardstock paper, a pencil and the scissors.
- Lay your hand/arm flat on the paper and trace around it.
- Trim out the design and staple it to your paper plate.
- The last step is to add the rhinestone “apples” all over.
- Then display your piece proudly for all to see!
Book Pairing Ideas:
Looking for the perfect reads to complement our latest craft tutorial? Here are some book suggestions that pair beautifully with your creative journey! Dive into these titles and let your imagination flow while you craft. Happy reading and crafting!
- Sour Apple by Linda Liu
- Little Naturalists: Johnny Appleseed by Kate Coombs
- Goodbye Summer, Hello Autumn by Kenard Pak
- It’s Fall! by Renée Kurilla
- Bad Apple: A Tale of Friendship by Edward Hemingway
- Apple Countdown by Joan Holub
- Halloween in the Orchard by Phyllis Alsdurf
- The Biggest Apple Ever by Steven Kroll
- How to Make an Apple Pie and See the World by Marjorie Priceman
- Winston and the Missing Apples by Simply Country Ranch
RELATED —> Popsicle Stick Apple Trees
If you are looking for even MORE easy kid craft ideas that use cupcake liners, be sure to check out these fun posts from us below.
And “if” you decide to make this cupcake liner apple tree craft, please share a picture on our Facebook page or tag us on Instagram with #GluedToMyCrafts for us to see. We love seeing our inspiration come to life!
- Cupcake Liner Ladybugs
- Cupcake Liner Ice Cream
- Cupcake Liner Bunnies
- Cupcake Liner Avocado
- Cupcake Liner Shamrock
- Cupcake Liner Bees
- Cupcake Liner Apple Cards
- Cupcake Liner Owl On Branch
Cupcake Liner Apple Tree Craft
Here’s your checklist of supplies to bring this craft to life:
Prepare your creative haven by laying down a protective cover before the crafting magic begins!
Directions:
- First things first - the green "leaves" on the tree. Grab your green cupcake liners, a stapler and your craft scissors.
- Take two cupcake liners and flatten them out with your hands.
- Stack them on top of each other and staple them together in the center.
- Use the scissors to cut a "fringe" all around the edge. Fluff it up with your hands.
- Repeat the above steps for about 6-8 times to make several "leaves" for your apple tree.
- Now grab your large paper plate and the school glue.
- Glue the pieces you just made all over the plate, until it's completely covered.
- Finally - we are going to make the trunk of the tree. Grab your brown cardstock paper, a pencil and the scissors.
- Lay your hand/arm flat on the paper and trace around it.
- Trim out the design and staple it to your paper plate.
- The last step is to add the rhinestone "apples" all over.
- Then display your piece proudly for all to see!


NEED MORE HELP DOWNLOADING OUR FREE PRINTABLES? PLEASE REFER TO OUR FAQ PAGE


