
No NEED to be spooked by our latest Halloween kid craft tutorial! It’s a quick-to-make idea that can come together within several “non-frightful” minutes!
You can also score the FREE MASON JAR TEMPLATE below, to get you started on this “spook-tacular” craft! #gluedtomycrafts

Halloween Eyeball Jar Craft Idea For Kids
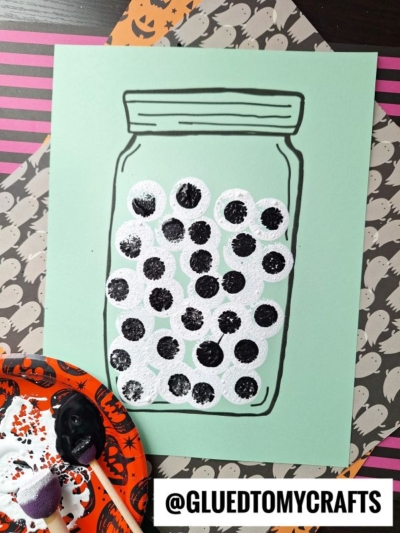
Today we are going to transform an ordinary MASON JAR printable into a jar full of eyeballs! Sounds creepy but I think it will be appealing for the Halloween season we are currently in.
When I came up with this idea originally, I was thinking “mad scientist” so I hope you see the vision too!
And friends… at Glued To My Crafts, we don’t want you to worry about any complications, so there’s even a FREE JAR PRINTABLE you can find in the supply list below. This will get you started in the right direction and from there, you just some foam paint brushes and some craft paint. EASY PEASY steps to make this stamped eyeball jar art project come to life with minutes!
Ready to make this SPOOKY craft today?! Find all the details below! Happy crafting, my friends!!!
RELATED —> Spooky Halloween Eyeball Tree

Make your own one-of-a-kind jar craft and add some spooky flair to your home decor! Create your own spooky stamped eyeball jar with just a few simple supplies.
Craft Supplies:
- Mason Jar Printable – on our landing page
- Colored Cardstock Paper
- Circle Sponge Paint Dabbers
- Small Paper Plate
- Black and White Craft Paint
- Scissors
RELATED —> Monster Eyeball Celery Sticks


Directions:
- First print out the FREE jar template above, on some colored cardstock. You need ONE print per craft. Print as many as you like! Set aside.
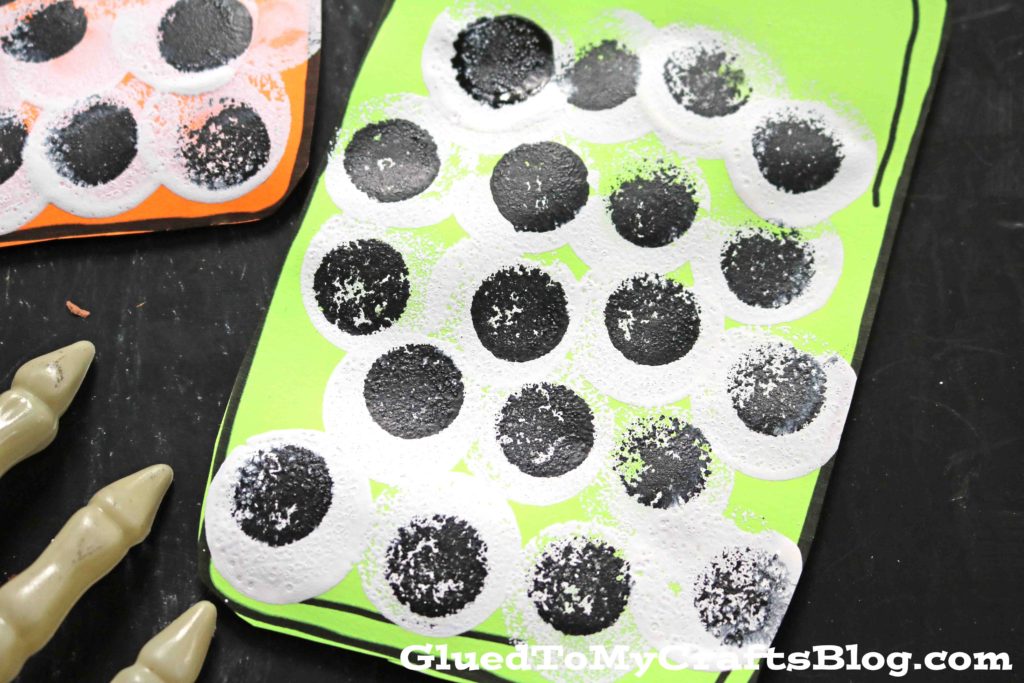
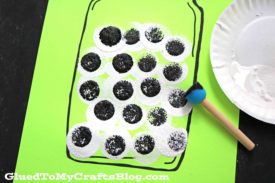
- Squirt some white and black craft paint on your paper plate. Take your larger foam dabber and stick it in the white paint. Take the smaller one and place it in the black paint.
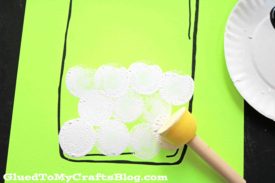
- Grab your jar printable and large paint dabber. “Stamp” it several times inside the jar, to make eyeballs. Repeat.
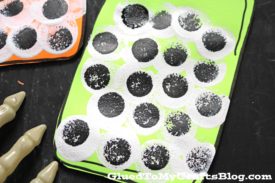
- Once you have the white spots down, grab the smaller sponge dabber with the black paint. Paint “pupils” inside each white dot.
- When done stamping, set aside your painted piece to let it dry a bit.
- Once dry enough, grab your jar painted print and scissors. Using scissors, trim out the mason jar design.
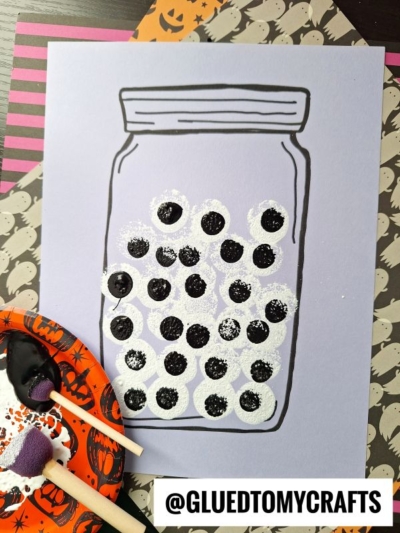
- Now display your Eyeball Jar proudly for ALL to see!
RELATED —> Paint Splat Witch Cauldron
Customize It:
- Don’t have craft paint or the right paint brush? Substitute plastic wiggle eyes or stickers, in different shapes and colors, for a fun look. You can also use ink pads & fingers/thumbprints for eyeballs instead.
RELATED —> Popsicle Stick Eyeballs
If you are searching for the PERFECT Halloween kid craft idea to make this season, Glued To My Crafts has several! No joke – we have you COVERED! Our personal favorites though are Paper Plate Pumpkin Fairy House, Popsicle Stick Pumpkin and Paper Plate Eyeball tutorials. Be sure to also check them out today and pair them with today’s stamped eyeball jar craft tutorial – hint hint!
We also have a Facebook community group that we would LOVE you to be part of! Come join the crafty chit chat and share your creations with us as well!
RELATED —> Eyeball Halloween Bookmarks

Stamped Eyeball Jar Craft Idea For Halloween
Here’s your checklist of supplies to bring this craft to life:
Prepare your creative haven by laying down a protective cover before the crafting magic begins!
Directions:
- First print out our provided printable, in color, on a single sheet of white cardstock paper. You only need one print per craft.
- Squirt some white and black craft paint on your paper plate. Take your larger foam dabber and stick it in the white paint. Take the smaller one and place it in the black paint.

- Grab your jar printable and large paint dabber. "Stamp" it several times inside the jar, to make eyeballs. Repeat.
- Once you have the white spots down, grab the smaller sponge dabber with the black paint. Paint "pupils" inside each white dot.
- When done stamping, set aside your painted piece to let it dry a bit.
- Once dry enough, grab your jar painted print and scissors. Using scissors, trim out the mason jar design.
- Now display your Eyeball Jar proudly for ALL to see!

NEED MORE HELP DOWNLOADING OUR FREE PRINTABLES? PLEASE REFER TO OUR FAQ PAGE