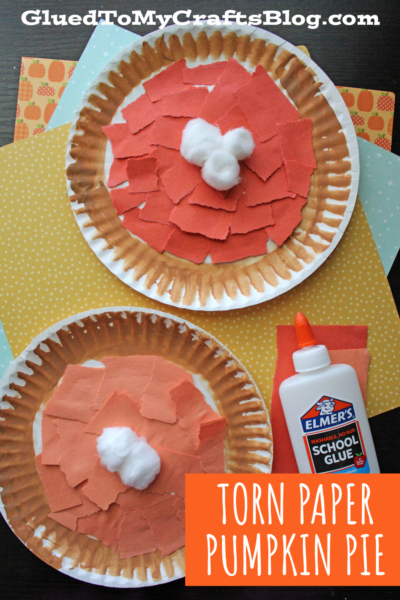
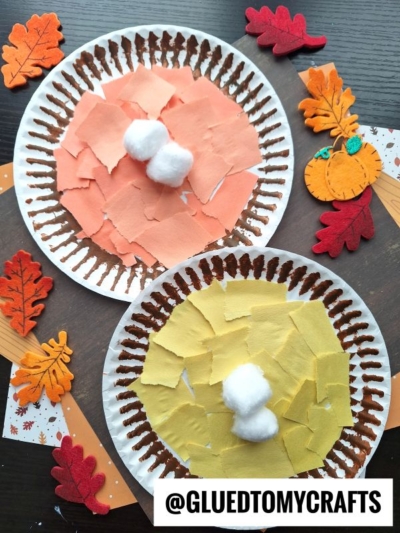
Discover a simple and creative fall craft for kids! Learn how to make a Paper Plate & Torn Paper Pumpkin Pie with easy-to-follow steps. Perfect for classrooms, playdates, or family fun this autumn.
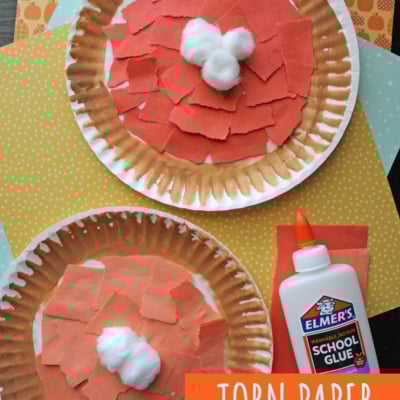
Fall is here, and with it comes cozy sweaters, colorful leaves, and of course, pumpkin everything! It’s the perfect time to pull out the crafting supplies and create something seasonal with the kids. If you’re looking for a simple, fun, and creative activity, this Torn Paper Orange Pumpkin Pie craft is a must-try.
This pie themed craft is easy enough for toddlers yet still engaging for older kids, making it a fantastic choice for classrooms or family craft time. Plus, it’s the perfect way to celebrate the warm and inviting spirit of fall!
Read on to learn what you’ll need and how to make this delightful pie-inspired craft!
This Paper Plate & Torn Paper Pumpkin Pie art project idea hits all the sweet spots for parents, teachers, and caregivers alike. With no strict rules, kids can bring their own unique touches to their pumpkin pie slices. It’s a wonderful opportunity for self-expression!
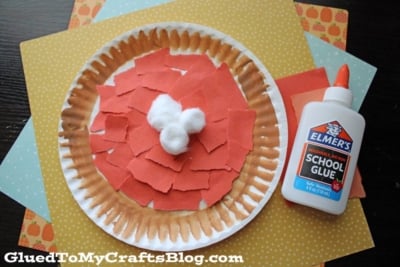
Craft Supplies:
Before you get started, gather the following materials to make the process smooth and enjoyable:
- Large Paper Plate – 1 per craft
- Light Brown Craft Paint
- Paint Brush
- Orange Construction Paper
- School Glue
- White Cotton balls – 2 or 3 per craft
These are low-cost and accessible items you can find in most stores or already have at home. With such a short list, preparation is a breeze!
Directions:
Follow these steps to help your little ones create their very own pumpkin pie masterpiece:
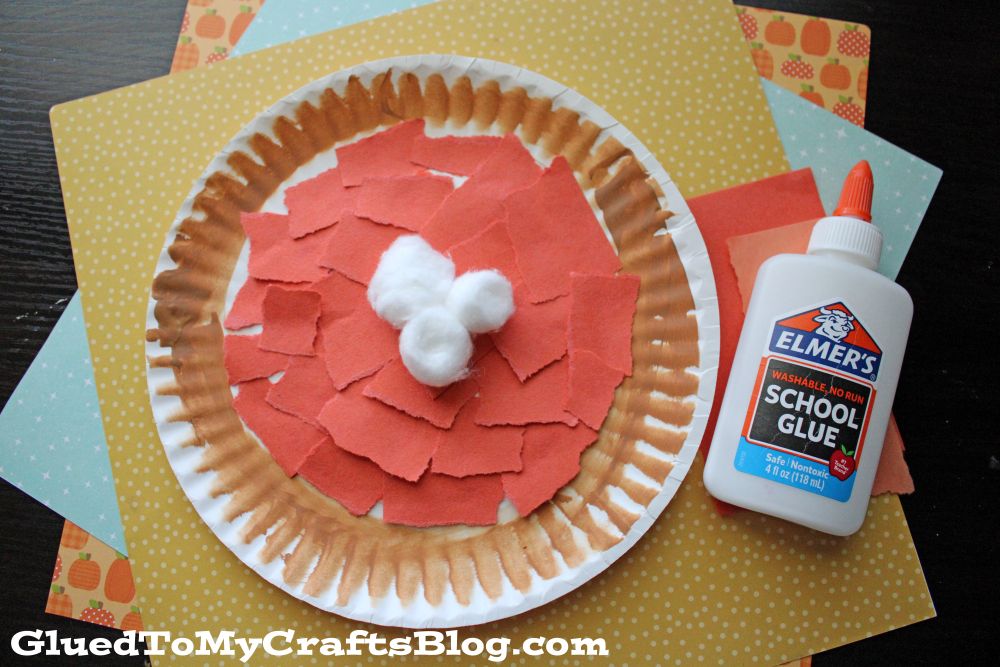
- First things first – have children paint the outer rim of their paper plate to create the “crust” of the pumpkin pie.
- When they are done, set it aside.
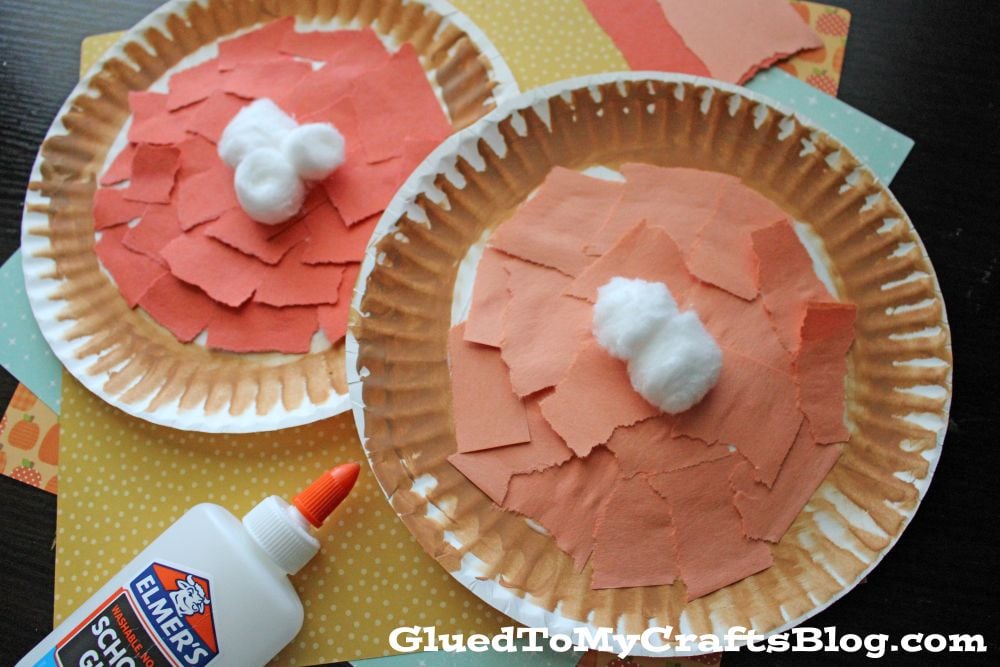
- Next up – grab the orange construction paper and help children tear it into small, rough pieces. This step is particularly fun for young kids, as there’s no right or wrong way to do it. The uneven edges add texture, giving the pie filling a realistic look.
- Now it’s time to put your pumpkin pie together! Have the kids glue the torn orange paper onto the “filling” section of their painted paper plate from earlier.
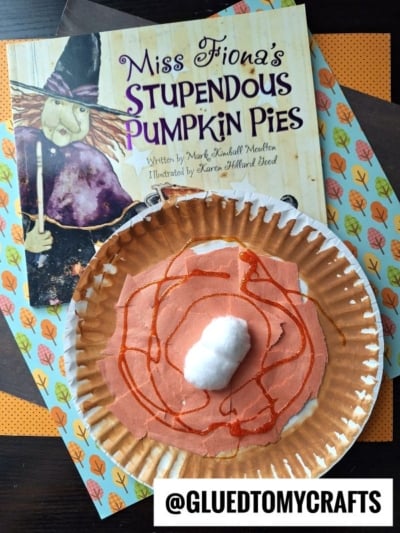
- Finally, no pumpkin pie is complete without a dollop of whipped cream! Take one or two cotton balls and glue them to the center the finished paper plate pie.
- Then allow it to dry completely before you display it proudly for ALL to see!
RELATED —> Handprint Sweeter Than Pie Keepsake
Today’s Paper Plate & Torn Paper Pie craft is a charming and creative way to celebrate fall with kids. Easy to set up and even easier to enjoy, this project allows children to explore art while engaging with the themes of the season.
Whether you’re hosting a playdate, organizing an art lesson, or simply looking for ways to make memories at home, this craft is sure to bring smiles and plenty of pumpkin-themed excitement.
So gather your supplies, set up a crafting station and have fun creating lovely “slices” of fall with your little ones. Happy crafting!

Torn Paper Pumpkin Pie for Little Hands
Discover a simple and creative fall craft for kids! Learn how to make a Paper Plate & Torn Paper Pumpkin Pie with easy-to-follow steps. Perfect for classrooms, playdates, or family fun this autumn.
Here’s your checklist of supplies to bring this craft to life:
- 1 Large Paper Plate
- Craft Paint light brown
- Construction Paper orange
- White Cotton Balls
Prepare your creative haven by laying down a protective cover before the crafting magic begins!
Directions:
- First things first - have children paint the outer rim of their paper plate to create the "crust" of the pumpkin pie.
- When they are done, set it aside.
- Next up - grab the orange construction paper and help children tear it into small, rough pieces. This step is particularly fun for young kids, as there’s no right or wrong way to do it. The uneven edges add texture, giving the pie filling a realistic look.
- Now it’s time to put your pumpkin pie together! Have the kids glue the torn orange paper onto the “filling” section of their painted paper plate from earlier.
- Finally, no pumpkin pie is complete without a dollop of whipped cream! Take one or two cotton balls and glue them to the center the finished paper plate pie.
- Then allow it to dry completely before you display it proudly for ALL to see!

If you've enjoyed our content or have any thoughts to share, we'd love to hear from you! Mention @gluedtomycrafts or tag #gluedtomycrafts on Instagram!