All you need is cardstock paper and some decorative leaves.
Are you looking for a fun and easy fall craft for kids? Then look no further than today’s pine cone fairy paper craft idea! This DIY would be a great project to do with your kids or grandkids this autumn season. So get creative and have fun!
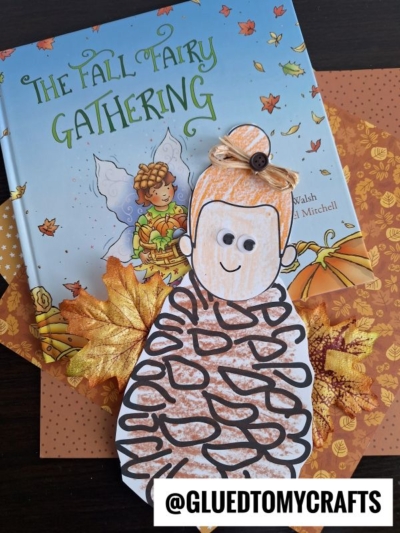
What do you think of when you think of fall? Leaves changing colors, pumpkins, apples, and of course, fairies!
This year, why not add a little magic to your fall decorating with this easy and inexpensive paper pine cone fairy kid craft idea? All you need is our free printable template, some cardstock paper, and some decorative leaves. That’s it!
Simply print out the template, cut out the pieces, and assemble following the instructions below. Then add your own special finishing touches with leaves, things from your backyard or even other small fall decorations. She’s perfect for celebrating the season and bringing a little bit of magic into your home. So what are you waiting for? Get crafting today!
Happy crafting, my dear friends! Be sure to give us a follow on Pinterest, so you never miss a new tutorial from us!


The best part about this craft is that she’s super easy to make. All you need is cardstock paper, our free printable, and some decorative leaves to bring her to life. Plus, she’s relatively inexpensive to make. So get your kids crafting today and bring this paper pinecone fairy into your home this fall season!
Craft Supplies:
- Pinecone Printable – on our landing page
- White Cardstock Paper
- Crayons, Markers or Coloring Pencils
- Small Wiggle Eyes
- Scissors
- Glue Stick or Stapler
- Decorative Leaves
Directions:
- First things first, grab the free “pine cone” file {listed above in the supply list} and print it out on either white cardstock paper.
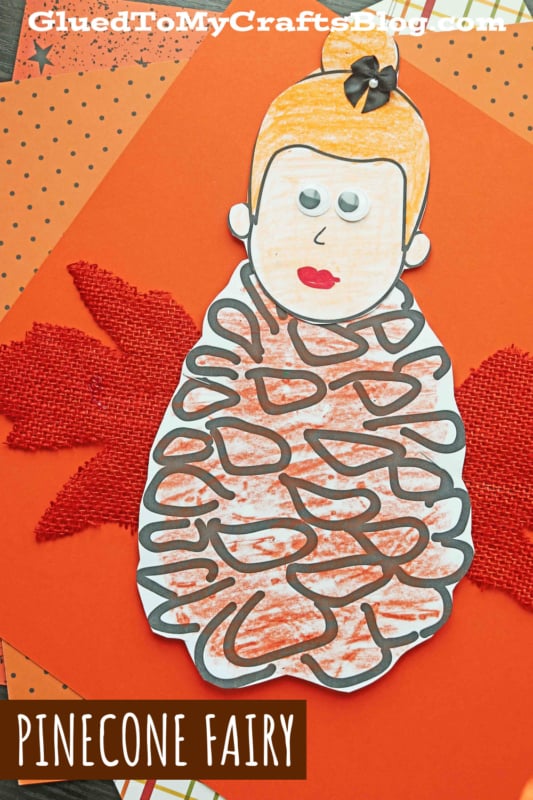
- Use your choice of coloring material to decorate the pinecone shape AND the head for the fairy.
- At this point in time, go ahead and also glue on the googly eyes so she can see.
- When done decorating, trim out both pieces from the paper.
- Discard excess paper when done cutting.
- Next grab your choice of adhesive AND the decorative leaves.
- Start off by gluing down the head shape to the pinecone.
- Follow that up by securing the decorative leaves for the “wings” of the fairy to the back {my suggestion is to staple them on!}
- To finish off your Paper Pine Cone Fairy, add any other embellishments you see fit, to give it a creative spin.
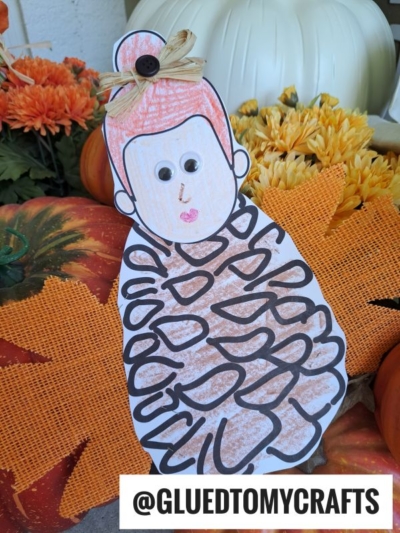
- Then display your fairy pinecone paper piece proudly for ALL to see!!
- Don’t forget to snap a few pictures of your finished pine cone fairies on your phone and tag us on your social media sites! #gluedtomycrafts
RELATED —> Pinecone Santa Gnome
If you LOVE this paper fall fairy craft idea, you may also enjoy our Pinecone Owls, Paper Plate Acorn & Fork Painted Squirrel Tail craft posts as well!

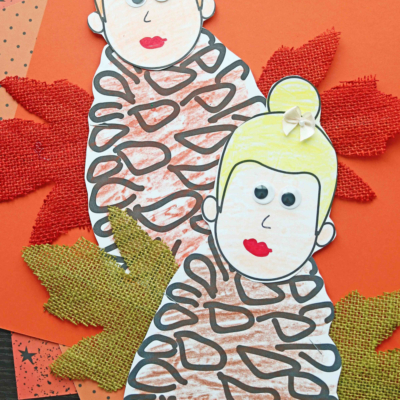
Paper Pine Cone Fairy Craft Idea For Fall
All you need is cardstock paper and some decorative leaves.
Here’s your checklist of supplies to bring this craft to life:
- Cardstock Paper white and light brown
- Pinecone Printable – Landing Page
- 2 Small Wiggle Eyes
- 2 Decorative Plastic Leaves
Prepare your creative haven by laying down a protective cover before the crafting magic begins!
Directions:
- First things first, print out BOTH of our provided printables. The head shape will be on white, while the pinecone design on light brown cardstock paper.
- Decorate both pieces however you like.
- When done decorating, trim out both pieces from the paper.
- Discard excess paper when done cutting.
- Next grab your choice of adhesive AND the decorative leaves.
- Start off by gluing down the head shape to the pinecone.
- Follow that up by securing the decorative leaves for the "wings" of the fairy to the back {my suggestion is to staple them on!}
- To finish off your Paper Pine Cone Fairy, add any other embellishments you see fit, to give it a creative spin.
- Then display your fairy pinecone paper piece proudly for ALL to see!!


NEED MORE HELP DOWNLOADING OUR FREE PRINTABLES? PLEASE REFER TO OUR FAQ PAGE
If you've enjoyed our content or have any thoughts to share, we'd love to hear from you! Mention @gluedtomycrafts or tag #gluedtomycrafts on Instagram!