Using a fork and brown craft paint, you too can make this squirrel craft idea come together within minutes this fall season!

This easy craft project is perfect for kids of all ages! Use a fork to turn paint into a cute squirrel tail in just minutes.

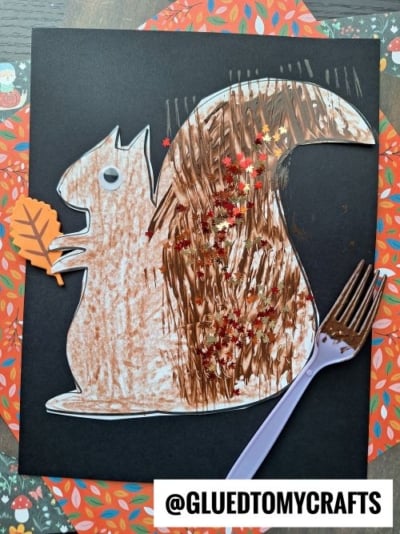
An inexpensive plastic fork and brown craft paint merge together on white cardstock paper, for this Fork Painted Squirrel Tail kid craft idea.
It’s a first seen here idea for Glued To My Crafts and we sure hope you are inspired to recreate it this fall season! We even added a sprinkle of loose craft glitter to his tail, to really make our bushy tailed squirrel friend stand out from the crowd {I hope you decide to do the same!}
Ready to bring him to life?! Keep scrolling for ALL the details, as well as the FREE squirrel printable{s} so you can recreate it with your young crafter this afternoon! Happy crafting, my dear friends!

This fork painted squirrel tail craft is the perfect kids craft idea for fall! It’s simple, easy, and tons of fun too!
Craft Supplies:
PASSWORD FOR FREE FILES – GLUEDTOMYCRAFTS2026
- Plastic Fork
- Brown Craft Paint
- Small Paper Plate
- White Cardstock Paper
- SQUIRREL Printable – in color or black & white
- Brown Crayon or Marker
- Small Wiggle Eye
- School Glue
- Loose Craft Glitter
Directions:
- First things first – print the squirrel printable {either in black & white or color} listed above in the supply list. You only need ONE print per squirrel craft.
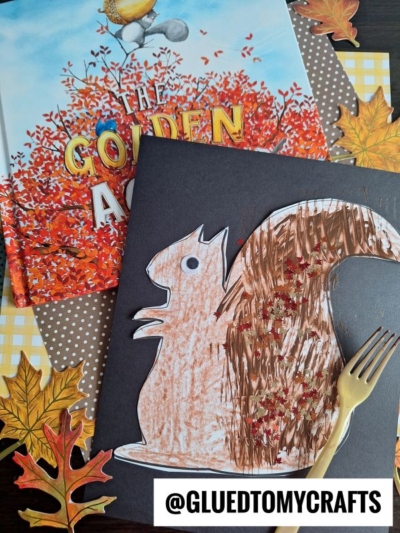
- Now that you have it printed, if you choose to print the black & white printable, use a brown crayon {or marker} to color in the squirrel design.
- When done coloring, go ahead and glue on the wiggle eye so he can see.
- Next up – squirt some brown craft paint on your paper plate.
- Now take your fork, which is your “paint brush, to make “fur” all over the tail design on your printable. You basically want his tail to be BIG and BUSHY with the paint.
- Finally – the last step of this fork painted squirrel craft is to shake some loose craft glitter on top of the wet paint for some dimension and extra sparkle. Go ahead and shake off the excess when done.
- When done decorating the paper, set it aside to let it dry completely before displaying proudly!
Customize It:
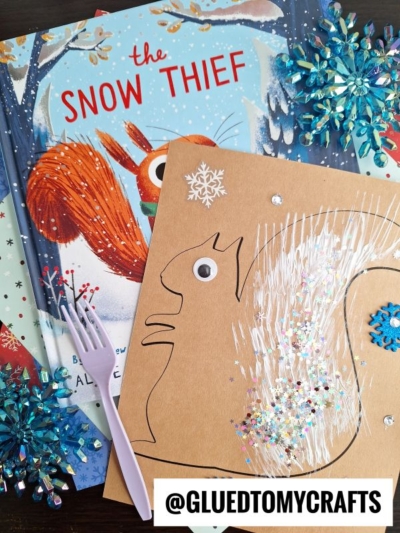
- To change up this craft, you can skip the white cardstock paper and opt for a BROWN instead.
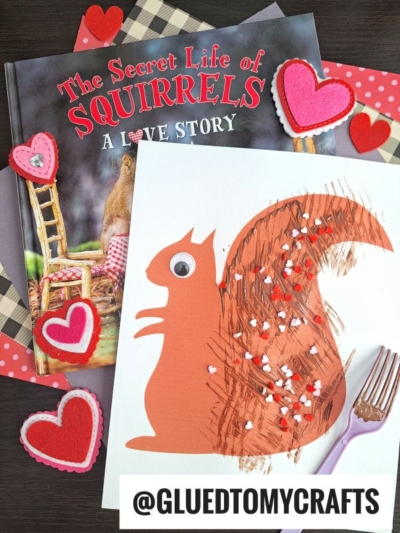
- You can also change up the craft paint {who says you HAVE to use brown?!} to make your squirrel friend REALLY stand out from the crowd.
- BTW – did you know there is a BLACK squirrel? We didn’t know until we recently saw one in the park here in Nebraska. It was pretty cool to witness!
RELATED —> Fork Painted Bear
If you LOVE this fork painted squirrel craft idea, you may also enjoy our Cupcake Liner Squirrel and Popsicle Stick Squirrel Head craft posts as well!

Fork Painted Squirrel Tail Craft
Using a fork and brown craft paint, you too can make this squirrel craft idea come together within minutes this fall season!
Here’s your checklist of supplies to bring this craft to life:
- School Glue
Prepare your creative haven by laying down a protective cover before the crafting magic begins!
Directions:
- First print out our provided printable, in color, on a single sheet of white cardstock paper. You only need one print per craft.Cardstock Paper
- Now that you have it printed, if you choose to print the black & white printable, use a brown crayon {or marker} to color in the squirrel design.
- When done coloring, go ahead and glue on the wiggle eye so he can see.
- Next up - squirt some brown craft paint on your paper plate.Craft Paint
- Now take your fork, which is your "paint brush, to make "fur" all over the tail design on your printable. You basically want his tail to be BIG and BUSHY with the paint.
- Finally - the last step of this fork painted squirrel craft is to shake some loose craft glitter on top of the wet paint for some dimension and extra sparkle. Go ahead and shake off the excess when done.Loose Craft Glitter
- Make sure you also glue on the googly eye so he can see!1 Wiggle Eye
- When done decorating the paper, set it aside to let it dry completely before displaying proudly!


NEED MORE HELP DOWNLOADING OUR FREE PRINTABLES? PLEASE REFER TO OUR FAQ PAGE
If you've enjoyed our content or have any thoughts to share, we'd love to hear from you! Mention @gluedtomycrafts or tag #gluedtomycrafts on Instagram!