Learn how to make this adorable fork painted bear craft with your kids! This is a great craft idea for kids of all ages.

Whether it’s a school project or just an easy at home activity; this craft makes use of everyday items and art supplies that can be found around any house or classroom.
Kids will love creating their own unique bear designs with their favorite colors and even adding special details like buttons or glitter.
So grab some forks, paint, and other craft supplies; let’s get started on our perfect little Fork Painted Bears!

This is not a “new” concept per say in the kid craft world {in fact, my son’s preschool class three years ago inspired today’s post} but it’s such a favorite around here {STILL} that I had to make it come to life for the Glued To My Crafts archives! After all – it’s very similar to my favorite PAINT SPLAT TECHNIQUE and just as fun!
So without further ado – below is MY take on a Fork Painted Teddy Bear On Paper craft idea! It’s something my son and I recently did on summer break and I hope you are inspired to recreate it too!
If this is something you want to make with your little one today, just keep on scrolling for our tutorial. I absolutely loved the textured outcome on paper and my son loved that is my minimal steps & he didn’t need much direction from me {win win!} Happy crafting, my friends!

Gather up some craft paper, paint and a plastic fork – then let the magic happen as your little ones create something special together.
Craft Supplies:
Before embarking on recreating this brown bear craft, be sure to gather these essential supplies:
- Plastic Fork
- Brown Craft Paint
- White Cardstock Paper
- Brown Cardstock Paper
- Paper Scissors
- School Glue
- Large Wiggle Eyes
- Black Marker
Directions:
Make sure to cover your work area with a tablecloth or newspapers to protect it from getting messy.
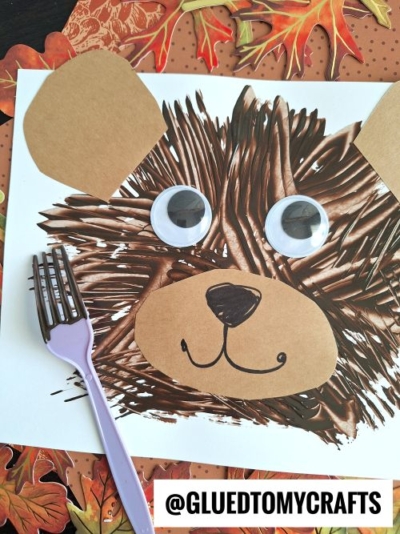
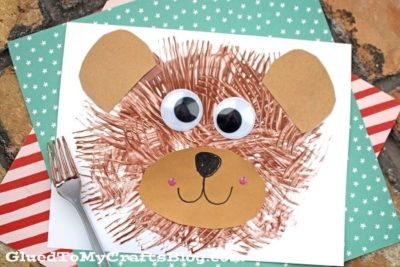
- First squirt some brown paint in the center of your white cardstock. You don’t need a lot. Maybe the size of a quarter.
- Have children take their fork – which is their “paint brush” and spread the paint ALL around to make the fur of their bear. Just make sure they keep the paint on the paper but they can move it anywhere and in any design/shape/angle they like.
- Once they are done creating the “fur” set it aside.
- Grab the remaining cardstock and scissors.
- Cut out ears and nose for the bear.
- Finally – the last step of this fork painted bear craft. Glue your cardstock pieces and wiggle eyes to the painted piece of paper. Use the marker to draw on embellishments.
- Set aside to let it dry completely before displaying proudly!
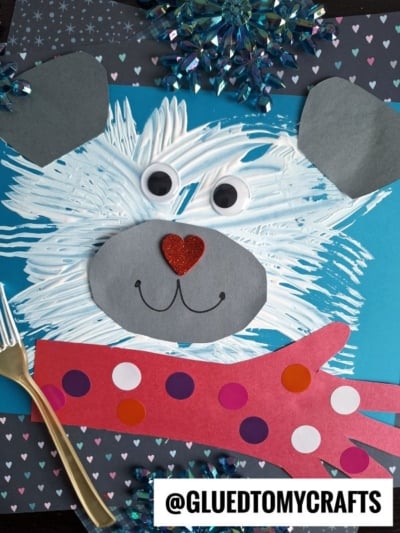
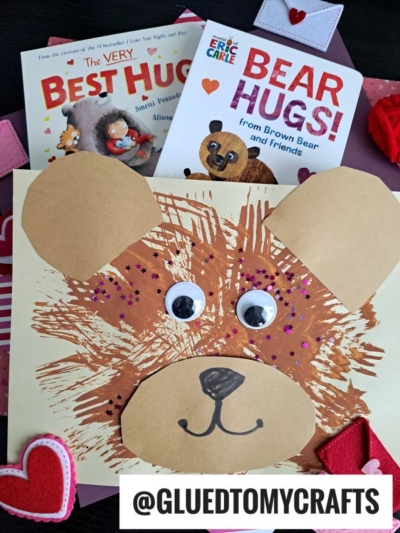
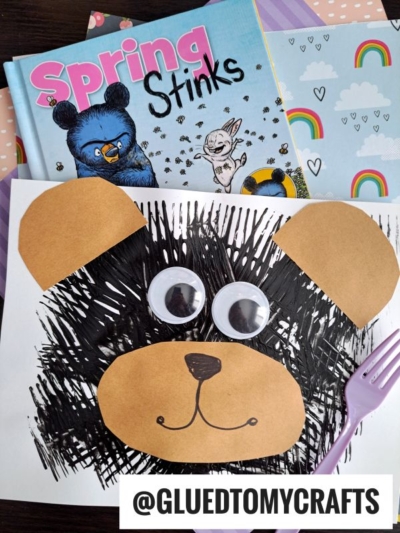
- You can also change up the colors of this craft to make a POLAR BEAR instead!
RELATED —> Washi Tape Bear In Sweater


We also have a paint splat version of this brown teddy bear craft. Check it out at Paint Splat Teddy Bear! You use the same materials as today’s tutorial but there is a step twist for this one!

Fork Painted Bear Craft Idea For Kids
Learn how to make this adorable fork painted bear craft with your kids! This is a great craft idea for kids of all ages.
Here’s your checklist of supplies to bring this craft to life:
- School Glue
Prepare your creative haven by laying down a protective cover before the crafting magic begins!
Directions:
- First squirt some brown paint in the center of your white cardstock. You don't need a lot. Maybe the size of a quarter.Cardstock Paper, Craft Paint
- Have children take their fork - which is their "paint brush" and spread the paint ALL around to make the fur of their bear. Just make sure they keep the paint on the paper but they can move it anywhere and in any design/shape/angle they like.
- Once they are done creating the "fur" - set it aside.
- Grab the remaining cardstock and scissors.
- Cut out ears and nose for the bear.
- Finally - the last step of this fork painted bear craft. Glue your cardstock pieces and wiggle eyes to the painted piece of paper.2 Large Wiggle Eyes
- Set aside to let it dry completely before displaying proudly!

CLICK HERE TO PRINT THE DIRECTIONS FOR THIS CRAFT
If you've enjoyed our content or have any thoughts to share, we'd love to hear from you! Mention @gluedtomycrafts or tag #gluedtomycrafts on Instagram!