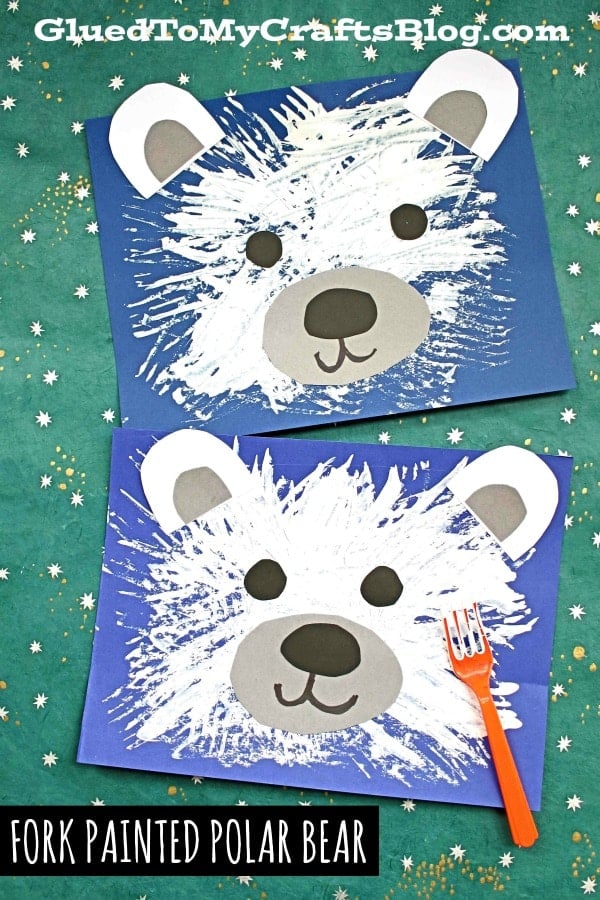
A simple plastic fork and white craft paint merges together on paper, for this polar bear craft idea from us!

A simple plastic fork and white craft paint merges together on paper, for this Fork Painted Polar Bear On Paper kids craft idea from Glued To My Crafts!
Keep scrolling for ALL the details so you can recreate it with your young crafter this winter season!
Fork Painted Polar Bear
A simple plastic fork & white craft paint merges together on paper, for this Fork Painted Polar Bear kid craft idea from Glued To My Crafts!
Craft Supplies:
- Plastic Fork
- White Craft Paint
- Dark Blue Cardstock Paper
- Gray Cardstock Paper
- White Cardstock Paper
- Black Cardstock Paper
- Scissors
- School Glue
- Large Wiggle Eyes
RELATED —> Cupcake Liner Polar Bear Cards


Directions:
- First squirt some white paint in the center of your dark shade of colored cardstock. You don’t need a lot. The size of a quarter is a good starting point.
- Have children take their fork – which is their “paint brush” and spread the paint ALL around to make the fur of their polar bear. Just make sure they keep the paint on the paper but they can move it anywhere and in any design/shape/angle they like.
- Once they are done creating the “fur” – set it aside.
- Grab the remaining cardstock paper and scissors.
- Cut out ears, eyes and a nose for the polar bear.
- Finally – the last step of this fork painted polar bear craft. Glue all your cardstock pieces to the painted piece of paper.
- Set aside to let it dry completely before displaying proudly!
RELATED —> Potato Stamped Polar Bear Card

Use brown puffy paint instead for a BROWN bear face on paper! Perfect to also pair along with the iconic “Brown Bear, Brown Bear, What Do You See?” children’s book.

Similar to today’s polar bear craft, if you add some paper cardstock in, you can make a PANDA BEAR face within minutes!

If you LOVE this fork painted polar bear craft idea, you may also enjoy our popsicle stick and/or paper plate versions, as well!
BE SURE TO FOLLOW US ON PINTEREST SO YOU NEVER MISS A NEW TUTORIAL FROM US!

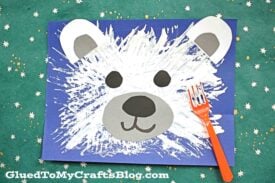
Fork Painted Polar Bear Craft
A simple plastic fork and white craft paint merges together on paper, for this polar bear craft idea from us!
Here’s your checklist of supplies to bring this craft to life:
- School Glue
Prepare your creative haven by laying down a protective cover before the crafting magic begins!
Directions:
- First squirt some white paint in the center of your dark shade of colored cardstock. You don't need a lot. The size of a quarter is a good starting point.Cardstock Paper, Craft Paint
- Have children take their fork - which is their "paint brush" and spread the paint ALL around to make the fur of their polar bear. Just make sure they keep the paint on the paper but they can move it anywhere and in any design/shape/angle they like.
- Once they are done creating the "fur" - set it aside.
- Grab the remaining cardstock paper and scissors.
- Cut out ears, eyes and a nose for the polar bear.
- Finally - the last step of this fork painted polar bear craft. Glue all your cardstock pieces to the painted piece of paper.
- Set aside to let it dry completely before displaying proudly!

CLICK HERE TO PRINT THE DIRECTIONS FOR THIS CRAFT
If you've enjoyed our content or have any thoughts to share, we'd love to hear from you! Mention @gluedtomycrafts or tag #gluedtomycrafts on Instagram!