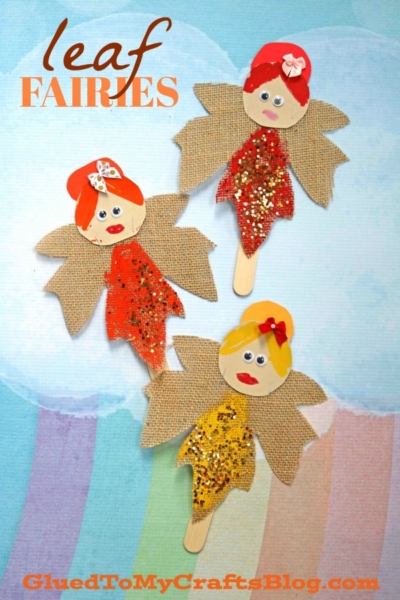
As autumn comes in blazing with it's vibrant show of colors and brilliant foliage - make some beautiful fairy puppets with your child today!
Get the kids into the fall spirit with this easy and fun craft idea! Follow our step-by-step instructions to bring life to leaf fairy puppets that will keep your little ones entertained for hours.
Autumn is a magical time when nature transforms into a vibrant tapestry of colors. For kids, it’s the perfect season for creative crafts that capture the enchantment of falling leaves and crisp air.
One delightful project that combines the beauty of autumn with imaginative play is our “Autumn Leaf Fairy Puppet” craft idea.
In this blog post, we’ll guide you through every step to create these whimsical puppets, perfect for young hands and curious minds.
Discover a delightful autumn leaf fairy puppet craft idea for kids! Perfect for the fall season, this fun and easy DIY activity will inspire creativity and bring the magic of autumn to life. Get step-by-step instructions now.
Craft Supplies:
Before you start, gather all the materials you’ll need. This includes:
- Cardstock Paper
- Craft Scissors
- Craft Paint or Paint Crayon Sticks
- Large Paper Plate
- Thin Tip Markers
- Adhesive Wiggle Eyes
- Hand-Held Office Stapler
- Large Burlap Leaves
- Jumbo Popsicle Sticks
- Hot Glue Gun
- Loose Craft Glitter
- optional materials – small bows, stickers
Directions:
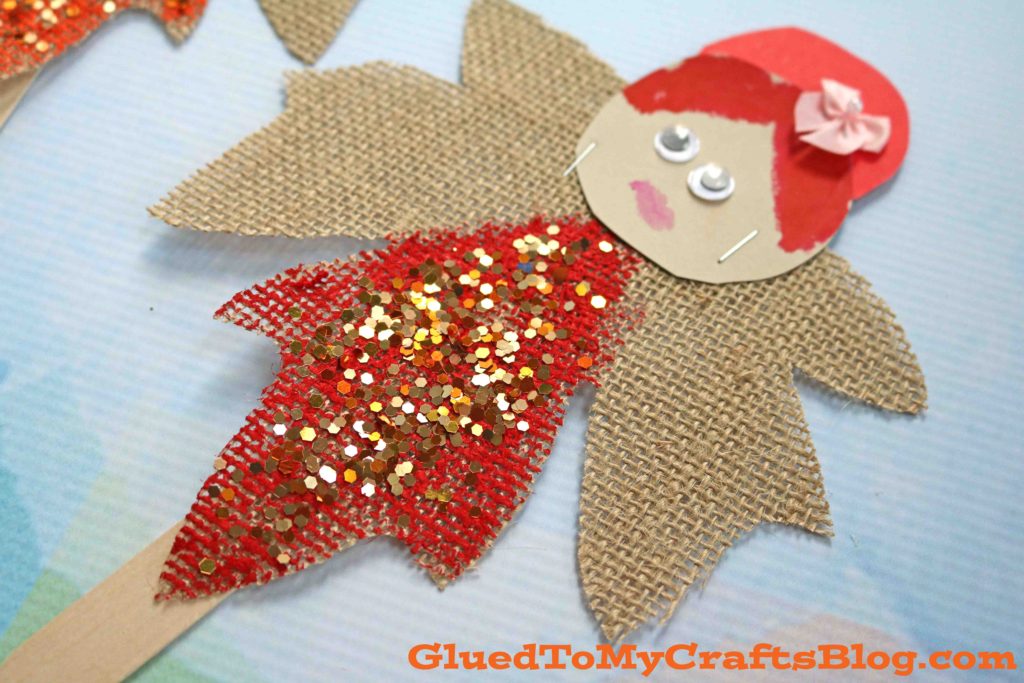
- First things first – take some cardstock paper and cut out a circular head and another smaller circle for the “bun” of the fairy. Adhere those together.
- Use markers or paint to draw on a face on the cardstock piece.
- Add the wiggle eyes for the fairy to see. Set aside.
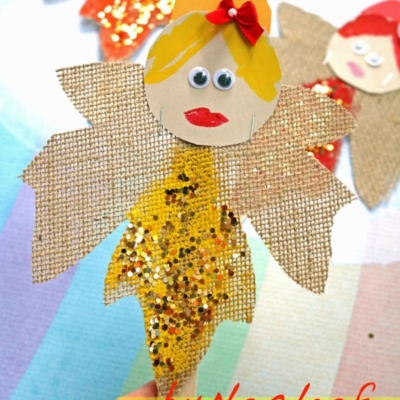
- Grab the burlap leaf and craft paint. Paint or color in the “dress” of the fairy in the center of the leaf {use our picture for example of where} This step is great to do on top of a large paper plate, so the paint doesn’t get all over and on your working area. Once done, set it aside to let it dry.
- Add glitter on top of the wet paint if desired.
- Now get the glue gun hot and ready.
- Staple your cardstock head to the leaf cutout.
- Now hot glue the leaf piece to a single popsicle stick.
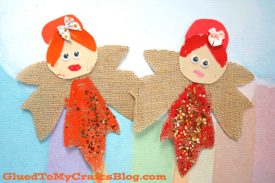
- Add other embellishments you see fit and will complete your craft.
- Once done, set it all aside to let it dry completely before playing with your autumn leaf fairies proudly!
By following these steps, you and your children can craft magical fairies that inspire storytelling and play. Remember, the most important part of this craft is to have fun and enjoy the process together.
RELATED —> Pumpkin Fairy House

AFFILIATE LINK – PAIR OUR CRAFT IDEA WITH THE BOOK “THE FALL FAIRY GATHERING”
You’ll find the BEST DIY tutorials on Glued To My Crafts! Please be sure to stay around and check out our popular Paper Plate Fox, Stained Glass Pumpkins and Leaf Fox Cards posts!
We also love hearing from readers! Come join our Facebook share group community and join the crafty chit chat with us!

Autumn Leaf Fairy Puppet Craft for Kids
As autumn comes in blazing with it's vibrant show of colors and brilliant foliage - make some beautiful fairy puppets with your child today!
Here’s your checklist of supplies to bring this craft to life:
Prepare your creative haven by laying down a protective cover before the crafting magic begins!
Directions:
- First things first - take some cardstock and cut out a circular head and another smaller circle for the "bun" of the fairy. Adhere those together.Cardstock Paper
- Use markers or paint to draw on a face on the cardstock piece.
- Add the wiggle eyes for the fairy to see. Set aside.2 Wiggle Eyes
- Grab the burlap leaf and craft paint. Paint or color in the "dress" of the fairy in the center of the leaf {use our picture for example of where} This step is great to do on top of a large paper plate, so the paint doesn't get all over and on your working area. Once done, set it aside to let it dry.1 Large Burlap Leaves
- Add glitter on top of the wet paint if desired.Loose Craft Glitter
- Now get the glue gun hot and ready.
- Staple your cardstock head to the leaf cutout.
- Now hot glue the leaf piece to a single jumbo popsicle stick.1 Jumbo Popsicle Stick
- Add other embellishments you see fit and will complete your craft.
- Once done, set it all aside to let it dry completely before playing with your autumn leaf fairies proudly!

Grab our favorite books via our Amazon affiliate link! In our Amazon storefront you will find books, toys and craft supplies we absolutely love using for our Glued To My Crafts tutorials!
If you've enjoyed our content or have any thoughts to share, we'd love to hear from you! Mention @gluedtomycrafts or tag #gluedtomycrafts on Instagram!