
Get crafty this Fall! Kids (and grown-ups!) will love making these stained glass pumpkins – a beautiful way to welcome the season!

Pumpkin Suncatchers For The Window
Hey friends! Welcome to another pumpkin-themed kids craft tutorial on Glued To My Crafts.
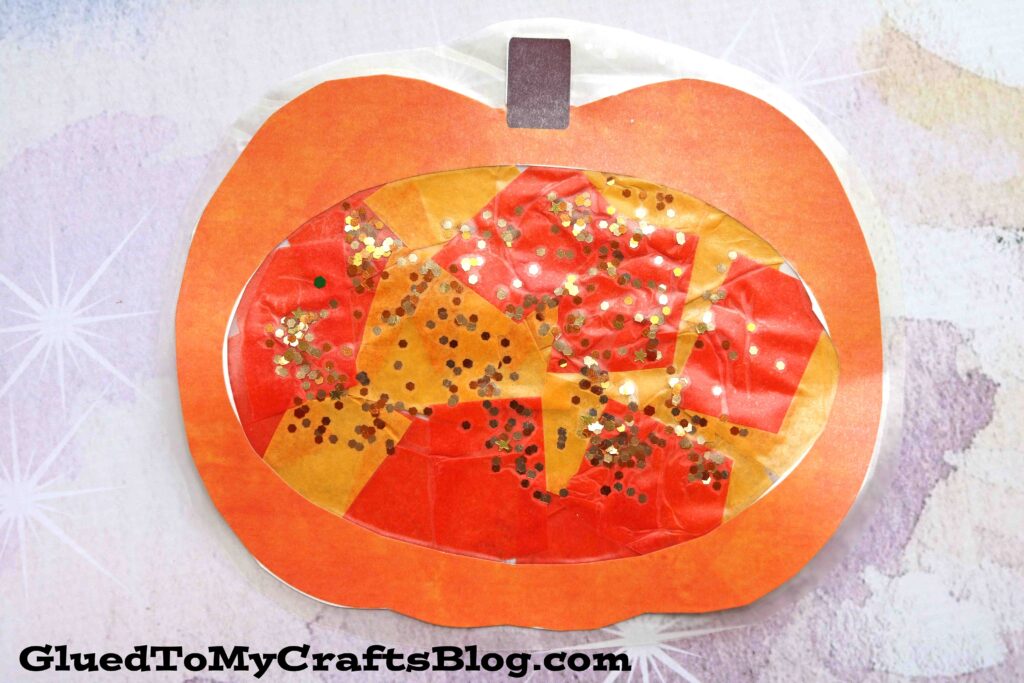
Today, I want to share with you how we recently made these adorable Stained Glass Jack-O-Lanterns Pumpkins for the fall season! It’s a super easy and mess-free DIY that’s perfect for younger kids. Plus, you probably already have all the supplies you need at home!
No pumpkin guts here! This craft is all about creating beautiful stained glass-like pumpkins using clear contact paper, tissue paper, and regular paper. You can even customize the shapes and colors to make it a year-round activity. Imagine making stained glass hearts, ornaments, or snowmen!
The best part is that it’s quick to make and the results last longer than traditional pumpkin carving. With the FREE pumpkin shape printable I’m providing below, you can get started in just a matter of minutes.
So, without further ado, check out all the details, the free printable, and some example pictures below! Happy crafting!
Happy crafting, my dear friends! Please don’t forget to share pictures with us of your finished stained glass pumpkins on our Facebook page! We can’t wait to see your mosaic pumpkin designs in action! #gluedtomycrafts
RELATED —> Thumbprint Fall Tree Cards

Get creative with your kids this Halloween and make your own stained glass pumpkins! It’s an easy, fun, and mess-free craft that will get everyone in the fall spirit!
Craft Supplies:
To get started on your stained glass pumpkin project, you’ll need the following materials:
- Pumpkin Printable – on our landing page
- White Cardstock Paper
- Clear Contact Paper
- Scissors
- Craft Glitter
- Tissue Paper
- Black Marker
Directions:
From selecting colors to assembling the pieces, each step offers a chance to bond and create lasting memories.
- First download and print the FREE pumpkin shape printable listed above.
- Using your scissors trim out the pumpkin design, as well as the center of it.
- Now grab your contact paper and cut two pieces the same length.
- Take off the protective paper off one and lay it on a flat surface.
- Lay your pumpkin cutout on the contact paper, face down.
- Go ahead and at this time, sprinkle a small amount of loose craft glitter in the inside the pumpkin shape.
- Now grab your yellow & orange tissue paper and cut it into small squares.
- Have your child place it on the contact paper, inside the pumpkin design, to make a beautiful mosaic piece.
- Once done, grab the other piece of contact paper and remove it’s protective sheet.
- Then lay it on top of the other piece and press firmly, making sure every corner is stuck together.
- To finish off the Stained Glass Jack-O-Lantern Kid Craft, use your scissors to trim out the pumpkin.
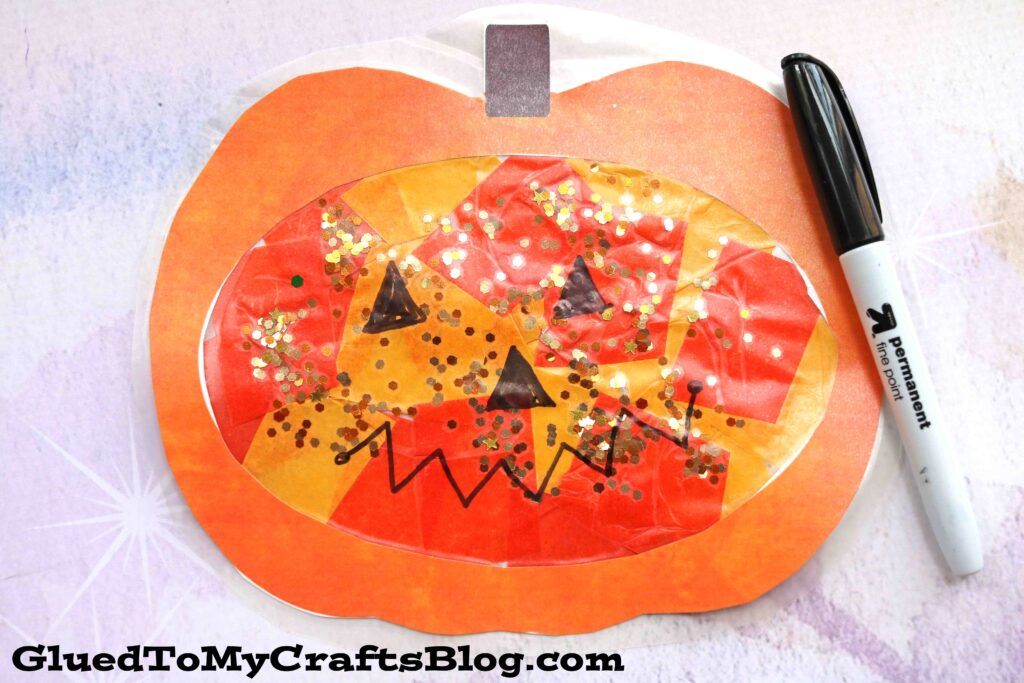
- Use the black Sharpie marker to draw on jack-o-lantern features on the finished piece.
- Then display proudly on a window or on a fridge!
Pair It With A Book:
Here are some recommended books that beautifully complement our craft idea. You can conveniently purchase them through our affiliate links on Amazon.
- Little Pumpkin: A First Halloween Story by Lisa Edwards
- Pick A Pumpkin by Patricia Toht
- It’s the Great Pumpkin, Charlie Brown by Charles M. Schulz
- Five Little Pumpkins by Tiger Tales
- The Berenstain Bears and the Prize Pumpkin by Stan Berenstain
- It’s Pumpkin Day, Mouse! by Laura Numeroff
- The Happy Pumpkin by DK
- The Biggest Pumpkin Ever by Steven Kroll
- Halloween in the Orchard by Phyllis Alsdurf
- The Very Hungry Caterpillar’s Creepy-Crawly Halloween by Eric Carle
- The Roll-Away Pumpkin by Junia Wonder
- Pumpkin Jack by Will Hubbell
- Pete the Cat: Five Little Pumpkins by James Dean
RELATED —> Paper Plate Cauldron

We will definitely be doing this for future holidays, over and over again – so stayed tuned by following us on Pinterest, so you can never miss a new tutorial from us!
And before you go, please also check out our Stained Glass Turkeys or Stained Glass Tree tutorials for two more activities to do with your child in the coming months! Gobble gobble!

Stained Glass Pumpkin Craft for Kids
Here’s your checklist of supplies to bring this craft to life:
Prepare your creative haven by laying down a protective cover before the crafting magic begins!
Directions:
- First print out our provided printable, in color, on a single sheet of white cardstock paper. You only need one print per craft.
- Using your scissors trim out the pumpkin design, as well as the center of it.
- Now grab your contact paper and cut two pieces the same length.
- Take off the protective paper off one and lay it on a flat surface.
- Lay your pumpkin cutout on the contact paper, face down.
- Go ahead and at this time, sprinkle a small amount of loose craft glitter in the inside the pumpkin shape.
- Now grab your yellow & orange tissue paper and cut it into small squares.
- Have your child place it on the contact paper, inside the pumpkin design, to make a beautiful mosaic piece.
- Once done, grab the other piece of contact paper and remove it’s protective sheet.
- Then lay it on top of the other piece and press firmly, making sure every corner is stuck together.
- To finish off the Stained Glass Jack-O-Lantern Kid Craft, use your scissors to trim out the pumpkin.
- Use the black Sharpie marker to draw on jack-o-lantern features on the finished piece.
- Then display proudly on a window or on a fridge!

NEED MORE HELP DOWNLOADING OUR FREE PRINTABLES? PLEASE REFER TO OUR FAQ PAGE