It's time to get crafty! Let the kiddos make their own mini-oyster replicas with this fun and easy paper plate craft idea. With just a few supplies, your little ones will have an afternoon full of creative fun.
Get your kids busy creating their own unique paper plate oyster craft! From start to finish, this fun and simple project will open up a whole new world of possibilities— perfect for any budding artisan.

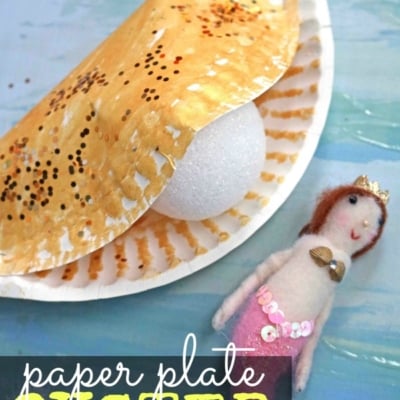
Dive into a world of creativity with this Paper Plate Oyster craft tutorial! Perfect for summer fun or an under-the-sea themed activity, this simple yet charming project transforms everyday materials into a delightful oyster complete with its very own pearl.
With just a paper plate, some paint, and a Styrofoam ball, kids can craft their own mini ocean treasures.
Whether you’re looking for a rainy-day activity or a way to spark your child’s imagination, this craft is sure to bring smiles and a touch of seaside magic to your day.
Let’s get started and make some pearly masterpieces!
This fun and easy craft tutorial is perfect for kids of all ages! Transform paper plates into beautiful oysters with just a few simple supplies.
Craft Supplies:
- Large Paper Plate – 1 per craft
- Gold Craft Paint
- Foam Paint Brush
- Large Styrofoam Ball
- School Glue
- Hand-Held Office Stapler
- Embellishments
Directions:
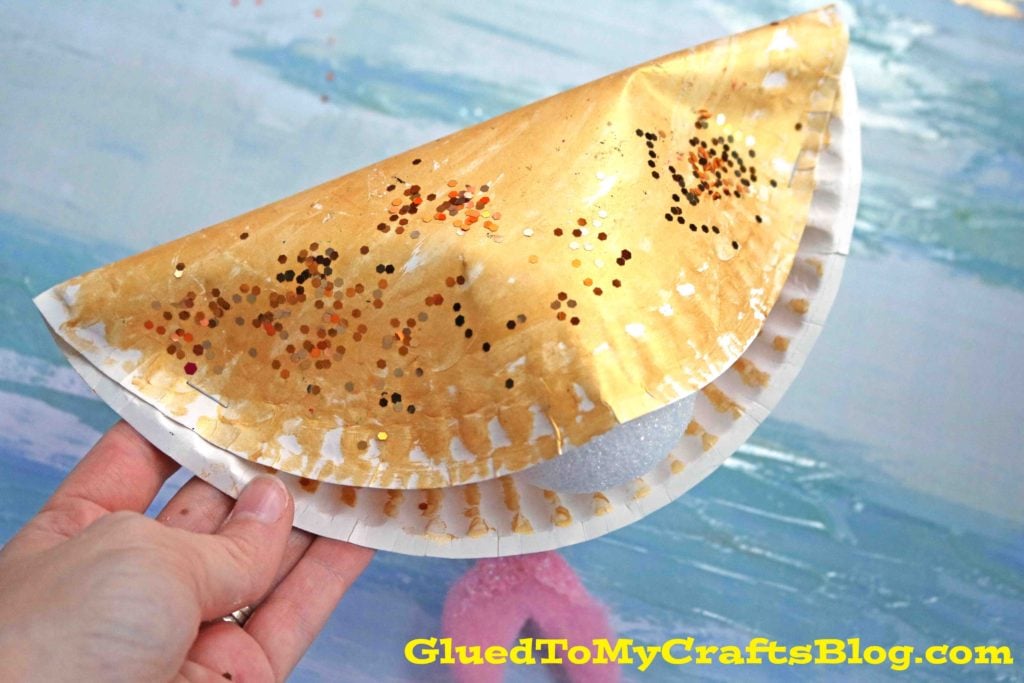
- First things first – paint your paper plate completely gold {both sides!}
- If desired, throw some glitter on top of the wet paint.
- Once done decorating the paper plate, set aside to let it dry a bit.
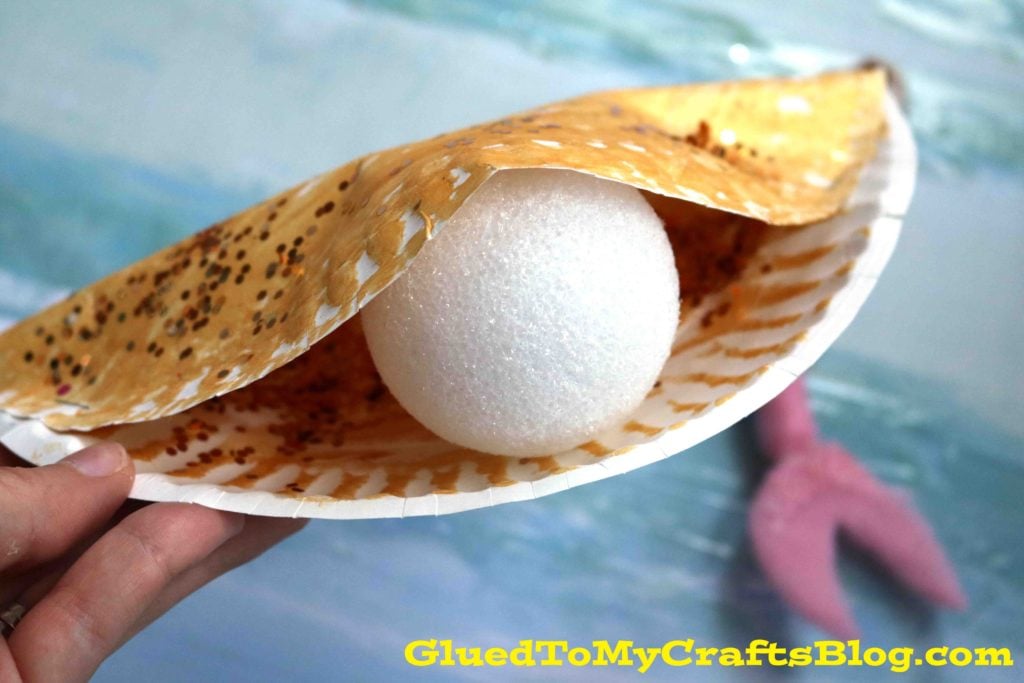
- Now you are ready to assemble the oyster. Fold your paper plate in half.
- Place the Styrofoam ball in between the folded paper plate.
- Place some glue around it, so it stays in place.
- Staple the two sides of the paper plate half, so the pearl stays inside.
- Display proudly!
RELATED —> Mermaid In Clam
Do you love this clever and super simple beach themed craft idea from us?! Well then you should check out our Popsicle Stick Mermaid Tails and Cardboard Tube Mermaid craft posts.
Both of which are great to do this summer break and don’t require a lot of supplies and/or skills! We make it really easy at Glued To My Crafts! That’s our promise so be sure to keep checking back for more awesome kids craft tutorials from us!

Paper Plate Oyster Craft Idea For Kids
It's time to get crafty! Let the kiddos make their own mini-oyster replicas with this fun and easy paper plate craft idea. With just a few supplies, your little ones will have an afternoon full of creative fun.
Here’s your checklist of supplies to bring this craft to life:
- 1 Large Paper Plate
- Craft Paint
- 1 Large Styrofoam Ball
- School Glue
Prepare your creative haven by laying down a protective cover before the crafting magic begins!
Directions:
- First things first - paint your paper plate completely gold {both sides!} If desired, throw some glitter on top of the wet paint.
- Once done decorating the paper plate, set aside to let it dry a bit.
- Now you are ready to assemble the oyster. Fold your paper plate in half.
- Place the styrofoam ball in between the folded paper plate. Place some glue around it, so it stays in place.
- Staple the two sides of the paper plate half, so the pearl stays inside.
- Display proudly!


CLICK HERE TO PRINT THE DIRECTIONS FOR THIS CRAFT
If you've enjoyed our content or have any thoughts to share, we'd love to hear from you! Mention @gluedtomycrafts or tag #gluedtomycrafts on Instagram!