
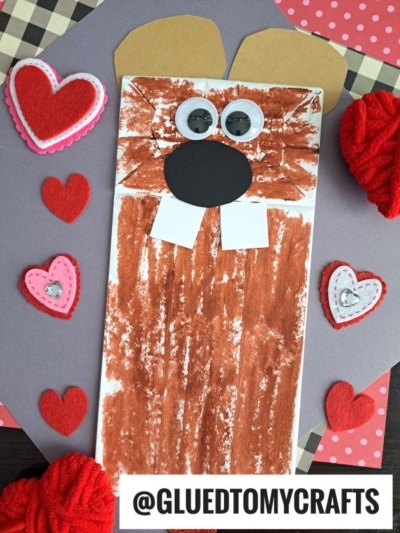
Celebrate Groundhog’s Day in a non-traditional crafty way with us! Check out our super easy to recreate, Paper Bag Groundhog Puppet tutorial today!

Groundhog Puppet Made From A Paper Bag
Hi friends! It just dawned on me how fast this month is going. I just looked at my calendar and Groundhog’s Day is literally a week away!
If you don’t know much about this particular holiday – it’s celebrated every year on February 2nd. Legend has it that if the groundhog doesn’t see his shadow on this particular day, that means spring is just around the corner. Although it’s not always true or exact – it’s still fun to celebrate the tradition!
If you are looking for a clever way to in-cooperate this non-traditional holiday into your crafty plans, today I have a kid friendly craft for you! This Paper Bag Groundhog Kid Craft is really easy and can even become a puppet for future play.
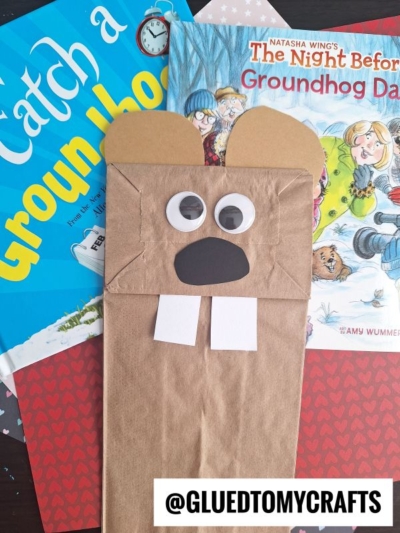
With just a few simple steps and supplies – you too can pull together this adorable creature in no time. You could even check out your local library for Groundhog Day themed books to really tie the theme together!
So what are you waiting for? A shadow? A sunny day? Just find the step-by-step tutorial below, grab those supplies and get to work on making a groundhog puppet from a brown lunch sack!! Happy crafting, my friends!
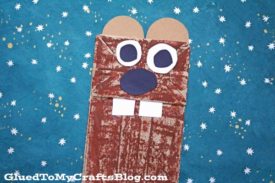
RELATED —> Popsicle Stick Groundhog

Your kids will love learning about Punxsutawney Phil and making their very own groundhog puppet.
Craft Supplies:
- Large Paper Bag – 1 per craft
- Brown Craft Paint
- Large Foam Paint Brush
- White Cardstock Paper
- Black Cardstock Paper
- Brown Cardstock Paper
- School Glue
- Kid Friendly Scissors
- Hand-Held Office Stapler
Directions:
- First have your child paint their paper bag completely brown on the side that has the flap.
- Once done, set aside to let it dry completely.
- Next grab your scissors and cardstock paper.
- Go ahead and cut out some groundhog embellishments for your puppet {think eyes, ears, nose and of course – large teeth}
- Once you are ready to assemble the paper bag groundhog craft – simply glue on the facial features and staple on the ears.
- Finally – play with it like a puppet or display proudly for all to see!
- Let the crafty fun continue by pairing your puppet groundhog with our Paper Plate Groundhog tutorial!
RELATED —> 28 Days of Crafts For February
Let us work our craft magic on you!
If you are looking for even MORE easy kid craft ideas using paper bags, be sure to check out these fun posts.
- Paper Bag Fox
- Paper Bag Mouse
- Paper Bag Crow
- Paper Bag Lorax Puppet
- Paper Bag Halloween Owl
- Paper Bag Mouse Puppet
- Handprint Pumpkin Gift Bags
- Paper Bag Gnome

Paper Bag Groundhog Puppet Craft Idea
Here’s your checklist of supplies to bring this craft to life:
- School Glue
Prepare your creative haven by laying down a protective cover before the crafting magic begins!
Directions:
- First have your child paint their paper bag completely brown on the side that has the flap.1 Large Paper Bag , Craft Paint
- Once done, set aside to let it dry completely.
- Next grab your scissors and cardstock paper sheets.
- Go ahead and cut out some groundhog embellishments for your puppet {think eyes, ears, nose and of course - large teeth}Cardstock Paper
- Once you are ready to assemble the paper bag groundhog craft – simply glue on the facial features and staple on the ears.
- Finally - play with it like a puppet or display proudly for all to see!

Grab our favorite books via our Amazon affiliate link! In our Amazon storefront you will find books, toys and craft supplies we absolutely love using for our Glued To My Crafts tutorials!