Explore the fun of making a torn paper witch cauldron with easy supplies. Ideal for a festive and crafty Halloween project.
Halloween is the perfect time to let creativity run wild, and this hands-on craft will enchant kids of all ages. Today’s Torn Paper Witch Cauldron is a wonderful activity for classrooms, family craft nights, or rainy afternoons indoors. Not only does it capture the spooky and magical spirit of Halloween, but it also helps kids practice important skills like tearing, gluing, and creative thinking.
Making crafts together can spark conversation, laughter, and lasting memories, all while giving little hands a fun fine-motor workout. This project requires minimal supplies – most of which you probably already have at home – making it easy and accessible. Plus, every cauldron can be as unique as its crafty creator, so kids are encouraged to experiment with colors, shapes, and extra details.
This torn paper craft is a fantastic way for little ghouls and goblins to get creative this Halloween. It’s simple, uses materials you likely already have, and helps develop fine motor skills. Let’s gather our ingredients and make some magic!
Bubble, bubble, toil, and trouble! Get ready to brew up some crafty fun with a spooky witch cauldron. This torn paper craft is a fantastic way for little ghouls and goblins to get creative this Halloween. It’s simple, uses materials you likely already have, and helps develop fine motor skills. Let’s gather our ingredients and make some magic!
Craft Supplies:
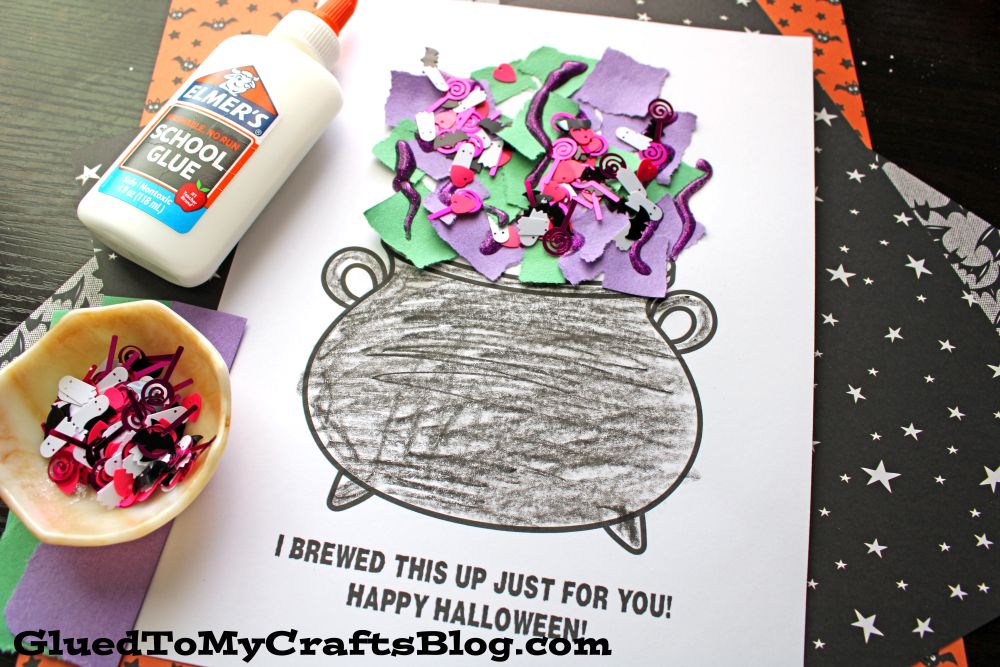
Creating your torn paper Halloween cauldron doesn’t require a long list of supplies. Here’s what you’ll need:
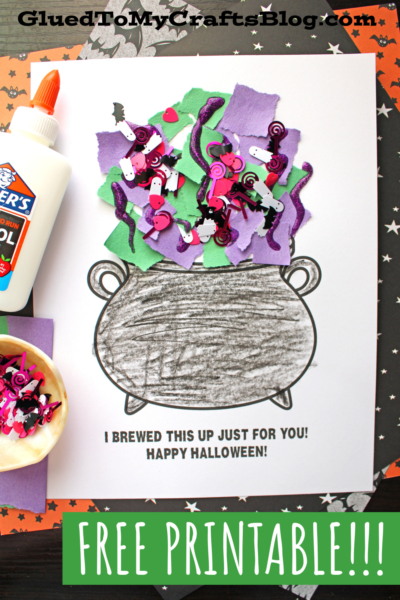
- CAULDRON PRINTABLE {on our landing page}
- White Cardstock Paper
- Crayons, Coloring Pencils or Markers
- Construction Paper {green and purple}
- School Glue
- Glitter Glue
- Small Craft Jewels
These materials are easy to find and likely already available in your home. If not, a quick trip to a craft store will set you up nicely.
Directions:
- First download and print the FREE I brewed this up just for you card template listed above, on a single piece of cardstock paper. You will need to print ONE for each craft you want to do with your child.
- If desired, have kids color in the cauldron design before moving onto the next step.
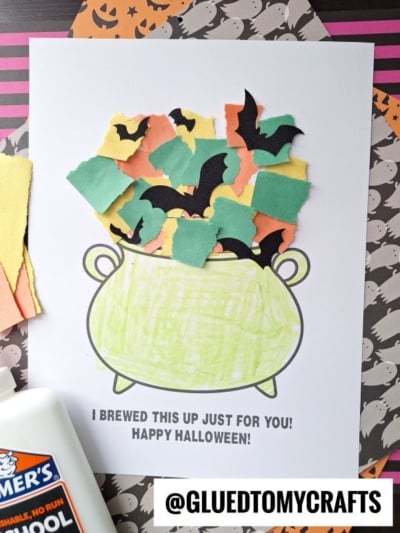
- Next, it’s time to make the witch’s brew! Tear up the green and purple construction paper into smaller, bubbly-looking pieces.
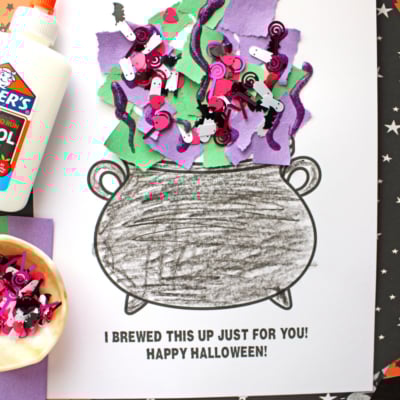
- Apply glue to the area above the cauldron where the potion would be bubbling out. Stick the green and purple paper pieces here, mixing the colors to create a magical, bubbly effect. You can even have some pieces “spilling” over the side of the cauldron.
- The final step is to add some swirls of glitter glue and loose craft glitter on top.
- Once done decorating, set aside to let it all dry completely before displaying/gifting proudly!
- Don’t forget to share pictures of your adorable Halloween bubbling cauldron card craft with us! #gluedtomycrafts
RELATED —> Paper Plate Bubbling Cauldron
Your torn paper witch cauldron is now complete! It’s ready to be displayed on the fridge or in a window to add a touch of handmade spookiness to your Halloween decorations.
We’d love to see the magical potions you’ve brewed up! Share a picture of your finished cauldron craft with us online. Happy Halloween crafting, my friends!

Torn Paper Witch Cauldron Craft Idea for Kids To Make This Halloween Season
Explore the fun of making a torn paper witch cauldron with easy supplies. Ideal for a festive and crafty Halloween project.
Here’s your checklist of supplies to bring this craft to life:
- School Glue
- Glitter Glue
Prepare your creative haven by laying down a protective cover before the crafting magic begins!
Directions:
- First download and print the FREE I brewed this up just for you card template listed above, on a single piece of cardstock paper. You will need to print ONE for each craft you want to do with your child.
- If desired, have kids color in the cauldron design before moving onto the next step.
- Next, it's time to make the witch's brew! Tear up the green and purple construction paper into smaller, bubbly-looking pieces.
- Apply glue to the area above the cauldron where the potion would be bubbling out. Stick the green and purple paper pieces here, mixing the colors to create a magical, bubbly effect. You can even have some pieces "spilling" over the side of the cauldron.
- The final step is to add some swirls of glitter glue and loose craft glitter on top.
- Once done decorating, set aside to let it all dry completely before displaying/gifting proudly!

NEED HELP DOWNLOADING OUR FREE PRINTABLES? PLEASE REFER TO OUR FAQ PAGE
If you've enjoyed our content or have any thoughts to share, we'd love to hear from you! Mention @gluedtomycrafts or tag #gluedtomycrafts on Instagram!