Not only is it super cute but it will also spark plenty of imaginative play afterwards. So get ready to make something that is sure to put smiles on everyone’s faces – let’s jump into creating our very own paper plate horse today!

Horse Craft Idea For Kids
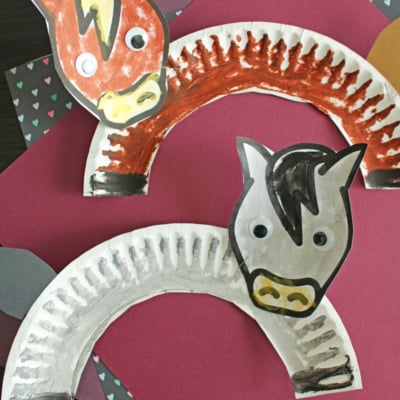
Inspired by my mom and her love of horses {she has a few that are like siblings to me} today I present to YOU our Paper Plate Horse kid craft idea!
This paper horse art project idea is perfect for those who have a love and passion for horses & craft time! I hope we inspire YOU to “gallop” to grab those craft supplies and make one of your own with your child today!
Find all the crafty details below {as well the free printable template} for this horse head made from a paper plate! Remember – you can also change up the colors of your horse and/or turn it into a unicorn by adding paper horn to the center!
Happy crafting my friends!!! Please don’t forget to share pictures of your paper plate horse on our Facebook page wall for us to admire! #gluedtomycrafts
RELATED —> Popsicle Stick Cowboy

This easy craft idea for kids is perfect for a rainy day! All you need is some paper plates, paint, and glue.
Craft Supplies:
- Large Paper Plate
- Scissors
- Craft Paint or Paint Crayons
- Cardstock Paper
- Horse Printable – on our landing page
- Small Googly Eyes
- Stapler
Directions:
- First grab your large paper plate and scissors,
- Cut the paper plate in half, straight up the center to make TWO equal pieces.
- Now carefully cut out the center portion on each paper plate half. You just want the rim left for each horse craft.
- Next grab your choice of craft medium and decorate the paper plate piece however you like {with polka dots, strips – whatever the heart desires!}
- When you are done with the coloring step, set it aside to let it dry completely.
- Now grab your head print out, along with the scissors.
- Trim out one the horse head shapes.
- Go ahead and decorate it to match your paper plate piece.
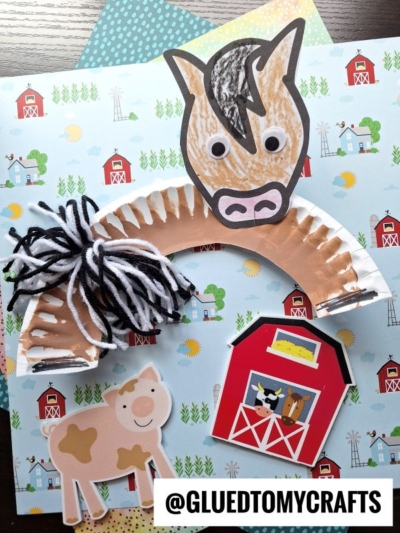
- At this point in time you can also cut out a tail from your remaining cardstock paper.
- To finish off the Paper Plate Horse – simply staple the finished head piece in place on the paper plate, as well as the tail on the opposite end.
- Then display proudly for all to see!
RELATED —> Paper Bag Cowboy
Hold your horses and don’t click away just yet! Be sure to check out our Horse Handprint Keepsake idea that has been featured on Glued To My Crafts as well!!!

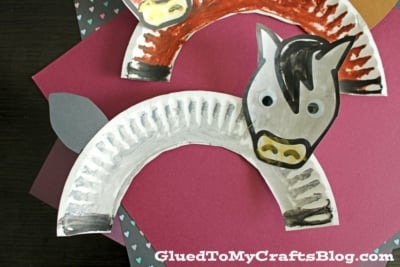
Paper Plate Horse Craft Idea
Here’s your checklist of supplies to bring this craft to life:
Prepare your creative haven by laying down a protective cover before the crafting magic begins!
Directions:
- First grab your large paper plate and scissors,
- Cut the paper plate in half, straight up the center to make TWO equal pieces.
- Now carefully cut out the center portion on each paper plate half. You just want the rim left for each horse craft.
- Next grab your choice of craft medium and decorate the paper plate piece however you like {with polka dots, strips - whatever the heart desires!}
- When you are done with the coloring step, set it aside to let it dry completely.
- Now grab your head print out, along with the scissors.
- Trim out one the horse head shapes.
- Go ahead and decorate it to match your paper plate piece.
- At this point in time you can also cut out a tail from your remaining cardstock paper.
- To finish off the Paper Plate Horse – simply staple the finished head piece in place on the paper plate, as well as the tail on the opposite end.
- Then display proudly for all to see!


NEED MORE HELP DOWNLOADING OUR FREE PRINTABLES? PLEASE REFER TO OUR FAQ PAGE