
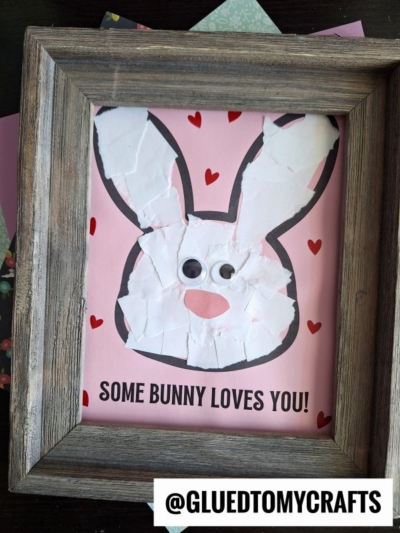
This fun torn paper bunny craft will bring plenty of smiles during the Easter season or any day throughout the year!

Torn Paper Bunny Craft Idea For Kids
Are you looking for a fun and creative way to keep your children entertained this spring season? Try this Torn Paper Easter Bunny craft idea from us!
This super simple bunny art project idea is not only is it easy enough to do with toddlers, but the older ones will appreciate it as well. Plus the end result is an adorable paper bunny piece that can be gifted to someone your child loves and admires. Let’s just say “some bunny special” they love!
So on that note, get ready for some extra happy springtime memories with this easy spring activity that kids are sure to love making and gifting! Happy crafting, my friends!
RELATED —> Butterfly Suncatcher

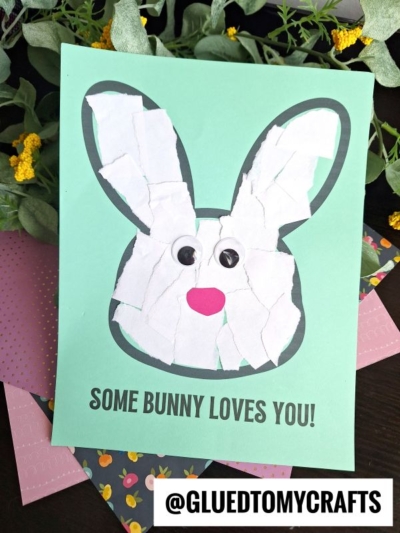
Use up random craft materials with our “some bunny loves you” craft idea! There’s even a printable included!
Craft Supplies:
- BUNNY PRINTABLE {on our landing page}
- Cardstock Paper {white or colored}
- Computer Paper {different color}
- Pink Cardstock Paper
- School Glue
- Scissors
- Googly Eyes
Directions:
- First download and print the FREE bunny template listed above, on a single piece of cardstock paper. You will need to print ONE for each craft you want to do with your child.
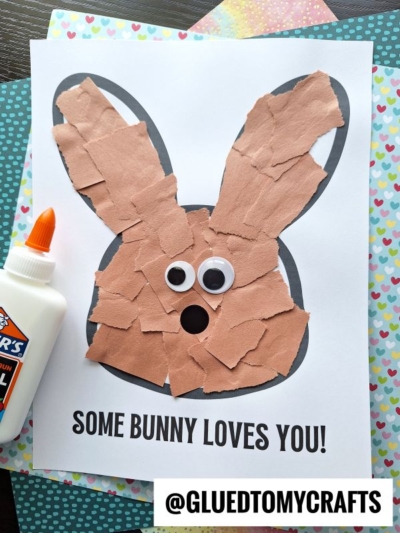
- Now help your child cut/tear their second sheet of paper into small pieces.
- Next grab the school glue and put a good amount of glue ALL over the inside of the bunny head design on the printable.
- Have children place their paper pieces on top of the glue {adding more if needed} until the head is completely covered.
- The final step is to add the googly eyes and a pink nose to the center to finish off the bunny’s face.
- Once done decorating, set aside to let it all dry completely before displaying/gifting proudly!
- Don’t forget to share pictures of your adorable bunny craft with us! #gluedtomycrafts
RELATED —> Easter Egg Shaped Crafts
Are you interested in more Easter crafts? Check out these fun posts on our website right now:
- Pom Pom Stamped Easter Eggs
- Popsicle Stick Bunny
- Wood Clothespin Bunny
- Popsicle Stick Bunny Gnome
- Cotton Ball Bunny Cupcake
- Paper Plate Bunny Butt
- Hoppy Easter Keepsake

Torn Paper Some Bunny Loves You Craft
Here’s your checklist of supplies to bring this craft to life:
- Cardstock Paper
- White Computer Paper
- Some Bunny Landing Page
- 2 Googly Eyes
Prepare your creative haven by laying down a protective cover before the crafting magic begins!
Directions:
- First download and print the FREE bunny template listed above, on a single piece of cardstock paper. You will need to print ONE for each craft you want to do with your child.Cardstock Paper
- Now help your child cut/tear their second sheet of paper into small pieces.White Computer Paper
- Next grab the school glue and put a good amount of glue ALL over the inside of the bunny head design on the printable.
- Have children place their paper pieces on top of the glue {adding more if needed} until the head is completely covered.
- The final step is to add the googly eyes and a pink nose to the center to finish off the bunny's face.2 Googly Eyes
- Once done decorating, set aside to let it all dry completely before displaying/gifting proudly!


NEED MORE HELP DOWNLOADING OUR FREE PRINTABLES? PLEASE REFER TO OUR FAQ PAGE