Spring is in the air! Flowers blossom, the weather warms up, and Easter is just around the corner. What better way to welcome this cheery season than with a fun and creative craft project for kids? Today, we’re bringing you a simple and adorable wood clothespin bunny craft that’s perfect for little hands.
Whether you’re a teacher, a parent, or a babysitter, this project is easy, inexpensive, and sure to delight kids while giving them a chance to express their creativity. Keep scrolling to learn how to make a DIY bunny using clothespins and a handful of simple supplies!
Craft Supplies:
Before you start hopping down the crafting trail, gather these basic supplies. Most are items you might already have around the house or can easily find at a local dollar store or craft supply shop.
- Wooden Flat Clothespins
- White Craft Paint
- Small Paper Plate
- Small Paintbrush
- Loose Pink Craft Glitter
- White School Glue
- Small Googly Eyes
Directions:
Once you’ve gathered your supplies, it’s time to get crafting!
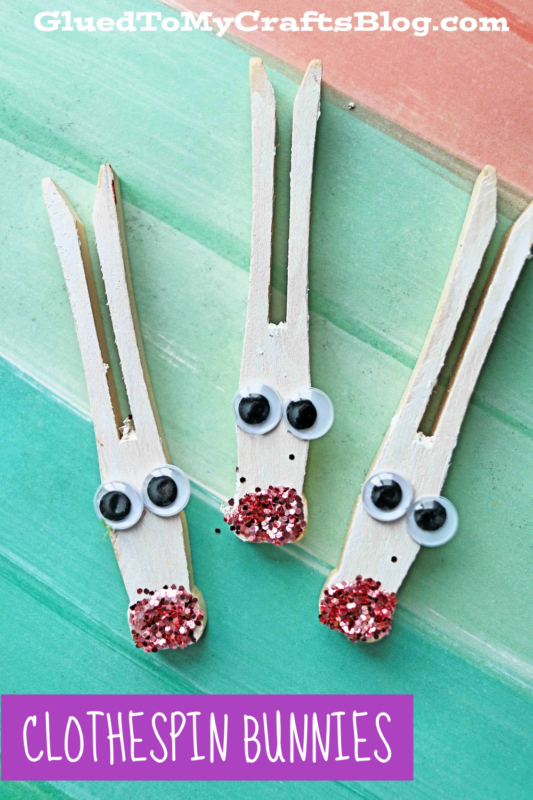
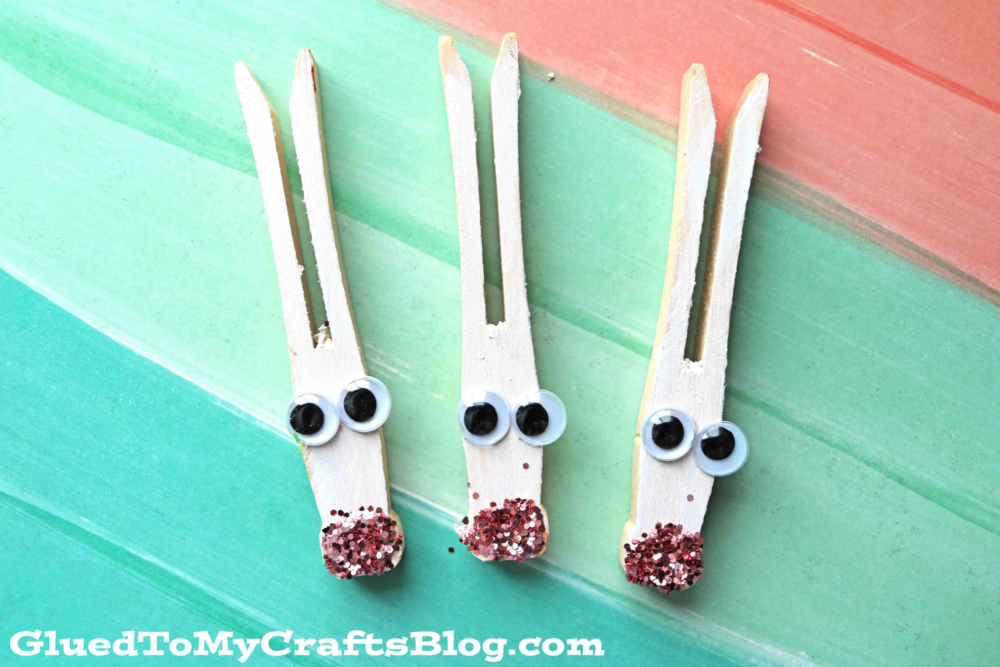
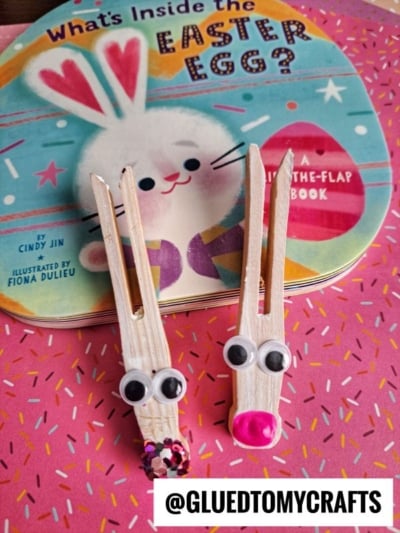
- First paint your wood clothespin completely white.
- Set aside to let dry completely.
- Put a dot of glue where the nose will be.
- Sprinkle pink glitter on top of the glue, until it’s completely covered and looks like a nose.
- Shake off excess glitter.
- To finish off the Flat Wooden Clothespin Bunnies – give them life by gluing on some wiggle eyes and any other embellishments you might see fit!
- Then set aside to let them dry completely, before displaying/playing with proudly!!
RELATED —> Thumbprint Bunny Cards
Wood clothespin crafts like this bunny project are the perfect reminder that crafting with kids doesn’t have to be complicated or expensive. With just a few supplies and some cheerful creativity, you can share hours of fun together while celebrating the joy of spring.
Feeling inspired but short on time? Share this blog with friends, or save it for your next family activity day. You’ll hop away with adorable results and big smiles all around.
Looking for more spring crafting ideas? Don’t forget to check out our related posts or subscribe to our newsletter for step-by-step tutorials delivered straight to your inbox. Happy crafting!
Pipe Cleaner Carrot
Easter Egg Wreath
Torn Paper Bunny Craft
Handprint Welcome Sign
Handprint Bunny Keepsake
Some Bunny Gift Tag Printable
Popsicle Stick Bunny
