
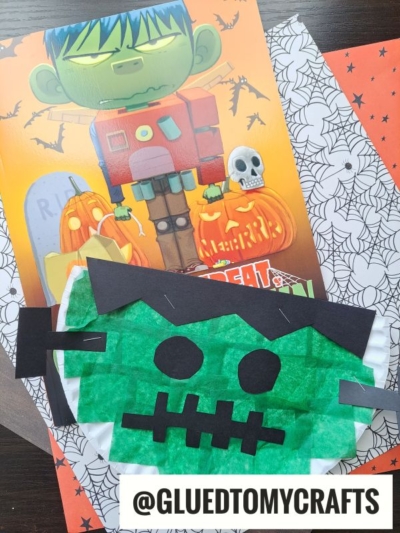
No need to be scared of our Paper Plate Frankenstein kid craft idea! He’s super easy to recreate so you won’t moan in despair either! Keep scrolling to learn everything you need to know!

Paper Plate Green Frankenstein
With Halloween knocking at our doorsteps, I wanted to focus on a “green creature” that is commonly known and seen around the spook-tacular season. But no worries – this Frankenstein monster is not scary or overly aggressive either!
By just grabbing some simple supplies like a paper plate, green tissue paper and some glue – you too can be the “mad scientist” who brings this adorable Paper Plate Frankenstein Monster to life! I’ll show you how easy it really is!
So what are you waiting for? Create a “cute not scary” and memorable Halloween by crafting up this simple craft today! You can find ALL the details you need to know, in the full tutorial below!
Happy crafting my friends and please don’t forget to share pictures with us on your social media sites!!! You can find us on Facebook, Instagram and Twitter! #gluedtomycrafts
RELATED —> Stained Glass Frankenstein


Get creative this Halloween and make Frankenstein out of paper plates and tissue paper! Start crafting today and show off your spooky masterpiece on October 31st!
Craft Supplies:
- Large Paper Plate
- Green Tissue Paper
- Black Cardstock Paper
- Scissors
- Stapler
Directions:
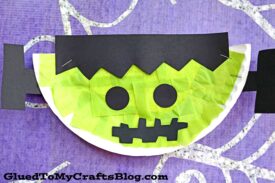
- First cut your large paper plate in half. Straight up the center to make TWO equal pieces.
- Save one half for today’s craft and save the second one for another day {or to repeat today’s tutorial!}
- Next have children cut the green tissue paper into small squares {perfect for practicing cutting skills!}
- Now put a good layer of glue ALL over the paper plate.
- Have children place the tissue paper on top of the glue, until the paper plate is completely covered.
- While they are working on that, cut some eyes, hair, mouth and of course, those ironic bolts from the cardstock.
- To finish off the green Frankenstein craft, staple the cardstock pieces in their designated spots.
- Then display proudly for ALL to see and admire!
- Don’t forget to share pictures of your child’s creation on our Facebook page!
RELATED —> Handprint Frankenstein
Are you looking for more fun Halloween kid crafts to do with your child today?
Check out these past posts for some spooky inspiration and pair it with today’s paper plate Frankenstein tutorial!
- Paper Plate Jack O’ Lantern
- Eyeball Frame Decor
- Terra Cotta Pot Pumpkin
- Paper Plate Black Cat
- Halloween Witch Craft
- Paper Plate Fright Night
- Paper Plate Witch
- Paint Splat Halloween Friends
- Popsicle Stick Frankenstein

Tissue Paper & Paper Plate Frankenstein Craft Idea
Here’s your checklist of supplies to bring this craft to life:
Prepare your creative haven by laying down a protective cover before the crafting magic begins!
Directions:
- First cut your large paper plate in half. Straight up the center to make TWO equal pieces.1 Large Paper Plate
- Save one half for today's craft and save the second one for another day {or to repeat today's tutorial!}
- Next have children cut the green tissue paper into small squares.Tissue Paper
- Now put a good layer of glue ALL over the paper plate.
- Have children place the tissue paper on top of the glue, until the paper plate is completely covered.
- While they are working on that, cut some eyes, hair, mouth and of course, those ironic bolts from the back cardstock paper.Cardstock Paper
- To finish off the Frankenstein craft, staple the cardstock paper pieces in their designated spots.
- Then display proudly for ALL to see and admire!

CLICK HERE TO PRINT THE DIRECTIONS FOR THIS CRAFT