Create a fun torn paper bear cave craft with simple materials. Engage kids while teaching them about hibernation.
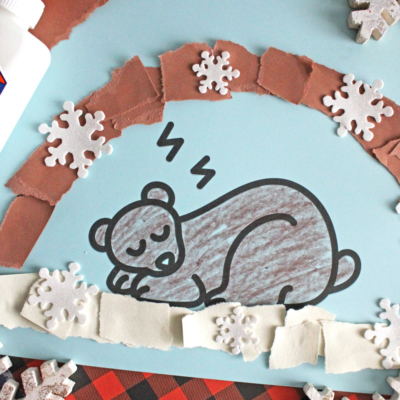
Winter is here, and it’s the perfect time to cozy up with a fun and educational craft! Dive into the world of hibernation with this Torn Paper Hibernating Bear project.
Not only is it a creative way to keep little hands busy, but it also sparks curiosity about how bears stay snug and warm during the chilly months. Grab your supplies, let the tearing begin, and watch as your child’s imagination brings this adorable bear cave to life!
This torn paper hibernating bear craft is simple, engaging, and perfect for little hands. Plus, we’ve included a free printable to make it even easier! Let’s get started!
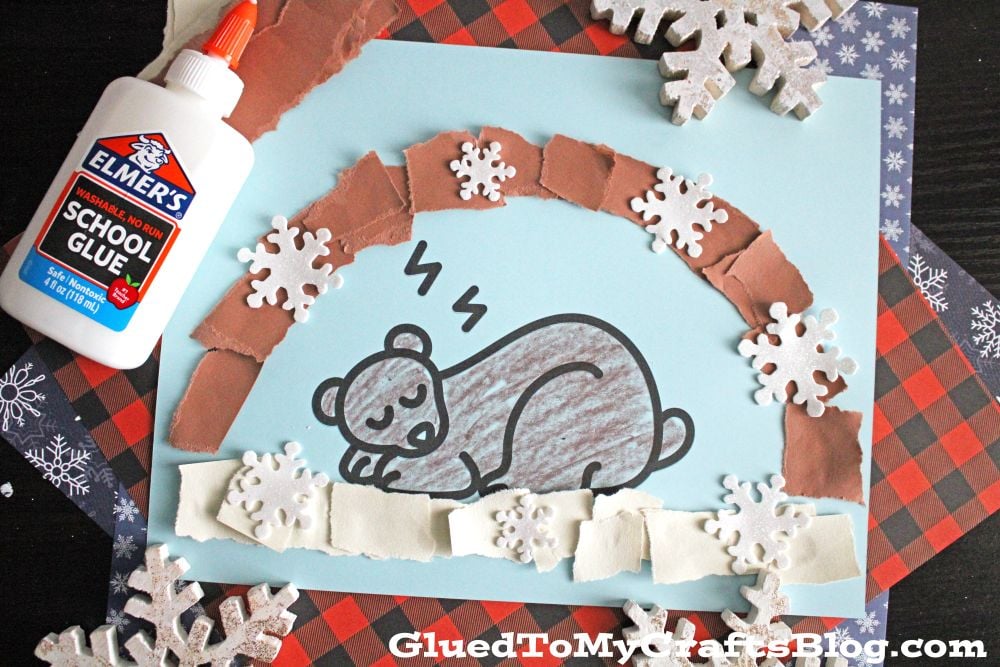
Craft Supplies:
Here’s what you’ll need to create your hibernating bear craft:
- Bear Cave Printable – on our landing page
- Cardstock Paper – light blue
- Construction Paper – brown and white
- Crayons, Markers or Coloring Pencils
- School Glue or Glue Stick
- Embellishments
Having everything ready before you start will make the crafting process smoother and more enjoyable for everyone involved.
Directions:
While crafting, talk to kids about hibernation. Explain how bears sleep through the winter to conserve energy and stay warm. This craft is a great way to combine creativity with learning!
- Start by downloading the free printable template (link above). Print it out on light blue paper or cardstock for a sturdy base.
- Have kids use crayons to color in the bear design in the printable.
- Now help your child cut/tear their white and brown construction paper into small pieces but into TWO different piles.
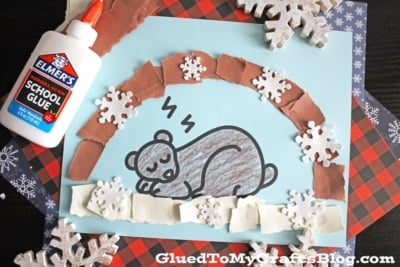
- Next grab the school glue and put a line of glue, on the curve {the cave} design in the printable.
- Have children place their brown paper pieces on top of the glue {adding more if needed} until it’s is completely covered.
- The final step is to add the white paper pieces {the snow} under the bear design.
- Encourage kids to add their own creative touches! They can leaves, snowflakes or even other animals around the cave.
- Once done decorating, set aside to let it all dry completely before displaying their bear cave proudly for all to see.
RELATED —> Paper Sleeping Hedgehog Craft Idea
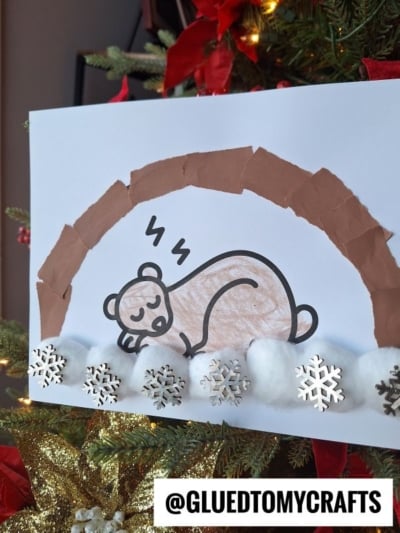
This torn paper bear cave craft is a wonderful way to keep kids entertained while teaching them about nature. It’s easy, fun, and perfect for a winter afternoon. Don’t forget to share your creations with us – we’d love to see them! Happy crafting, my friends!

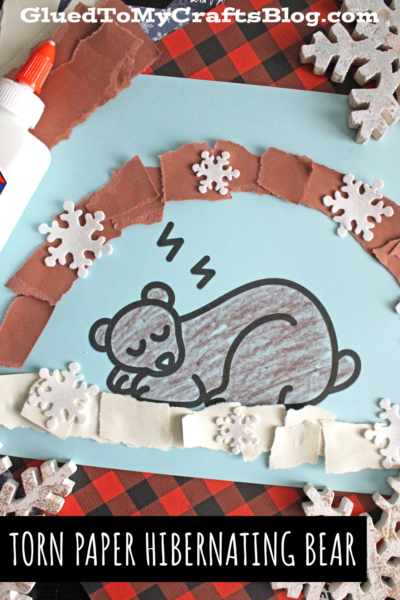
Torn Paper Hibernating Bear Cave Craft Idea For Kids
Create a fun torn paper bear cave craft with simple materials. Engage kids while teaching them about hibernation.
Here’s your checklist of supplies to bring this craft to life:
- School Glue
Prepare your creative haven by laying down a protective cover before the crafting magic begins!
Directions:
- Start by downloading the free printable template (link above). Print it out on light blue paper or cardstock for a sturdy base.
- Have kids use crayons to color in the bear design in the printable.
- Now help your child cut/tear their white and brown construction paper into small pieces but into TWO different piles.
- Next grab the school glue and put a line of glue, on the curve {the cave} design in the printable.
- Have children place their brown paper pieces on top of the glue {adding more if needed} until it's is completely covered.
- The final step is to add the white paper pieces {the snow} under the bear design.
- Encourage kids to add their own creative touches! They can leaves, snowflakes or even other animals around the cave.
- Once done decorating, set aside to let it all dry completely before displaying their bear cave proudly for all to see.


NEED HELP DOWNLOADING OUR FREE PRINTABLES? PLEASE REFER TO OUR FAQ PAGE
If you've enjoyed our content or have any thoughts to share, we'd love to hear from you! Mention @gluedtomycrafts or tag #gluedtomycrafts on Instagram!