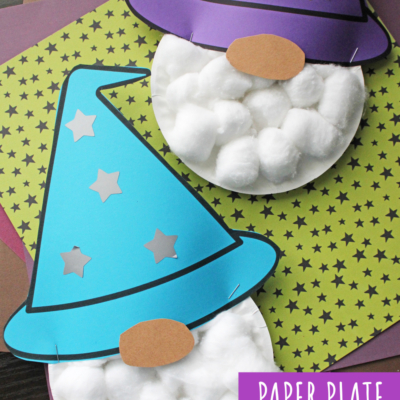
Got bored kids at home? Wave your wand and cast a spell of fun with this Cotton Ball & Paper Plate Wizard craft tutorial!
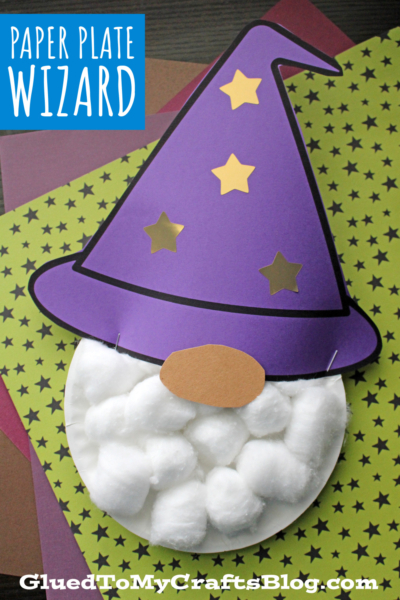
Paper Plate Wizard Craft
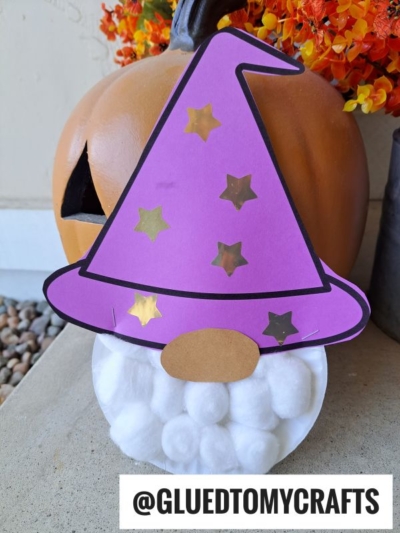
Are you looking for a fun and creative craft idea to entertain the kids? Maybe something unique to recreate this Halloween and maybe use as decorations as well? Then you are in the right place with Glued To My Crafts today!
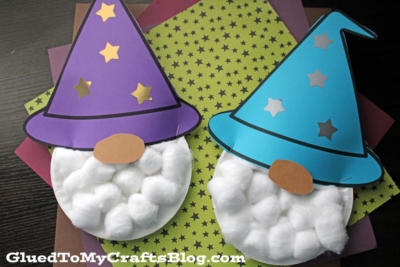
With our first seen here Paper Plate & Cotton Ball Wizard craft tutorial, you can help children delve into their imaginations, as they build their own unique pieces that they will want to display all season long.
This cotton ball wizard kids craft combines the fun of art with imagination, while also helping children develop fine motor skills.
Not only does this easy-to-follow project uses simple household items like paper plates. cardstock paper and cotton balls that any child will have access to, but encourages hours of imaginative play afterwards – they’ll be able to expressively display what kind of magic-maker exists in their minds.
So on that note, let’s get started on bringing this magical idea to life with easy steps that your kid can follow along with! Happy crafting, my friends!
RELATED —> Paper Bag Wizard

It’s time to get crafty! Let your kids unleash their inner wizard with this fun and easy cotton ball & paper plate tutorial!
Craft Supplies:
- White Cotton Balls
- School Glue
- Large Paper Plate – 1 per craft
- Wizard Hat Printable – on our landing page
- Choice of Color Cardstock Paper
- Tan Cardstock Paper
- Scissors
- Stapler
- Star Stickers
Instructions:
- The first step is to cover the paper plate with a thick layer of school glue. Make sure to REALLY cover it so the cotton balls stick good.
- Now ask your child to add the cotton balls on the plate until it’s completely covered. You can add more glue if they need it.
- While your child is attaching their cotton balls, you can cut trim out the hat design from the printable.
- Once the plate is completely covered with cotton balls – staple {or glue} the wizard hat in place.
- Follow that up by cutting out a small oval nose shape from the remaining tan cardstock paper and gluing it in place as well.
- The final step is to add some star stickers all over the wizard hat, to really pull the theme together.
- And that’s it! Now display it proudly for all to see!
RELATED —> Paper Plate Witch Hat
Get creative with your kids this weekend and make some fun crafts together! It’s an enchanting way to add a little magic to your day! Be sure to also check out our Fox Pumpkin and Scarecrow Gnome craft posts for more DIY fun for the kids!!!

Cotton Ball Wizard Craft Idea
Here’s your checklist of supplies to bring this craft to life:
Prepare your creative haven by laying down a protective cover before the crafting magic begins!
Directions:
- The first step is to cover the paper plate with a thick layer of school glue. Make sure to REALLY cover it so the cotton balls stick good.
- Now ask your child to add the cotton balls on the plate until it's completely covered. You can add more glue if they need it.
- While your child is attaching their cotton balls, you can cut trim out the hat design from the printable.
- Once the plate is completely covered with cotton balls - staple {or glue} the wizard hat in place.
- Follow that up by cutting out a small oval nose shape from the remaining tan cardstock paper and gluing it in place as well.
- The final step is to add some star stickers all over the wizard hat, to really pull the theme together.
- And that's it! Now display it proudly for all to see!


NEED MORE HELP DOWNLOADING OUR FREE PRINTABLES? PLEASE REFER TO OUR FAQ PAGE