Do you want to send a special someone a snail mail card? Why not make it a craft project and use cupcake liners!

When I first started brainstorming this snail mail love card idea, I originally had Mother’s Day on my mind. But after sitting on it for awhile, it evolved into something that is perfect to mail to anyone and everyone, whenever the moment comes up {but Mother’s Day is fast approaching so be sure to bookmark this post for grandma who don’t live in the area!}
Anyways… without further ado, below are ALL the details and the free file to get you started on make this cupcake liner snail card within minutes.
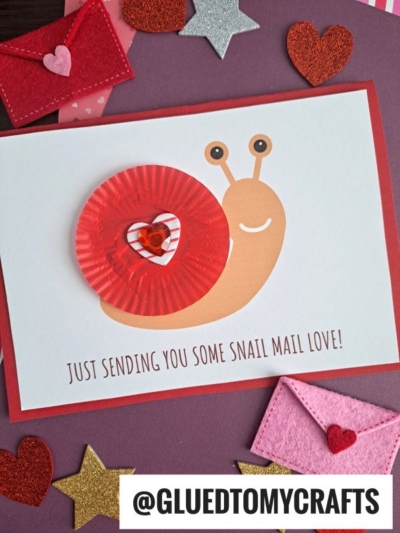
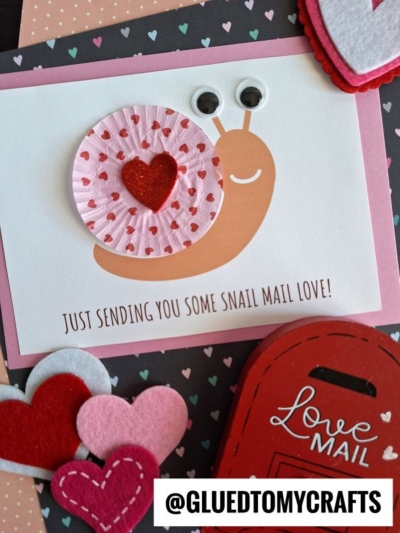
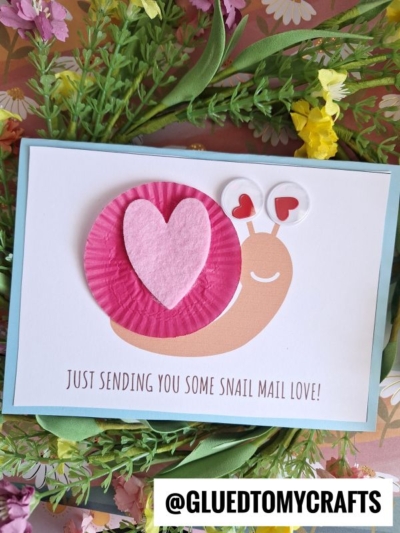
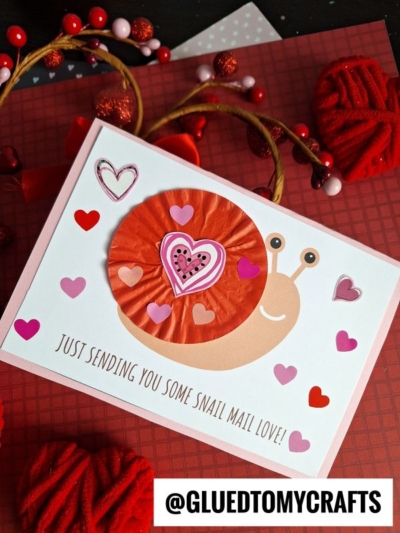
It’s just a matter of downloading, printing and assembling a simple snail craft idea that uses a mini cupcake liner as the center piece. With customization at your fingertips, we hope my “just sending you some snail mail love” card idea comes in handy for you!
Don’t be a slow-poke! Check out the full “snail mail love card” tutorial below! Happy crafting my friends!

Looking for a fun and easy craft project for the kids? This cupcake liner snail mail card is perfect!
Craft Supplies:
- Snail Mail Printable – on our landing page
- White Cardstock Paper
- Paper Trimmer
- Colored Cardstock Paper
- Mini Cupcake Liner
- Adhesive
- Heart Stickers
- Embellishments
Directions:
- First things first – print out our FREE snail mail printable that is listed above. One print makes TWO cards at once.
- Once you have the snail printable printed out, grab your paper trimmer to trim out one of the snail designs, so it will fit on the front of the cardstock card.
- Now grab a sheet of colored cardstock paper.
- Fold it in half to make a simple card.
- Next go ahead and glue the snail cutout to the front your folded card.
- Now grab your mini cupcake liner and flatten it out with your hands.
- Use a glue stick to glue that piece to the body of the snail in the card design.
- Finally – we are at the end of the tutorial! To finish the cupcake liner snail card, go ahead and add a large heart sticker to the center of the cupcake liner, as well as small ones all around the snail design. This way you really tie the “snail mail love” theme together.
- Last step – write a message inside the card and add anything else you see fit!
- Well done – you SNAILED it! Now drop it in the mail for the lucky receiver to enjoy!
- Don’t forget to use the second design in the printable {with the same steps as above} to make another card to drop in the mail today!
RELATED —> Craft Foam Easter Egg Snail
We absolutely LOVE sharing handmade card ideas on Glued To My Crafts!
On that note, be sure to check out our fun and funky Cupcake Liner Tough Cookie, Cupcake Liner Waffle and Cupcake Liner Avocado card tutorials!
All of which are perfect to make and gift for a special occasion or just because!
