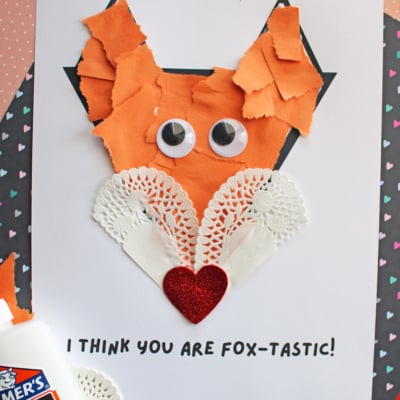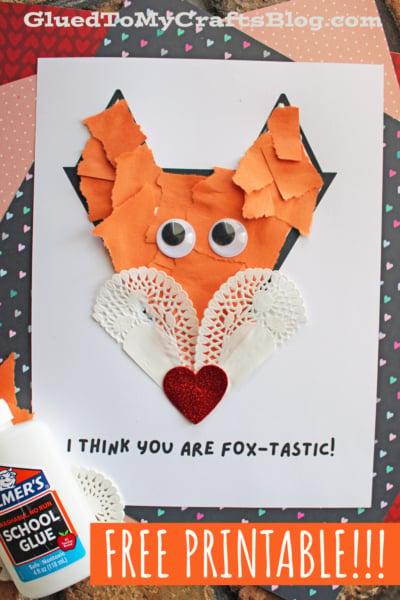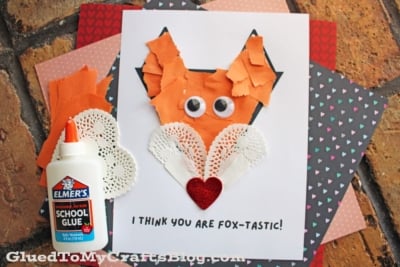

Are you looking for a fun, creative activity to keep little hands busy? Torn paper crafts are a hit with kids of all ages, and this fox-themed project is as adorable as it is easy to make.
Whether you’re a parent, teacher, or babysitter, this “You Are FOX-TASTIC!” torn paper fox craft is guaranteed to spark joy and a little bit of crafty chaos. Plus, it’s a great way to teach kids about animals while improving their fine motor skills.
Discover a simple and fun torn paper fox craft for kids! Perfect for learning and creativity, complete with easy steps and a punny message!
Craft Supplies:
Gather these materials before you begin:
- “FOX-TASTIC” PRINTABLE – from our landing page
- White Cardstock Paper
- Orange Construction Paper
- Small White Heart Paper Doily
- School Glue
- Embellishments
These materials are inexpensive and readily available. If you don’t have construction paper, feel free to use magazine pages, gift wrapping paper, or even old catalogs. Mix and match textures for extra fun!
Directions:
- First download and print out the FREE you are fox-tastic printable listed above, on a single piece of white cardstock paper.
- Next help your child cut/tear their ORANGE construction paper into small pieces.
- Grab the school glue and help them put a good amount inside the fox head design.
- Have children place their paper pieces on top of the glue {adding more if needed} until it’s is completely filled in.
- Now grab the paper heart doily and cut it in half, straight up the center to create TWO equal pieces.
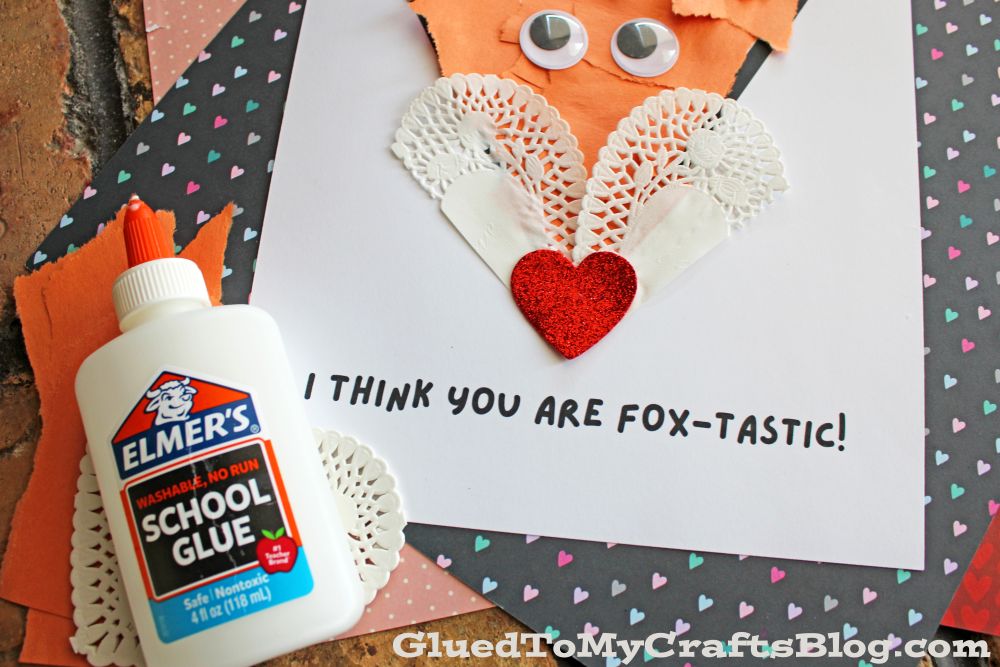
- Assist your child on gluing those two pieces, facing the opposite direction of each other, to create the beard of the fox.
- The final step is to add a wiggle eyes and a nose.
- And just like that, your Torn Paper Orange Fox craft is complete! Set aside to let it all dry completely before displaying/gifting your child’s handmade fox-tastic card proudly!
Take a photo of their finished masterpiece and share it on social media to spread the creative spirit!
RELATED —> Fork Painted Fox Craft
We have the BEST kids craft tutorials on the internet {if I do say so myself!}
Just check out our Farm Trucks, Scarecrow and Apple Picture Frame craft posts that hundreds of people have been recreating this year!
All of which are instant creativity at your fingerprints and would pair nicely with today’s ripped paper fox craft – hint hint!
Happy crafting, and remember—you’re FOX-TASTIC for trying this!
Torn Paper Fox Craft Idea for Kids – You Are FOX-TASTIC!
Here’s your checklist of supplies to bring this craft to life:
- Cardstock Paper
- Construction Paper
- Torn Paper Printable - Landing Page
- Small White Paper Heart Doilies
- Embellishments
Prepare your creative haven by laying down a protective cover before the crafting magic begins!
Directions:
- First download and print out the FREE you are fox-tastic printable listed above, on a single piece of white cardstock paper.
- Next help your child cut/tear their ORANGE construction paper into small pieces.
- Grab the school glue and help them put a good amount inside the fox head design.
- Have children place their paper pieces on top of the glue {adding more if needed} until it's is completely filled in.
- Now grab the paper heart doily and cut it in half, straight up the center to create TWO equal pieces.
- Assist your child on gluing those two pieces, facing the opposite direction of each other, to create the beard of the fox.
- The final step is to add a wiggle eyes and a nose.
- And just like that, your Torn Paper Orange Fox craft is complete! Set aside to let it all dry completely before displaying/gifting your child's handmade fox-tastic card proudly!


NEED MORE HELP DOWNLOADING OUR FREE PRINTABLES? PLEASE REFER TO OUR FAQ PAGE


