Let’s make this year’s St. Patrick’s Day celebrations extra fun with today’s Tissue Paper Rainbow Pot of Gold kid craft idea!!!
It’s a DIY that is super quick and will create some magical {and lucky} craft fun for everyone in the family!
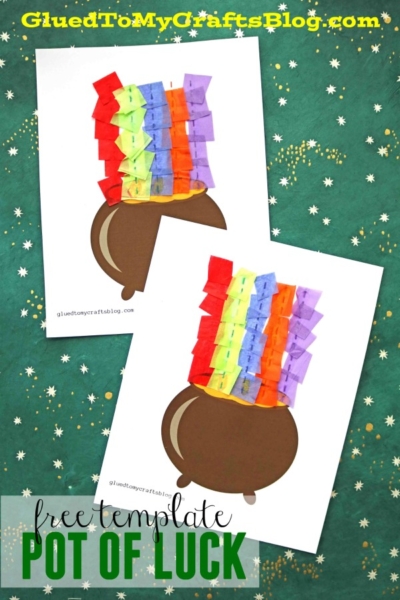
Just print out the provided file below and add colorful tissue paper pieces to make your own rainbow masterpiece within minutes!
Pot of Gold Craft Idea For Kids
Get the kids smiling from ear to ear, with our latest Rainbow Pot of Gold kid craft idea! I’ve even included a FREE leprechaun black cauldron template below, to get you started even faster. That means NO excuses my dear friends! You can make it happen within minutes and I’m here to root you on!
Using the FREE provided pot of gold printable and some inexpensive colored tissue paper from your craft stash – you too can recreate this easy rainbow kid craft activity in no time! It’s just a matter of cutting and pasting on the dotted lines, to bring the rainbow to life. You could even throw in some simple changes like glitter glue or paper scrap squares instead! The choice is yours!
On that note, I hope you are encouraged to recreate it today, in honor of the upcoming St. Patty’s Day holiday!!! Everything you need to know, can be found in the full tutorial below! Happy crafting my friends!!!
RELATED —> Handprint Leprechaun

Perfect for those rainy days indoors or anytime your child needs a creative outlet, this rainbow craft is so much fun to recreate!
Craft Supplies:
- Free Printable – on our landing page
- White Cardstock Paper
- Tissue Paper
- Scissors
- School Glue
Directions:
- First things first – simply download and print the template listed above, in color on thick white cardstock. Print ONE pot of gold template per craft you want to make. Set aside.
- Now it’s time to take your colored tissue paper and cut out a handful of small squares from each, keeping them in separate color piles {you won’t need much though so keep that in mind}
- Next, draw on a single line of glue on each colored line I have in the printable. Just follow the line with your glue bottle. You won’t need a lot of glue either so just follow the lines and don’t over-squeeze on the glue.
- Now take your cut tissue paper squares and place them on the appropriate colored line in the printable, one by one, ON THE LINE to make a rainbow. Add more glue and/or tissue paper if needed.
- Then add other embellishments you see fit {like shamrock stickers or gold glitter!}
- Once done, set aside to let it dry completely.
RELATED —> End Of My Rainbow Craft

Are you by chance looking for even more fun St. Patrick’s Day kid craft ideas?
Be sure to check out our Handprint Clover, Leprechaun Gnome and Cauldron Suncatcher craft posts.
All of which would pair nicely with today’s rainbow pot of gold kids craft idea – hint hint!
