
With just a few simple materials you can transform ordinary paper plates and craft foam into a whimsical nest featuring an egg shaped bird perched atop.
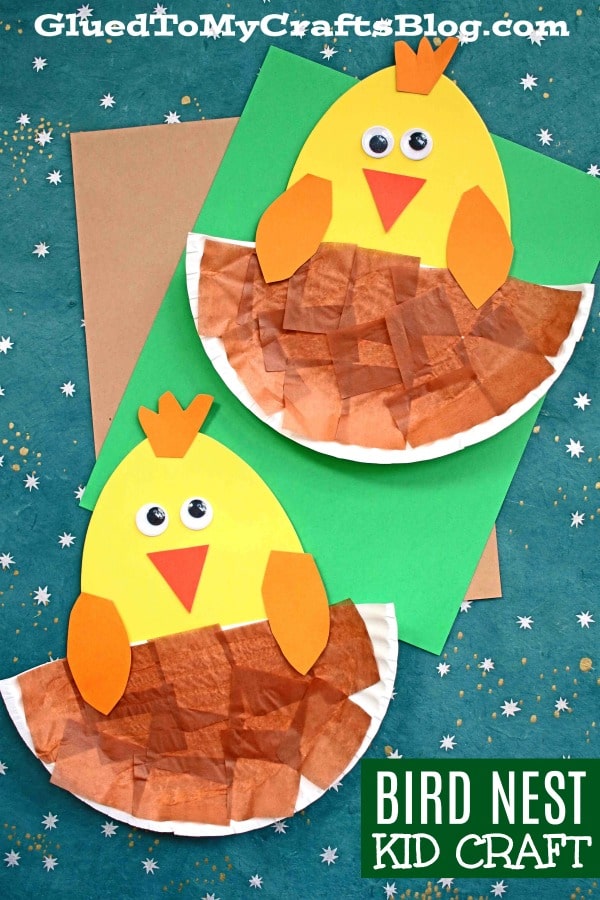
Bird In Paper Plate Nest
You guys! Every time I say “I’m done with the craft foam egg” ideas for Glued To My Crafts, I come up with even MORE tutorials to share with you all. It’s endless in my head! So many ideas to transform ordinary craft foam egg shapes – it’s worth the investment of one single pack!
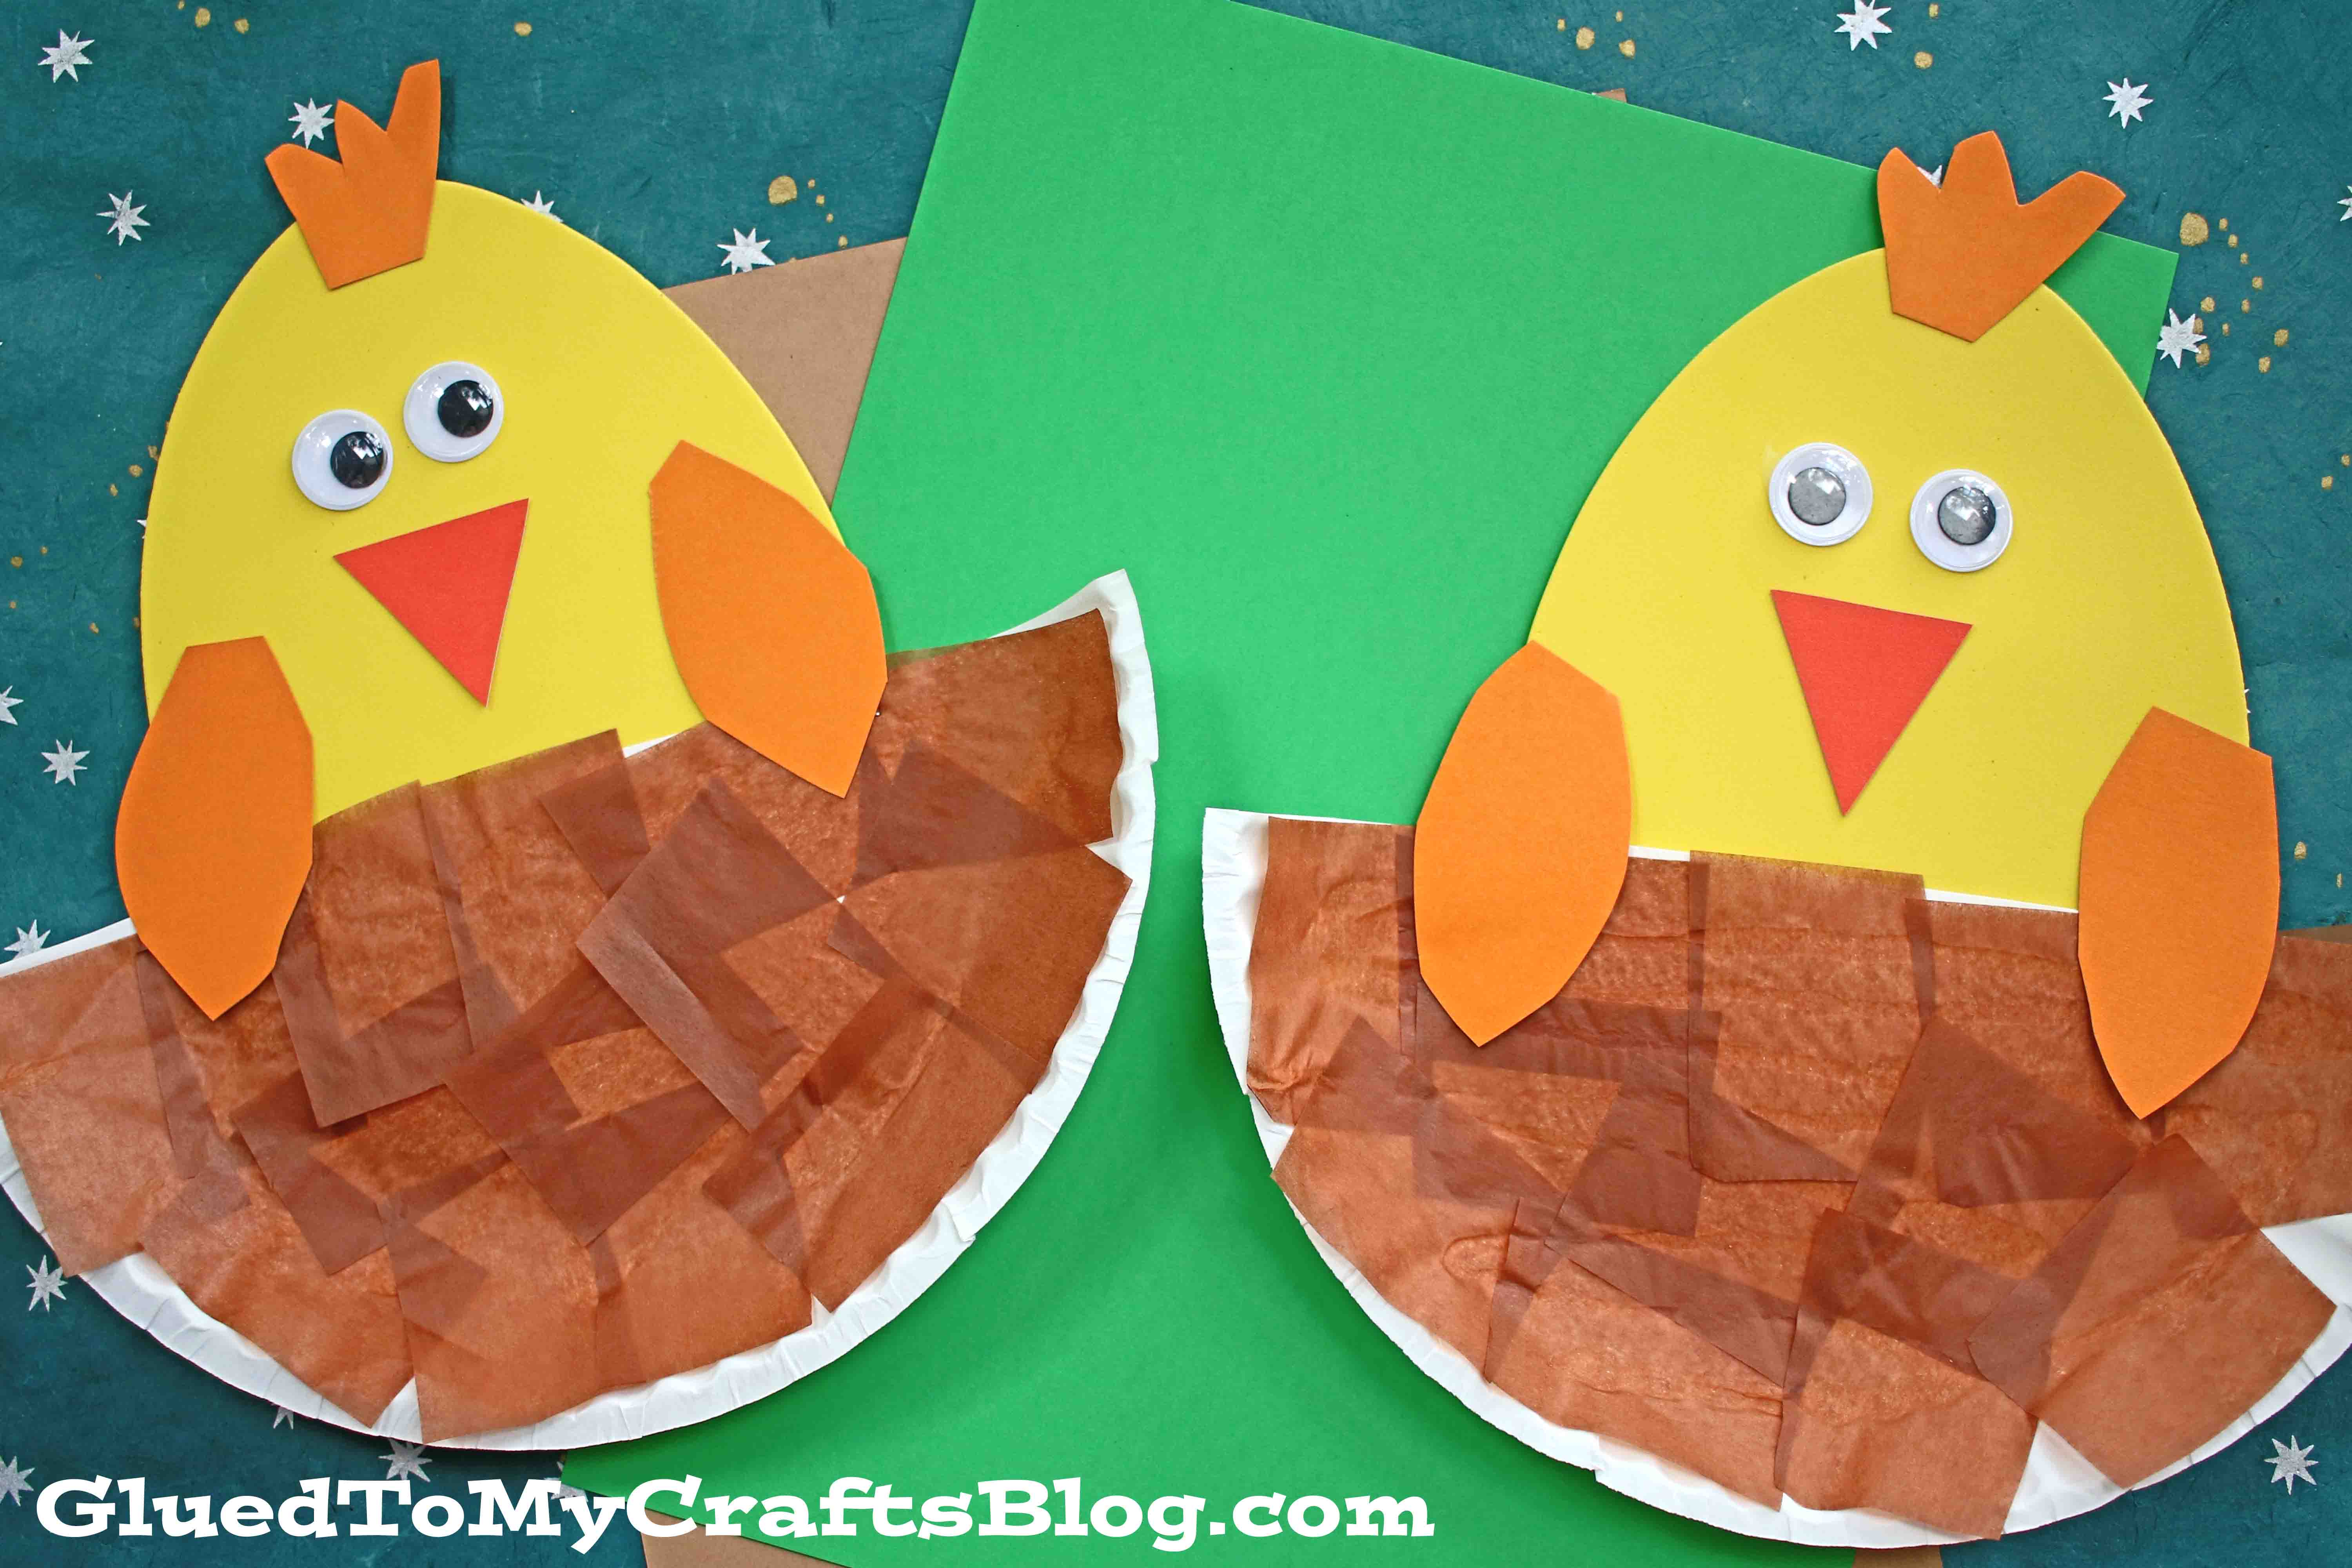
So today I’m sharing with you my latest and greatest “Nesting Baby Bird” kid craft idea. It all started with a basic paper plate and a craft foam egg shape!
Today’s crafty idea is actually what I would call a “mixed media” craft. We have the craft foam element. We also have the cardstock paper and of course – we have the tissue paper for the nest. It’s just a mix of FUN materials that are easy to find, merging together for a nice spring themed DIY.
Now enough chit chat from me – let’s SMASH some random things together and make a beautiful bird themed masterpiece together! You can find ALL the details you need to know, in the full tutorial below! Happy crafting, my friends!!!
RELATED —> Paint Splat Bird
Using materials like paper plates and craft foam eggs in an array of vibrant colors, we are going to show you how to make some bird nest decorations that are perfect to show off this spring season!
Craft Supplies:
- Large Paper Plate
- Brown Tissue Paper
- School Glue
- Craft Foam Egg Shapes
- Yellow Cardstock Paper
- Orange Cardstock Paper
- Kid Friendly Craft Scissors
- Large Wiggle Eyes
Directions:
- First things first – cut your paper plate in half. Straight up the center to make TWO equal pieces.
- Reserve one half for today’s half and save the other for a rainy day!
- Now grab your brown tissue paper.
- Have children cut a small amount into small squares. This will be the nest in the craft.
- Next grab your paper plate half, brown tissue paper squares and school glue.
- Put a good amount ALL over the paper plate half and have children place the tissue paper on top, until the piece is completely covered.
- Set aside when done.
- Now grab your sheets of cardstock paper.
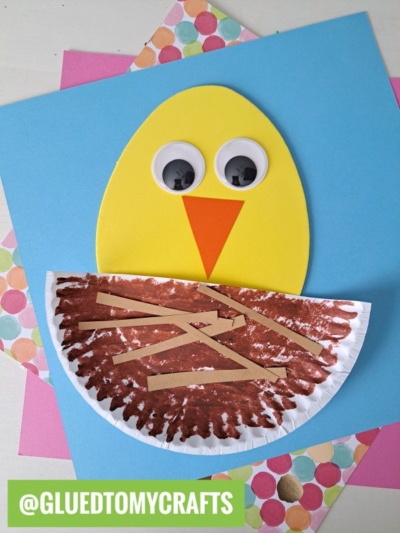
- Cut out a triangle nose, arms and hair for the baby chick.
- Attach them to craft foam egg shape to give the look of a bird.
- Don’t forget the wiggle eyes so he can see!
- To finish off the Bird In Nest kid craft, staple your craft foam piece to the back of the paper plate.
- Then display proudly!!!
- Don’t forget to snap a few pictures and share them with us on your social media sites! #gluedtomycrafts
RELATED —> Chalk Art Bird Nest

AFFILIATE LINK – PAIR OUR CRAFT IDEA WITH THIS BOOK RECOMMENDATION
Love this bird nest kids craft idea made from a paper plate and craft foam egg shape? Of course you do – who wouldn’t?! It’s just too simple and oh so cute!
On that note, be sure to check out our Craft Foam Egg Easter Friends craft post for another spring themed idea using the classic shape you find this time of year!

Craft Foam Egg Bird In Nest
Here’s your checklist of supplies to bring this craft to life:
Prepare your creative haven by laying down a protective cover before the crafting magic begins!
Directions:
- First things first - cut your paper plate in half. Straight up the center to make TWO equal pieces.1 Large Paper Plate
- Reserve one half for today's half and save the other for a rainy day!
- Now grab your brown tissue paper.Tissue Paper
- Have children cut a small amount into small squares. This will be the nest in the craft.
- Next grab your paper plate half, brown tissue paper squares and school glue.
- Put a good amount ALL over the paper plate half and have children place the tissue paper on top, until the piece is completely covered.
- Set aside when done.
- Now grab your sheets of cardstock paper.Cardstock Paper
- Cut out a triangle nose, arms and hair for the baby chick.
- Attach them to craft foam egg shape to give the look of a bird.1 Craft Foam Egg Shape
- Don't forget the wiggle eyes so he can see!2 Large Wiggle Eyes
- To finish off the Bird In Nest kid craft, staple your craft foam piece to the back of the paper plate.
- Then display proudly!!!


CLICK HERE TO PRINT THE DIRECTIONS FOR THIS CRAFT