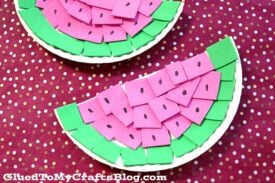
Whether for a boredom-buster craft, festive party decor or pretend play pieces – this pink and green watermelon idea is super simple for all!
Get those creative juices flowing and have a blast with your little ones – try out this awesome paper plate & craft foam watermelon project! Who’s ready to make some summertime art?

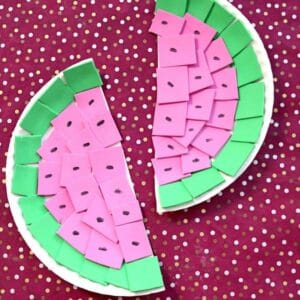
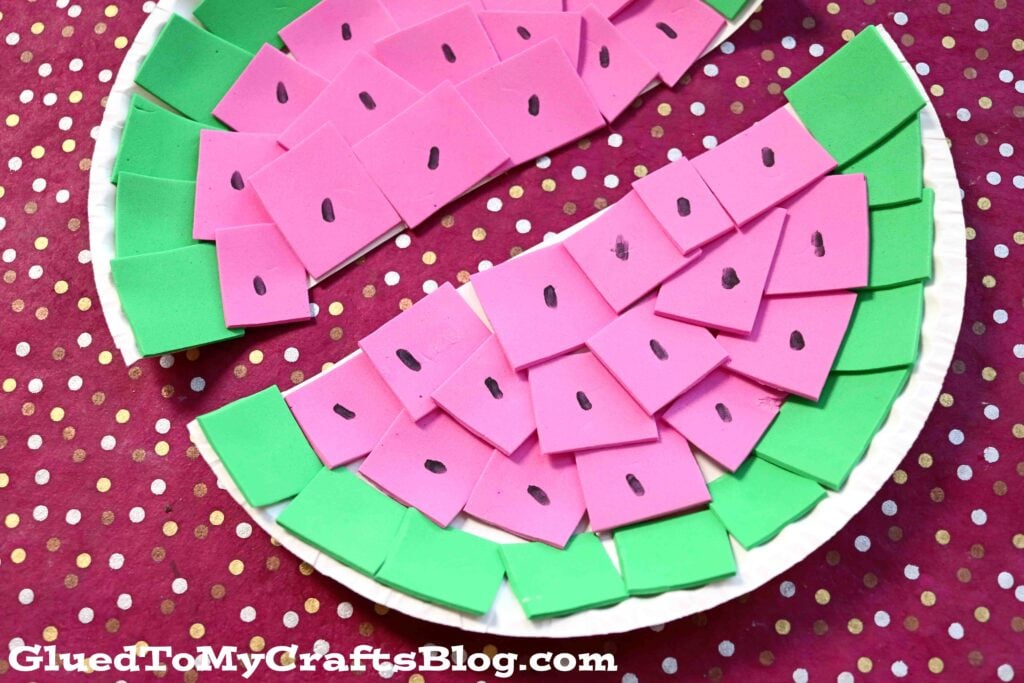
Today’s latest tutorial from Glued To My Crafts is inspired by summer and that sweet delicious fruit you find commonly this time of year – WATERMELON! We are going to show you how easy it is to make this adorable paper plate and craft foam watermelon slice piece that any kid will love to recreate!
Whether for a boredom-buster craft, festive party decor or pretend play pieces – this summer themed kid craft idea is not only super simple but really inexpensive and fun for all ages.
All you need are FOUR simple craft supplies and a little crafty imagination to get straight to work with your child. It’s not only easy BUT it’s also mess-free & absolutely perfect for some indoor “beat the heat” fun!
Keep scrolling for ALL the details below in the full step-by-step watermelon craft tutorial. Then when you complete it, be sure to snap a few pictures to tag us on Instagram with! I can’t wait to see how awesome your pieces turn out! #gluedtomycrafts
Looking for some fun and easy craft ideas for kids this summer? Look no further than this watermelon craft made with foam and paper plates!
Craft Supplies:
- Pink Sticky Back Craft Foam Sheet
- Green Sticky Back Craft Foam Sheet
- Large Paper Plate
- Black Marker
- Craft Scissors
Directions:
- First things first – cut your paper plate in half. Straight up the center to make TWO equal paper plate pieces. You can either use both halves for today’s watermelon craft or set one aside to save for a rainy day!
- Next grab your sticky back pink and green craft foam & scissors.
- Go ahead and have children cut both pieces of craft foam into 1 inch wide stripes, then into one inch squares. Remember the square shapes don’t have to be perfect.
- Separate your pieces into two separate color piles.
- Next, starting with the green squares, have children remove the paper backing on each piece of adhesive foam and then place it on the rim of the paper plate halves.
- When the rim is completely covered, go ahead and take the pink squares, remove the backing and then place in the inner part of the paper plate.
- Repeat for each paper plate piece until you have the look of a watermelon.
- The final step is to take your black marker and draw small “seeds” in the pink area of the finished paper plate halves.
- Then display your paper plate watermelon craft piece proudly for all to see!!!
RELATED —> Puffy Paint Watermelon Slices

AFFILIATE LINK – PAIR OUR CRAFT IDEA WITH “THE WATERMELON SEED” BOOK
So what do you think? Hopefully you are inspired to recreate this snazzy craft foam and paper plate watermelon craft idea today!
On that note, let’s grab our supplies and carve out some “naturally sweet” craft time to make these pretty awesome watermelon DIY crafts today! Happy crafting and celebrating these last few weeks of summer, my friends!!!
If you’re looking for more fun projects to tackle with your kids this summer, try these easy kid craft ideas conveniently located on our website right now: Chalk Art Hedgehog, Popsicle Stick Watermelon Slices and Craft Foam Fox Friends

Paper Plate & Craft Foam Watermelon
Whether for a boredom-buster craft, festive party decor or pretend play pieces – this pink and green watermelon idea is super simple for all!
Here’s your checklist of supplies to bring this craft to life:
- 1 Large Paper Plate
- Sticky Back Craft Foam Sheets pink and green
Prepare your creative haven by laying down a protective cover before the crafting magic begins!
Directions:
- First things first - cut your paper plate in half. Straight up the center to make TWO equal paper plate pieces. You can either use both halves for today’s watermelon craft or set one aside to save for a rainy day!
- Next grab your sticky back pink and green craft foam & scissors.
- Go ahead and have children cut both pieces of craft foam into 1 inch wide stripes, then into one inch squares. Remember the square shapes don’t have to be perfect.
- Separate your pieces into two separate color piles.
- Next, starting with the green squares, have children remove the paper backing on each piece of adhesive foam and then place it on the rim of the paper plate halves.
- When the rim is completely covered, go ahead and take the pink squares, remove the backing and then place in the inner part of the paper plate.
- Repeat for each paper plate piece until you have the look of a watermelon.
- The final step is to take your black marker and draw small “seeds” in the pink area of the finished paper plate halves.
- Then display your paper plate watermelon craft piece proudly for all to see!!!

Grab our favorite books via our Amazon affiliate link! In our Amazon storefront you will find books, toys and craft supplies we absolutely love using for our Glued To My Crafts tutorials!
If you've enjoyed our content or have any thoughts to share, we'd love to hear from you! Mention @gluedtomycrafts or tag #gluedtomycrafts on Instagram!