
In just a few simple steps and basic materials, you can help your children create cute and colorful mushrooms made from paper plates – all while making lasting memories with your mini-artists at home.

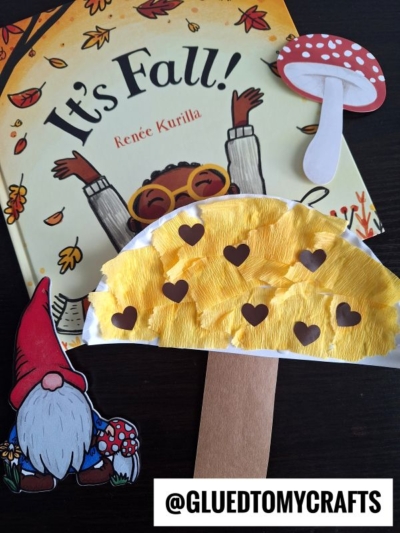
Tissue Paper Mushroom Craft
Are you looking for a fun and creative craft project to do with your kids? Then this red and white mushroom craft tutorial is for YOU!
Crafting is a great way to be creative, explore new materials and techniques, as well as learn some valuable skills. With just a few inexpensive items from around the home, you can create this adorable Paper Plate Mushroom craft in no time.
Not only will this craft keep your little ones occupied on a rainy day or during school holidays but it can also teach them about colors and shapes while they’re having fun!
So grab those paper plates and make some delightful mushroom inspired pieces of art with your child today! Find everything else you need to know, in the full tutorial below. Happy crafting, my friends!
RELATED: Tissue Paper Chick and Spring Flower Truck


This easy paper plate mushroom craft is perfect for kids of all ages! They’ll love learning how to make these cute little red and white mushrooms with just a few simple supplies!
Craft Supplies:
- Large Paper Plate
- Red Tissue Paper
- White Cardstock Paper
- Brown Cardstock Paper
- School Glue
- Scissors
- Small Circle or Heart Shaped Paper Punch
- Stapler
Directions:
- First cut your paper plate in half. Straight up the center to make TWO equal pieces.
- You can either make TWO mushrooms at once or set one half aside for another day.
- Next grab your red tissue paper and cut it into small squares.
- Take your paper plate half and put a good amount of glue all over it.
- Have children place the tissue paper on top of the glue, until the paper plate is completely covered.
- While they are working on that, punch out some white “dots” with your paper punch {you can do as many or as little as you like!}
- You should also at this time cut out a stem of the brown cardstock for your mushrooms.
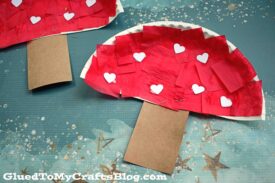
- To finish off the Paper Plate Mushroom craft – staple/glue the cardstock paper pieces in their designated spots on the paper plate, as well as any other embellishments you see fit.
- Then display proudly for all to see! #gluedtomycrafts
RELATED —> Cupcake Liner Mushrooms

Looking for a few more craft ideas to recreate today? Check out our Easter Egg Birds, Easter Gnomes and Popsicle Stick Bunny posts on the Glued To My Crafts website right now!
I’m sure you are going to love ALL three of those ideas from us! Not to mention, all of them would pair nicely with today’s paper plate mushroom craft – hint hint!

Paper Plate Mushroom Craft Idea For Kids
Here’s your checklist of supplies to bring this craft to life:
Prepare your creative haven by laying down a protective cover before the crafting magic begins!
Directions:
- First cut your paper plate in half. Straight up the center to make TWO equal pieces.1 Large Paper Plate
- You can either make TWO mushrooms at once or set one half aside for another day.
- Next grab your red tissue paper and cut it into small squares.Tissue Paper
- Take your paper plate half and put a good amount of glue all over it.
- Have children place the tissue paper on top of the glue, until the paper plate is completely covered.
- While they are working on that, punch out some white "dots" with your paper punch {you can do as many or as little as you like} You should also at this time cut out a stem of the brown cardstock for your mushrooms.Cardstock Paper
- To finish off the Paper Plate Mushroom craft – staple/glue the cardstock pieces in their designated spots on the paper plate, as well as any other embellishments you see fit.
- Then display proudly for all to see!

CLICK HERE TO PRINT THE DIRECTIONS FOR THIS CRAFT