This fun and easy hedgehog craft idea is perfect for kids of all ages! All you need is school glue and paper!


Who doesn’t love the satisfying crinkle of paper tearing? Whether it’s the suspense of a surprise or the creative destruction it unleashes, there’s something universally delightful about the sound and sensation.
These tactile elements combined with the joy of crafting can create a perfect storm of fun for kids of all ages.
In this latest tutorial from us, we’ll be sharing a delightful craft idea that’s as simple as it is endearing – the Torn Paper Hedgehog. It combines fine motor skills, creativity, and a lesson in wildlife all wrapped up in torn, textured-paper craft!

GRAB THE HEDGEHOG PRINTABLE FROM OUR LANDING PAGE
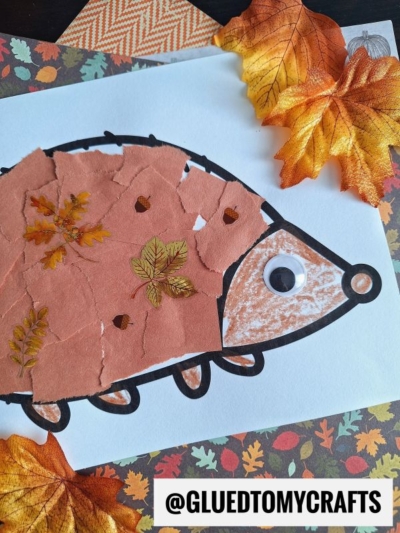
To bring to life this adorable hedgehog craft, simply start off by having children tear/cut brown construction paper into small squares.
From there, children will take their hedgehog print out and color in the head & legs with a brown crayon.
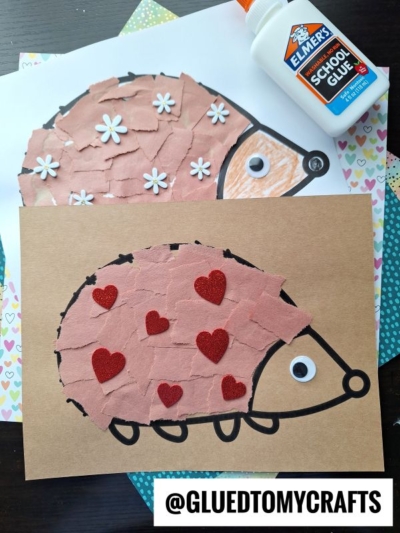
Now place a good amount of school glue in the center of the design and have them layer the torn pieces ON the printable, to create the “spikes” on the hedgehog. They can layer/stack them however they like! At this point in time they can also add other embellishments as well {like flower stickers for spring!}
The final step is to add a wiggle eye so the hedgehog can see. Then set it aside to allow it to dry completely, before displaying it proudly for all to see!
So on that note, I hope you have fun recreating it with your little crafter today!
If you enjoyed today’s torn paper hedgehog craft idea, be sure to also check out our Chalk Art Hedgehog and Handprint Hedgehog tutorials for MORE super fun craft time ideas from us!
FOLLOW US ON PINTEREST SO YOU NEVER MISS A NEW TUTORIAL FROM US!

Torn Paper Hedgehog Craft Idea For Kids
This fun and easy hedgehog craft idea is perfect for kids of all ages! All you need is school glue and paper!
Here’s your checklist of supplies to bring this craft to life:
Prepare your creative haven by laying down a protective cover before the crafting magic begins!
Directions:
- To bring to life this adorable hedgehog craft, simply start off by having children tear/cut brown construction paper into small squares.
- From there, children will take their hedgehog print out and color in the head & legs with a brown crayon.
- Now place a good amount of school glue in the center of the design and have them layer the torn pieces ON the printable, to create the "spikes" on the hedgehog. They can layer/stack them however they like! At this point in time they can also add other embellishments as well {like flower stickers for spring!}
- The final step is to add a wiggle eye so the hedgehog can see. Then set it aside to allow it to dry completely, before displaying it proudly for all to see!


NEED MORE HELP DOWNLOADING OUR FREE PRINTABLES? PLEASE REFER TO OUR FAQ PAGE
If you've enjoyed our content or have any thoughts to share, we'd love to hear from you! Mention @gluedtomycrafts or tag #gluedtomycrafts on Instagram!