We are taking simple paper plates and making houses come to life for the Valentine's Day season!

Welcome to our latest crafting adventure! As we all know, children have wild imaginations and are constantly seeking new ways to express their creativity. That’s why today, we’re sharing a fun and easy craft idea that will ignite your child’s imagination and provide hours of entertainment – a paper plate cupcake house!
Are you looking for a fun and creative activity to do with your kids? Look no further because we have the perfect craft idea for you – a paper plate cupcake house!
This simple yet adorable DIY project is sure to capture your child’s imagination this Valentine’s Day season and keep them entertained for hours. Not only will it provide a great bonding experience, but it also encourages creativity, fine motor skills, and problem-solving abilities.
So grab some supplies and get ready to create a sweet treat that can be enjoyed all year round. In this blog post, we will guide you through the step-by-step process of making this paper plate cupcake house with easy-to-follow instructions and helpful tips.
Get excited as we embark on this fun-filled crafting adventure together!

If you can dream it, you can build it – with a few paper plates and some creative spark from Glued To My Crafts!
Craft Supplies:
- Large Paper Plate – 1 per craft
- Scissors
- Craft Paint
- Paint Brush
- Cupcake House Printable – on our landing page
- White Cardstock Paper
- Crayons, Markers or Colored Pencils
- School Glue
- Stapler
- Glitter Craft Foam
Directions:
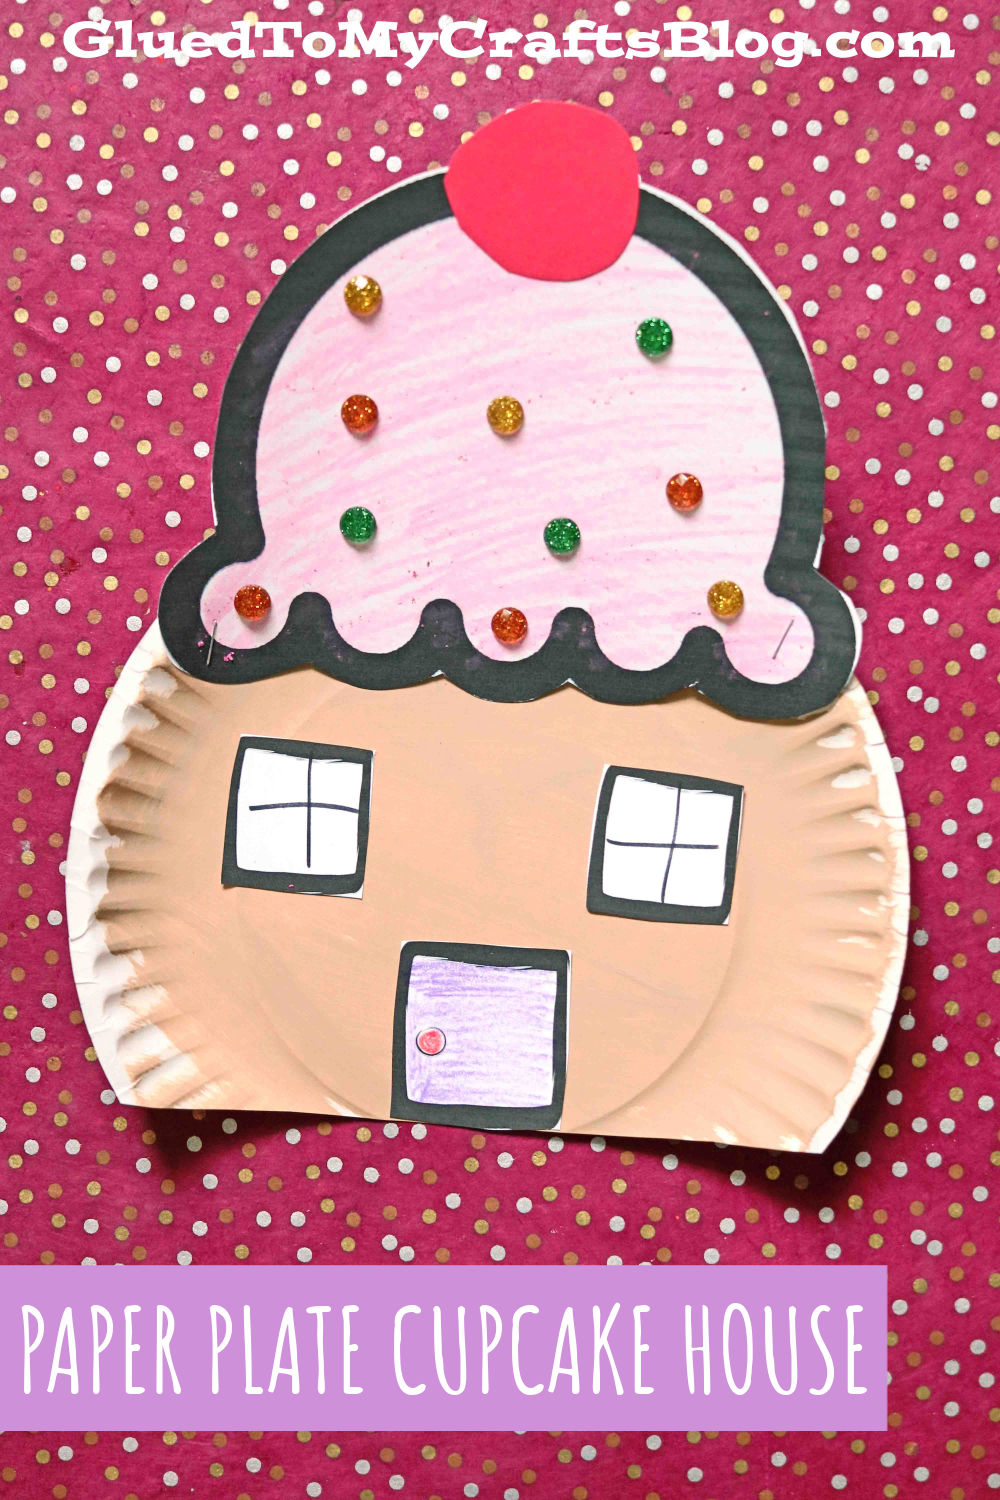
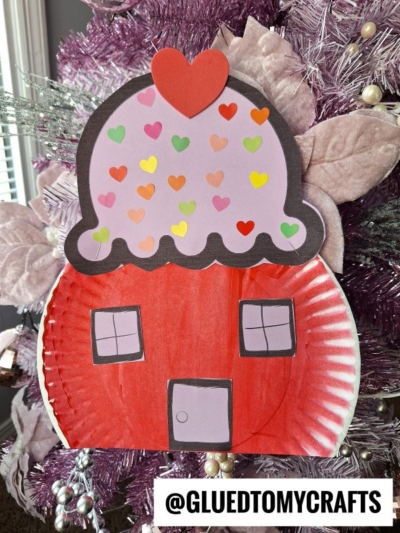
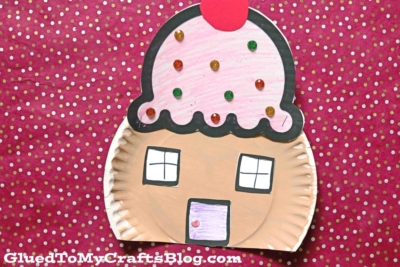
- First things first – cut off a small section on the bottom of your paper plate to make the cupcake house sit/lay flat.
- Discard the small piece you just cut off.
- Go ahead and now paint the paper plate piece completely.. I went with brown but you can use whatever paint color you like.
- When done painting, set it aside till later.
- Now print out the FREE cupcake house template listed above in the supply list.
- Using scissors, trim out each section in the printable you just printed. You will have two windows, a door and the frosting rooftop.
- Go ahead and color in ALL your pieces with your choice of coloring material.
- Add lines to the windows to make them more defined.
- Set aside all the cutouts for a second.
- Next grab your craft foam/cardstock and scissors.
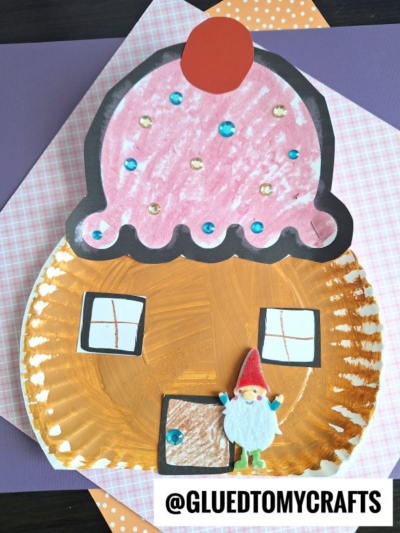
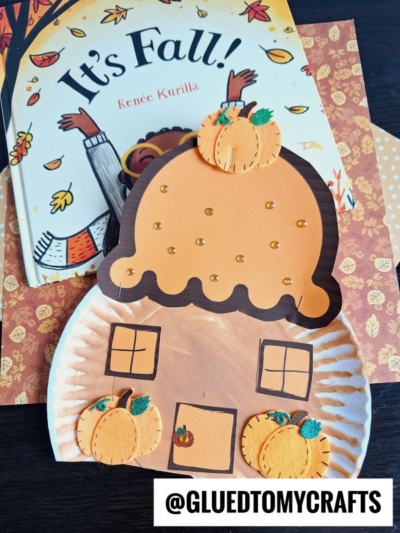
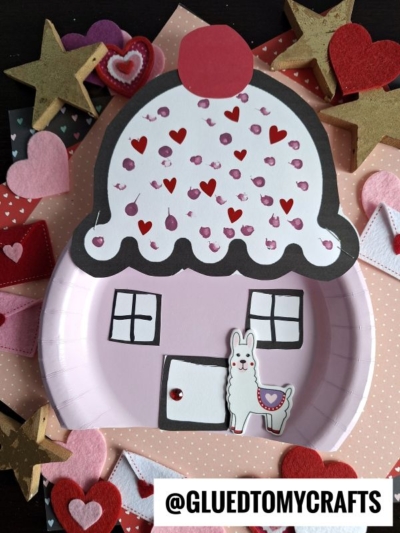
- Cut out a large circular “cherry” to be placed on top of your house.
- Now it’s time to start assembling your Valentine’s Day Cupcake House.
- Go ahead and glue/staple all your paper embellishments in place on the painted paper plate to make it look like a house.
- Now add anything else you like for that custom look {like some heart shaped stickers or glitter!} before displaying proudly!
- Don’t forget to snap a few pictures to share with us on your social media sites!
- BTW – our gorgeous Popsicle Stick Valentine Gingerbread House tutorial is another great one to BUILD today!
RELATED —> Paper Valentine Tree House
Come get extra crafty with us, this Valentine’s Day season!
We have our Emoji Valentines, Valentine Love Note Bird and Peeking Valentine Cat craft posts for you to check out today and get inspired!
Are you by chance looking for some handmade pieces to make and gift this season? Then be sure to check out our Kids Made Valentine’s Day Gift Idea roundup collection as well!

Paper Plate Cupcake House Craft
We are taking simple paper plates and making houses come to life for the Valentine's Day season!
Here’s your checklist of supplies to bring this craft to life:
- School Glue
Prepare your creative haven by laying down a protective cover before the crafting magic begins!
Directions:
- First things first - cut off a small section on the bottom of your paper plate to make the cupcake house sit/lay flat.1 Large Paper Plate
- Discard the small piece you just cut off.
- Go ahead and now paint the paper plate piece completely. I went with brown but you can use whatever paint color you like.Craft Paint
- When done painting, set it aside till later.
- Now print out the FREE cupcake house template on white cardstock paper.
- Using scissors, trim out each section in the printable you just printed. You will have two windows, a door and the frosting rooftop.
- Go ahead and color in ALL your pieces with your choice of coloring material.
- Add lines to the windows to make them more defined.
- Set aside all the cutouts for a second.
- Next grab your craft foam/cardstock and scissors.
- Cut out a large circular "cherry" to be placed on top of your house.
- Now it's time to start assembling your Valentine's Day Cupcake House.
- Go ahead and glue/staple all your paper embellishments in place on the painted paper plate to make it look like a house.
- Now add anything else you like for that custom look {like some heart shaped stickers or glitter!} before displaying proudly!


NEED MORE HELP DOWNLOADING OUR FREE PRINTABLES? PLEASE REFER TO OUR FAQ PAGE
If you've enjoyed our content or have any thoughts to share, we'd love to hear from you! Mention @gluedtomycrafts or tag #gluedtomycrafts on Instagram!