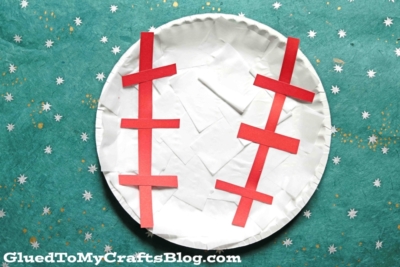
Let’s go team! Have some fun with the kids this weekend and make a “paper plate baseball” design that is sure to “hit the ball out of the park” in the craft department!

Let’s play ball! If you’re looking for a fun and easy sports-themed activity to make with the kids, this paper plate baseball craft is a home run.
With just a few simple supplies, children can turn an ordinary paper plate into their very own baseball masterpiece.
It’s a great craft for summer fun, classroom activities, baseball parties, or any day you want to keep little hands busy creating.

Get the team ready! Turn some paper plates into baseballs for an easy and fun craft the whole family will love!
Craft Supplies:
- Large Paper Plate – 1 per craft
- White Tissue Paper
- Red Cardstock Paper
- School Glue
- Craft Scissors
Directions:
- First things first – cut your tissue paper into small squares.
- Next put a good amount of glue all over the paper plate.
- Have children place the white tissue paper on top of the glue, until it’s completely covered.
- While they are working on that, cut out some stripes from the red cardstock paper, for the iconic red laces/stitching on the baseball.
- To finish off the Paper Plate Baseball kids craft – simple glue the cardstock paper pieces on the paper plate.
- Then display proudly for all to see! {or add other embellishments to really make it your own!}
RELATED —> Popsicle Stick Pete The Cat
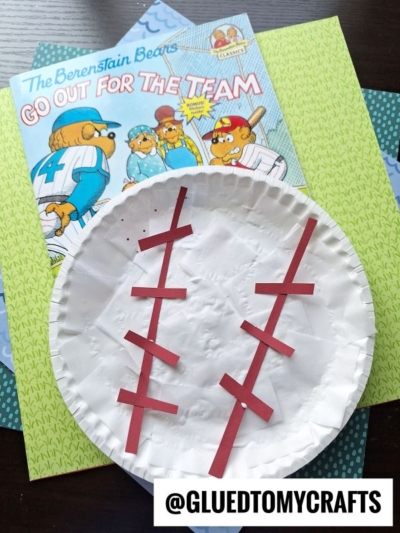
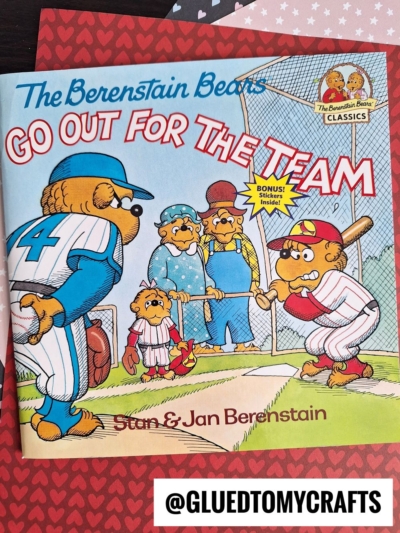
AFFILIATE LINK – PAIR OUR CRAFT IDEA WITH THE BOOK “GO OUT FOR THE TEAM”
If you are looking for even MORE “simple to make” kid craft ideas, that also go along with our favorite children’s books, be sure to check out these fun posts listed below. All of which would pair nicely with today’s baseball paper plate craft idea – hint hint!
- Paper Plate Cookie
- Paper Plate Elephant & Piggie
- Paper Plate Button
- Paper Plate Pigeon
- Paper Plate Baker
- Paper Plate Caterpillar
- Popsicle Stick Baseball


Paper Plate Baseball Craft
Create a fun paper plate baseball craft with kids! Easy, creative, and perfect for sports fans. A great hands-on activity to spark creativity and play!
Here’s your checklist of supplies to bring this craft to life:
- School Glue
Prepare your creative haven by laying down a protective cover before the crafting magic begins!
Directions:
- First things first - cut your tissue paper into small squares.
- Next put a good amount of glue all over the paper plate.
- Have children place the white tissue paper on top of the glue, until it's completely covered.
- While they are working on that, cut out some stripes from the red cardstock, for the stitching on the baseball.
- To finish off the Paper Plate Baseball craft – simple glue the cardstock pieces on the paper plate.
- Then display proudly!


Grab our favorite books via our Amazon affiliate link! In our Amazon storefront you will find books, toys and craft supplies we absolutely love using for our Glued To My Crafts tutorials!
If you've enjoyed our content or have any thoughts to share, we'd love to hear from you! Mention @gluedtomycrafts or tag #gluedtomycrafts on Instagram!