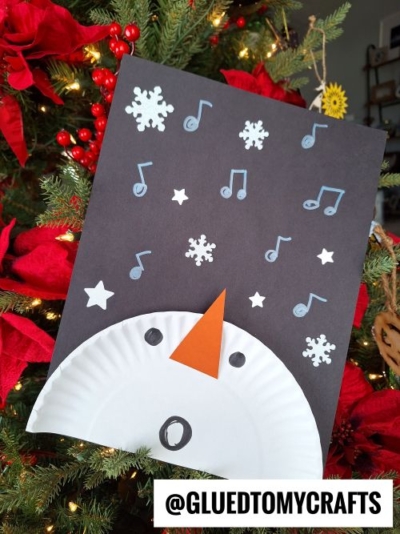
Today’s Paper Plate Singing Snowman craft uses simple supplies you probably already have at home or in the classroom. A paper plate becomes his round, jolly face. A sheet of dark cardstock turns into a snowy night sky. A few music notes, snowflakes, and stars finish the scene.
This craft works well for toddlers, preschoolers, and early elementary kids. It’s perfect for a cozy afternoon at home, a classroom holiday party, or a winter-themed lesson about music. When it’s done, it makes a sweet decoration for the fridge, a bulletin board, or even tucked into the branches of your Christmas tree.
Let’s warm up our voices and get crafting!
Craft Supplies:
Gather these supplies before you start so little hands stay busy and happy:
- 1 white paper plate
- 1 sheet of dark gray or black cardstock
- Orange construction paper (a small scrap is plenty)
- Black marker
- Silver marker
- Snowflakes and star stickers
- Glue (a glue stick or white school glue)
- Scissors (kid-safe scissors for children, regular scissors for adults)
Directions:
Step 1: Cut the Paper Plate
Take your white paper plate and cut it a little below the middle, so you end up with a piece that’s slightly larger than half. Keep the ruffled edge on the curved side. This will be your snowman’s head, peeking up from the bottom of the night sky.
Step 2: Draw the Snowman’s Eyes
Turn the plate so the flat cut edge faces down and the curved edge points up. Use the black marker to draw two solid circles side by side in the upper middle area of the plate. Color them in all the way so they look like shiny coal eyes.
Step 3: Make the Carrot Nose
Cut a tall, skinny triangle from the orange construction paper. This is your snowman’s carrot nose.
Glue the wide end of the triangle just below and between the eyes. Let the pointy tip angle up and slightly to the side. This gives him a playful, upward look, like he’s tilting his head back to hit a high note.
Step 4: Draw the Singing Mouth
Here’s where your snowman finds his voice! Use the black marker to draw an open circle near the bottom middle of the plate. Make it look like an “O,” as if he’s singing “Ohhhh, the weather outside is frightful!”
Step 5: Attach the Snowman to the Sky
Lay your dark gray or black cardstock vertically, with the short side at the bottom. Spread glue along the back of the paper plate and press it onto the bottom center of the cardstock. Let the flat edge line up with the bottom of the paper, so the snowman looks like he’s rising up into the night sky.
Press firmly and hold for a few seconds so it sticks well.
Step 6: Draw Music Notes in the Sky
Grab the silver marker and draw music notes across the dark sky above the snowman’s head. Try a mix of single notes with little flags and a few double notes joined together.
Spread them out so they look like they’re floating up from his singing mouth. Five or six notes fill the space nicely, but there’s no wrong amount. A very enthusiastic snowman might sing a whole song’s worth!
Step 7: Add Snowflakes and Stars
Finally, glue white snowflakes and stars around the music notes. Scatter them across the sky to create a snowy, sparkly winter night.
Place a few near the top, some along the sides, and maybe one or two close to the snowman. Let kids decide where each piece goes. Their choices make each craft one of a kind.
Set the finished project flat to dry for about 15 to 20 minutes.
RELATED —> Popsicle Stick Christmas Caroler Craft Idea For Kids
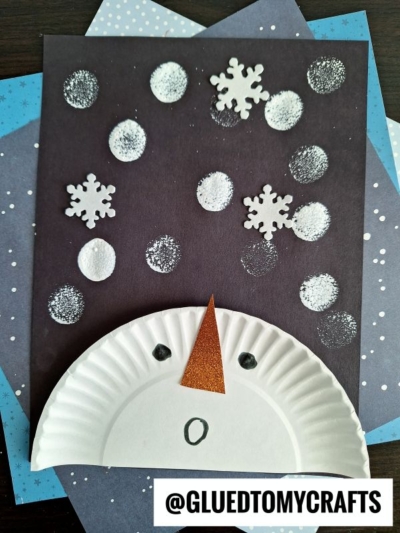
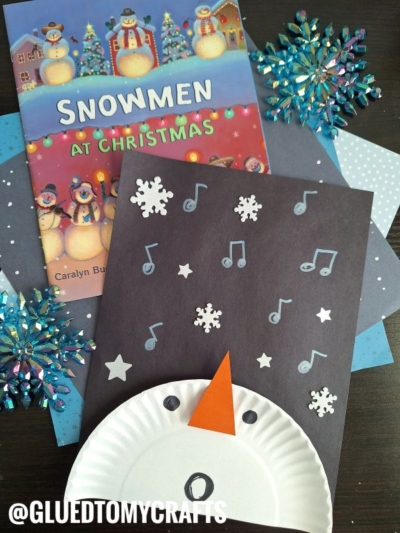
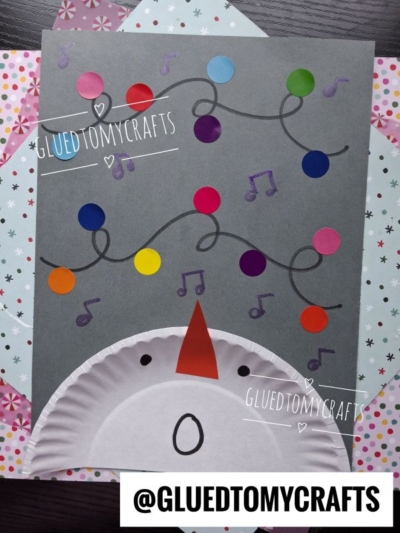
And just like that, you’ve made a jolly snowman who’s ready to fill your home or classroom with holiday cheer. This craft is simple, affordable, and full of chances for kids to be creative, giggle, and maybe even break into song.
We’d love to see your singing snowmen! Snap a photo of your little one’s creation and share it with us on social media. Tell us what song your snowman is singing, too. We bet there are some great holiday hits out there.
Happy crafting, and have a merry, music-filled Christmas! ☃️🎶
