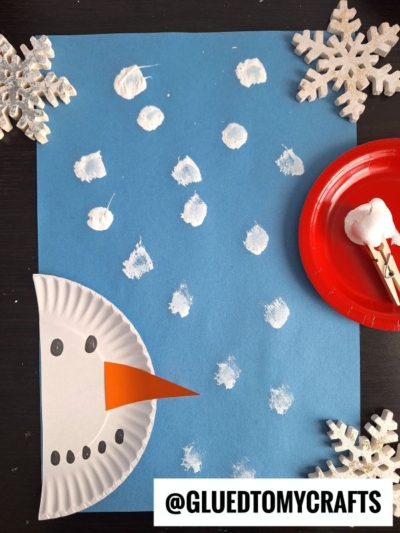
There’s something magical about the first snowfall of the season. Little noses press against the window, mittens come out of storage, and everyone starts dreaming of building a snowman. This craft lets your kids build one right at the kitchen table, no frozen fingers required!
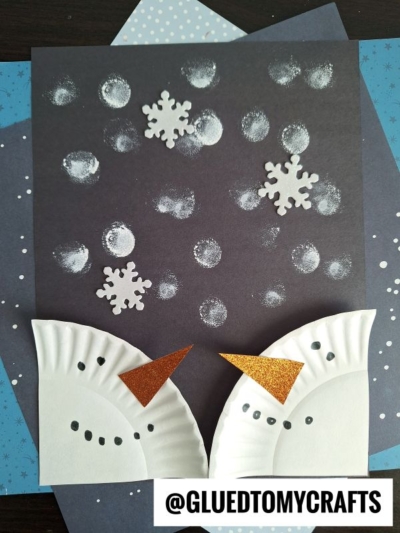
This sweet paper plate snowman peeks in from the side of the page, carrot nose pointed toward a sky full of falling snow. It’s simple enough for preschoolers and still fun for older kids. Best of all, you probably have most of the supplies already. Each little artist’s snowman turns out a bit different, with its own goofy grin and its own flurry of snowflakes. So grab a paper plate and let’s make some winter fun!
Craft Supplies:
- 1 white paper plate {small or large will work!}
- 1 sheet of blue construction paper
- White acrylic paint
- Orange construction paper (a small scrap works)
- Black marker
- Glue stick or white school glue
- 1 pom pom and 1 clothespin (for stamping)
- Scissors
- A small paper plate or dish to hold the paint
Helpful extras: a smock or old T-shirt, a damp paper towel for little hands, and newspaper or a plastic tablecloth to protect your work surface.
Directions:
Step 1: Cut the Paper Plate in Half
Fold the white paper plate in half and cut along the fold. You’ll only need one half for your snowman, so save the other half for a second snowman or a friend.
Tip: For younger kids, an adult can do this cut. Paper plates can be a little tough for small scissors.
Step 2: Glue the Plate to the Blue Paper
Turn your blue construction paper so it stands tall. Spread glue on the back of the half plate, then press it onto the paper. Line up the flat, straight edge with the left side of the paper so the curved rim faces right.
Now your snowman looks like he’s peeking into the picture to see the snow!
Step 3: Draw the Eyes and Coal Smile
Use the black marker to draw two eyes near the top of the plate. Round dots, tall ovals, or even winking eyes all work great.
Next, add a smile near the bottom of the plate. Draw five small dots in a curved line to look like pieces of coal. Encourage kids to make their snowman happy, silly, or surprised. There’s no wrong answer here.
Step 4: Cut and Glue the Carrot Nose
Cut a long, skinny triangle out of the orange construction paper. Glue the wide end onto the middle of the plate, with the pointy tip sticking out to the right.
Let the nose stretch past the edge of the plate and onto the blue paper. That little overlap gives your snowman a fun, 3D look, like he’s sniffing the winter air.
Step 5: Make It Snow!
Now for everyone’s favorite part. Squeeze a small puddle of white paint onto a scrap plate or dish. Clip a pom pom into a clothespin to make your stamping tool, then you’re ready to go:
Pom pom stamp: Clip a pom pom into a clothespin to make an easy stamping tool. Dip the pom pom into the paint, then press it onto the blue paper. Each fluffy stamp leaves a soft, round snowflake that looks just like a fresh snowfall!
Pom pom variation: Try using different sizes of pom poms for more variety! Larger pom poms make big, fluffy snowflakes, while smaller ones create a delicate dusting of snow. The clothespin handle keeps little hands clean and gives kids better control over where each snowflake lands.
Tip: Lay the craft flat and let the paint dry for about 15 to 20 minutes before hanging it up.
RELATED —> Paper Plate & Cotton Ball Snowflake Ornament
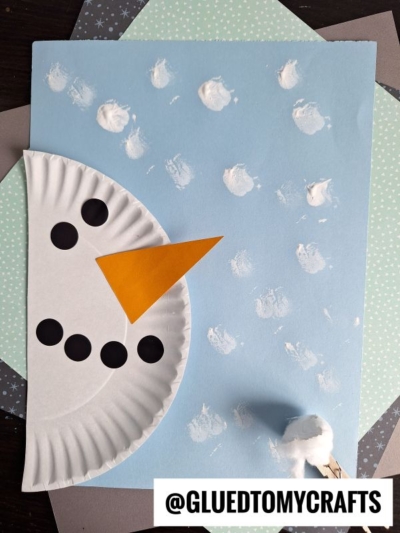
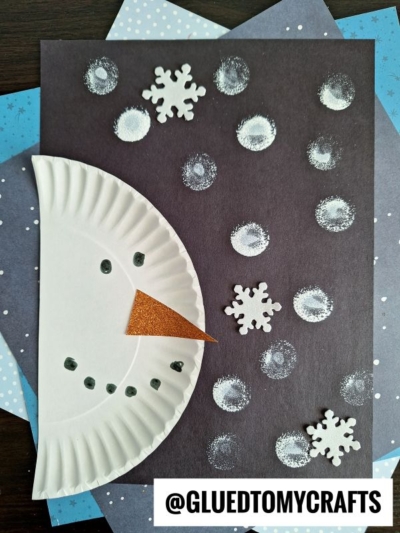
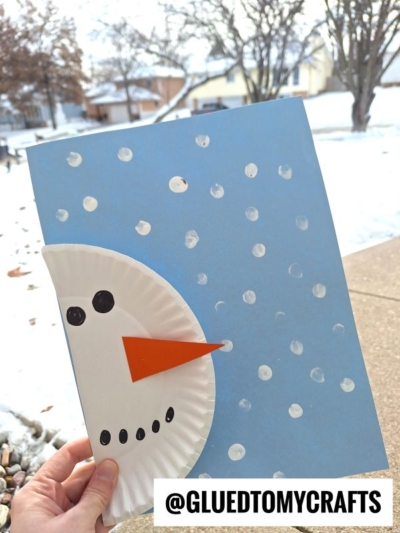
We hope this little snowman brings big smiles to your home or classroom. Every snowman is one of a kind, and we’d love to see yours!
Snap a photo of your finished craft and tag us at @GLUEDTOMYCRAFTS. Whether your snowman has a lopsided grin, a super-long nose, or a full-blown blizzard behind him, we want to celebrate it with you. Happy crafting, and stay cozy!
