Cold days have a way of keeping everyone indoors, and that’s when a good craft project saves the afternoon. Winter crafts give kids a chance to slow down, get creative, and make something they’re proud to show off. Best of all, some of the most charming projects start with items you’d normally toss in the recycling bin.
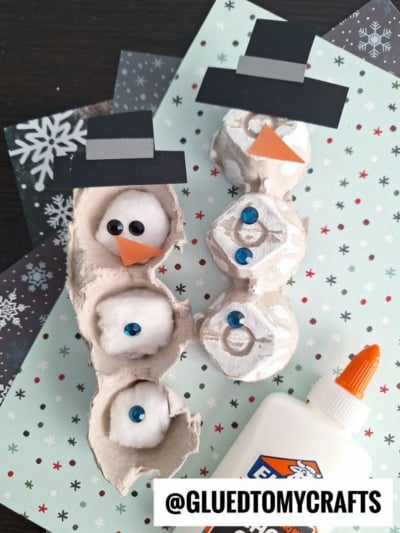
This egg carton snowman is one of those projects — and we’re sharing two fun ways to make it! You can go the classic painted route for a smooth, frosty look, or use fluffy cotton balls for a quick and no-fuss version. Both turn out adorable, and both are easy enough for little hands. Pick the one that works best for you, or try them both!
Craft Supplies:
No matter which method you choose, you’ll need these basics:
- Cardboard egg carton
- Scissors
- Small paper plate (for holding the paint)
- White craft paint
- Paint brush
- Small buttons or rhinestones (for the belly and eyes)
- Orange cardstock paper (for the carrot nose)
- Black cardstock paper (for a top hat)
- Craft glue or a low-temp glue gun
- White cotton balls (three per craft)
- Newspaper or a plastic tablecloth (to protect your workspace)
Directions:
Step 1: Cut Out Your Egg Cups
Open the egg carton and cut out a strip of three connected egg cups in a row. These three cups will become your snowman’s head, middle, and bottom. Trim any rough edges so the strip sits flat.
Step 2: Prep the Snowman Body
This is where the two versions split — just for a moment!
- Paint version: Stand your strip upright with the rounded bumps facing forward (like three stacked snowballs). Paint the whole strip with white paint, getting into the grooves. You may need two coats. Let it dry completely, about 20 to 30 minutes.
- Cotton ball version: Keep the cups facing upward. Dab glue into each cup and press one or two cotton balls inside, fluffing them so they puff up like fluffy snowballs. Let the glue set for a few minutes.
Both methods give you the same result — a cute, three-ball snowman body — just with a different texture!
Step 3: Make the Top Hat
Cut a basic hat shape from black paper.
Step 4: Make the Carrot Nose
Cut a small, skinny triangle from orange paper.
Step 5: Add the Face
Glue two small rhinestones onto the top cup (or the cotton balls in the top cup for the cotton ball version). Press them in gently so they stick. Add the carrot nose just below and between the eyes.
Step 6: Add the Buttons
Glue buttons or rhinestones down the front of the middle and bottom sections. For the cotton ball version, press them in slightly so they grip the fluff and stay put.
Step 7: Add the Hat and Finishing Touches
Glue the hat onto the top of your snowman’s head. For the cotton ball version, nestle it into the fluff so it sits securely. Tilt it slightly to one side for a jaunty effect!
Add arms if you’d like — brown pipe cleaners or small twigs poked into the sides of the middle cup work perfectly. Let everything dry fully, and your snowman is ready to show off!
RELATED —> Egg Carton Reindeer Craft Idea For Christmas
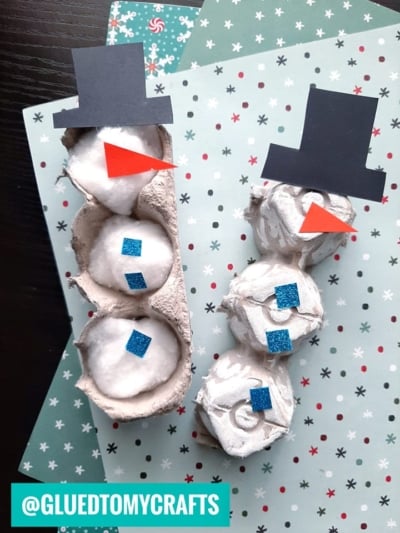
Whether you go for the smooth, painted look or the fluffy cotton ball version, this egg carton snowman proves that something wonderful can come from something ordinary. Kids get to practice cutting, gluing, and decorating — and they walk away with a cheerful little winter friend they made all by themselves.
So save those egg cartons, pick your method, and let the crafting begin. Happy snowman-making, and stay warm this winter!
