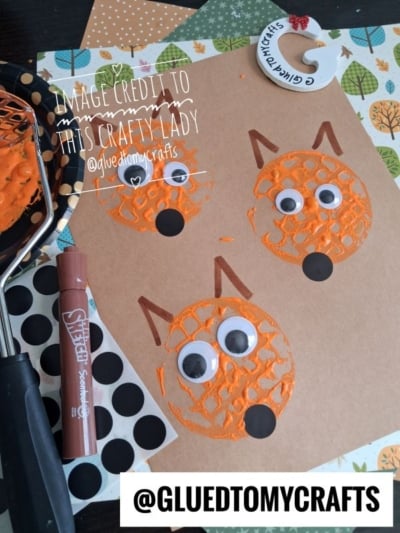
Autumn is the perfect time to pull a few surprise tools out of the kitchen drawer and turn them into art supplies. This potato masher fox craft is quick, low-mess, and full of personality. With one press of a paint-covered masher, kids get a perfectly textured fox face, and the rest is pure, giggly fun.
This project works beautifully at home, in the classroom, or at a fall-themed playdate. It takes about 20 minutes from start to finish (plus drying time), and every little crafter walks away with a sweet trio of foxes they made all by themselves.
Craft Supplies:
Gather these supplies before you begin:
- Brown construction paper or cardstock (cardstock holds up better to wet paint)
- Orange paint (washable tempera or acrylic craft paint)
- A metal potato masher with a grid or waffle-style head
- A paper plate for the paint
- A brown marker
- Black circular stickers for the noses
- Googly eyes in a few different sizes
- Craft glue
Helpful extras: a smock or old T-shirt, a plastic tablecloth, and baby wipes or paper towels for quick cleanups.
Directions:
- Squeeze a generous puddle of orange paint onto your paper plate. Spread it out a little so it’s slightly wider than the head of the potato masher. You want an even layer, not a deep pool. Too much paint can fill in the grid and blur the fun texture.
- Hold the masher by the handle and press the head flat into the paint. Lift it up and check that the whole grid is coated. Then press it straight down onto the brown paper. Hold it for a second or two and lift it straight up.
- Ta-da! You have your first fox face.
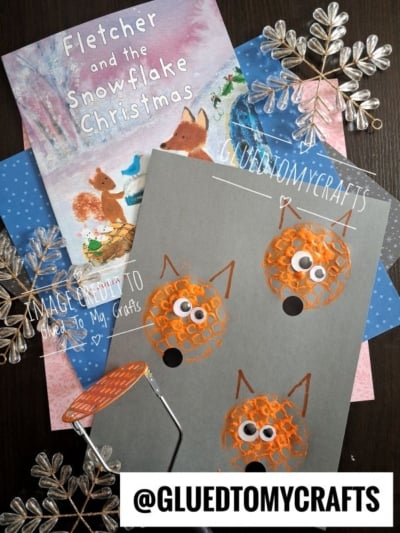
- Repeat to make two or three more foxes. Leave plenty of space above each circle for the ears. A triangle layout (two on top, one below) looks especially charming.
- Let the paint dry completely before moving on. This usually takes 15 to 30 minutes, depending on how thick the paint is.
- Once the paint is dry, grab the brown marker. Draw two pointed triangle ears on top of each orange circle, one on the left and one on the right. The bottom of each triangle should touch the top edge of the fox’s head.
- Kids can trace the ears in outline or color them in. Big ears, tiny ears, or one floppy ear all add character.
- Add a small dot of craft glue to the upper half of each orange circle where the eyes will go. Press two googly eyes onto the glue and hold them in place for a moment.
- Mixing eye sizes gives each fox its own silly expression. A fox with one big eye and one small eye always gets a laugh!
- Peel a black circle sticker off the sheet and press it near the bottom center of each orange circle. This little nose instantly brings the fox face to life.
- Step back and admire your adorable fox family!
RELATED —> Fork Painted Fox Craft Idea For Kids
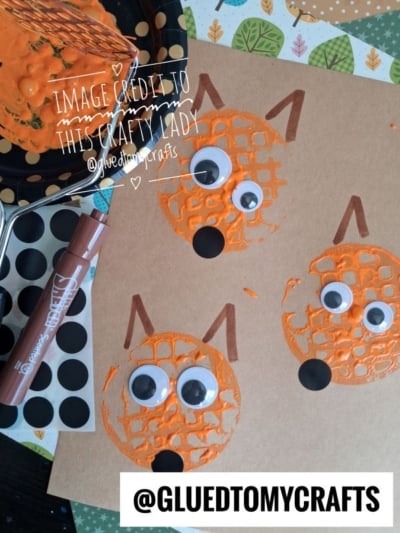
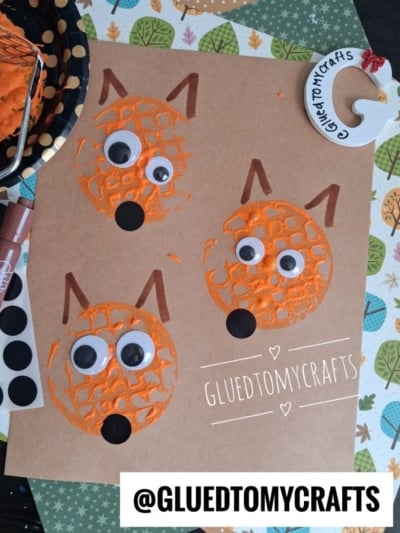
This potato masher fox craft proves that you don’t need fancy supplies to create something special. A kitchen tool, a little orange paint, and a few googly eyes are all it takes to spark big smiles and proud moments.
Display the finished foxes on the fridge, hang them on a classroom wall, or tuck them into a fall memory box. Most of all, enjoy the giggles, the creativity, and the time spent making something together. Happy crafting, my friends!

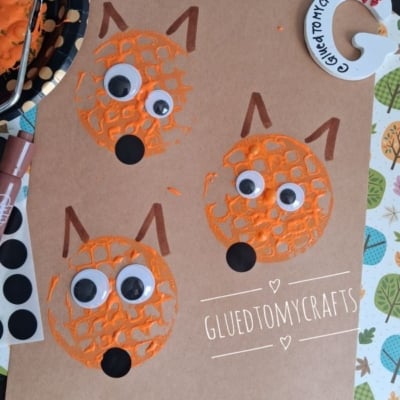
Potato Masher Orange Fox Craft Idea For Fall
Learn how to make a charming potato masher stamped hedgehogs using brown acrylic paint and easy-to-follow steps.
Here’s your checklist of supplies to bring this craft to life:
- Cardstock Paper
- Craft Paint
- Dot Stickers
- Wiggle Eyes
Prepare your creative haven by laying down a protective cover before the crafting magic begins!
Directions:
- Squeeze a generous puddle of orange paint onto your paper plate. Spread it out a little so it's slightly wider than the head of the potato masher. You want an even layer, not a deep pool. Too much paint can fill in the grid and blur the fun texture.
- Hold the masher by the handle and press the head flat into the paint. Lift it up and check that the whole grid is coated. Then press it straight down onto the brown paper. Hold it for a second or two and lift it straight up.
- Ta-da! You have your first fox face.
- Repeat to make two or three more foxes. Leave plenty of space above each circle for the ears. A triangle layout (two on top, one below) looks especially charming.
- Let the paint dry completely before moving on. This usually takes 15 to 30 minutes, depending on how thick the paint is.
- Once the paint is dry, grab the brown marker. Draw two pointed triangle ears on top of each orange circle, one on the left and one on the right. The bottom of each triangle should touch the top edge of the fox's head.
- Kids can trace the ears in outline or color them in. Big ears, tiny ears, or one floppy ear all add character.
- Add a small dot of craft glue to the upper half of each orange circle where the eyes will go. Press two googly eyes onto the glue and hold them in place for a moment.
- Mixing eye sizes gives each fox its own silly expression. A fox with one big eye and one small eye always gets a laugh!
- Peel a black circle sticker off the sheet and press it near the bottom center of each orange circle. This little nose instantly brings the fox face to life.
- Step back and admire your adorable fox family!

Grab our favorite books via our Amazon affiliate link! In our Amazon storefront you will find books, toys and craft supplies we absolutely love using for our Glued To My Crafts tutorials!
If you've enjoyed our content or have any thoughts to share, we'd love to hear from you! Mention @gluedtomycrafts or tag #gluedtomycrafts on Instagram!