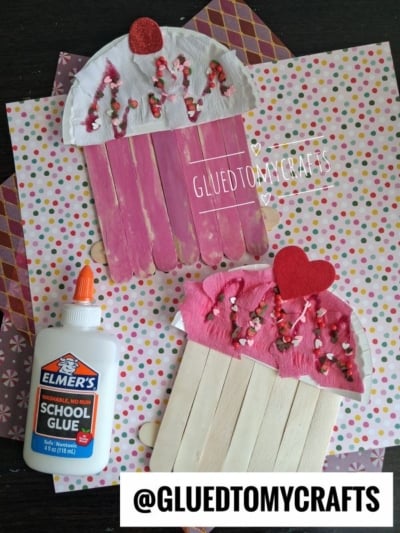
This popsicle stick and paper plate cupcake craft lets your kids make a sweet, sparkly cupcake they can’t eat but will love to show off. It’s a perfect Valentine’s Day activity for home, the classroom, or a cozy afternoon with the grandkids. You only need simple supplies, a little glue, and plenty of sprinkles.
Here at Glued To My Crafts, we love projects that look adorable and are easy for little hands. This one checks both boxes. The popsicle sticks become a cupcake liner, a paper plate turns into fluffy frosting, and kids get to pile on the “toppings.”
Craft Supplies:
- 9 popsicle sticks (craft sticks) per cupcake: 7 for the liner and 2 for support
- 1 small white paper plate
- Crepe paper in pink and white
- Elmer’s School Glue
- Glitter glue
- Acrylic or tempera paint, plus a paintbrush (optional)
- Small decorative sprinkles
- Scissors
- Newspaper or a craft mat to protect your table
Directions:
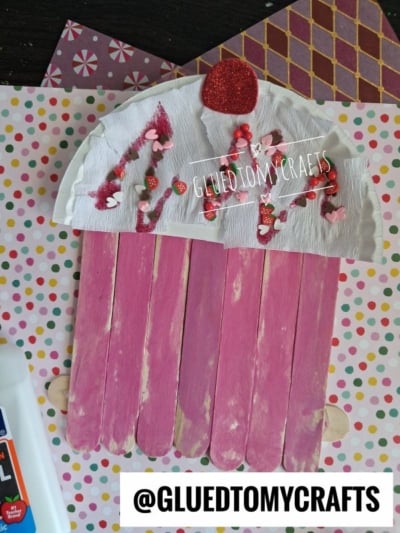
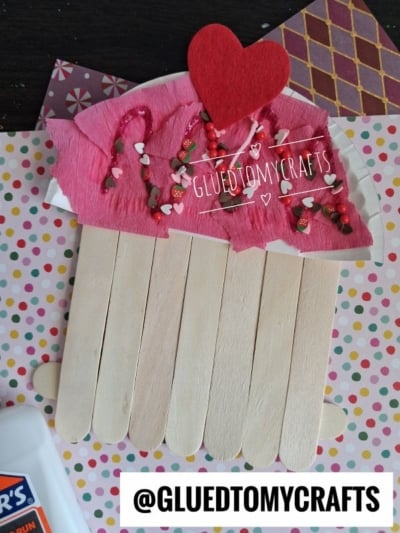
- Decide on your liner style. Leave the sticks natural for a rustic look, or paint 7 sticks pink for a bright, candy-shop feel. If you paint, let the sticks dry fully before you move on. A thin coat dries faster and still lets a little wood grain peek through.
- Line up 7 popsicle sticks side by side. Place them vertically on your work surface so the edges touch. This row becomes the cupcake liner.
- Glue on the support sticks. Run a line of Elmer’s glue across 2 more sticks and press them horizontally across the back of your row, one near the top and one near the bottom. Let the glue set for about 10 minutes. The liner should hold together when you gently lift it.
- Cut the paper plate in half. Use the pencil to draw a line through the center, then cut along it. One half-circle becomes your frosting base. Save the other half for a second cupcake.
- Attach the frosting to the liner. Spread glue along the top edge of the popsicle sticks. Press the straight edge of the paper plate half onto it so the frosting overlaps the liner slightly. Hold it in place for 30 seconds.
- Layer the crepe paper. Tear or cut crepe paper into small strips and scrunch them up. Brush glue over the paper plate, then press the crumpled crepe paper on top until the plate is covered. Use pink crepe paper for natural wood liners and white for painted pink liners. The scrunched texture makes the frosting look fluffy and real.
- Drizzle on the glitter glue. Squeeze pink or red glitter glue across the frosting in zig-zags or loops. This looks like a sweet syrup drizzle and adds instant sparkle.
- Add the sprinkles. While the glitter glue is still wet, press on heart sequins, strawberry embellishments, and red beads. Wet glitter glue works like a built-in adhesive. For bigger pieces, add a small dot of school glue first.
- Finish with a topper. Cut a heart from red felt or a small dome “cherry” from red glitter paper. Glue it to the top center of the frosting. Lay the cupcake flat and let it dry for at least 2 hours, or overnight for thick glitter glue.
RELATED —> Cupcake Hot Air Balloon Craft Idea For Valentine’s Day
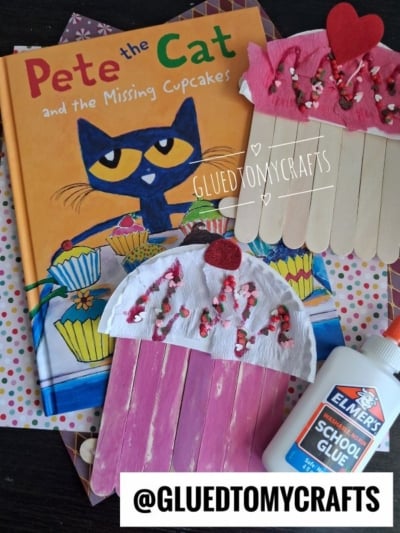
GRAB THE PETE THE CAT & THE MISSING CUPCAKES BOOK VIA OUR AMAZON AFFILIATE LINK
Now it’s your turn to grab some popsicle sticks and a paper plate and start building. Save this tutorial for your next Valentine’s Day party or rainy-day craft session.
When your little bakers finish their cupcakes, snap a photo and tag us at @GLUEDTOMYCRAFTS. We can’t wait to see all your sprinkles, sparkles, and cherry-on-top creations! Happy crafting, my friends!

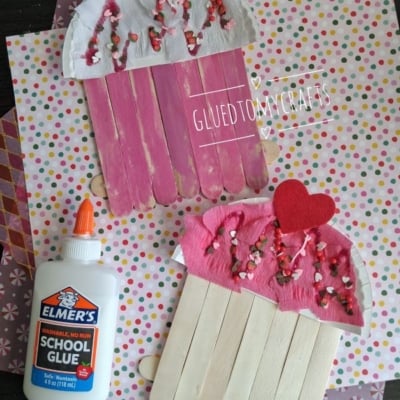
Popsicle Stick and Paper Plate Cupcake Craft
Popsicle stick and paper plate cupcake craft for kids! Easy Valentine's Day fun with crepe paper, glitter glue, and step-by-step tips for parents and teachers.
Here’s your checklist of supplies to bring this craft to life:
- 1 Small Paper Plate
- Crepe Paper
- Jumbo Popsicle Sticks
- Embellishments
Prepare your creative haven by laying down a protective cover before the crafting magic begins!
Directions:
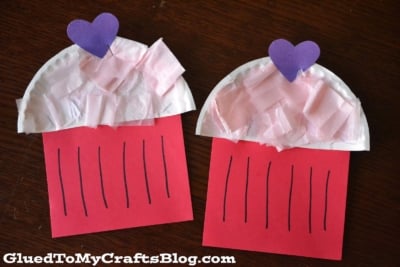
- First cut your paper plate in half. Straight up the center to make TWO halves. This will be the tops of your two cupcakes.
- Next - tear or cut up your tissue paper into small squares.
- Take your cardstock and cut two squares out. This will be the base of the cupcake. You can draw lines on it to make it look like a cupcake liner.
- Staple the square piece to the bottom of one of your paper plate halves. Your cupcake should start to look like a cupcake.
- Now is the fun part. Adding the "frosting" to the cupcake. Using a paint brush - slather some glue on the paper plate half. Have your child place tissue paper on the glue, completely covering the paper plate half. Once covered, set aside to let dry.
- To finish off - have them add some flair to their cupcake. We added a punch out of a heart to the top of ours. You can also had things like glitter, ribbon or sequins to really dress it up!

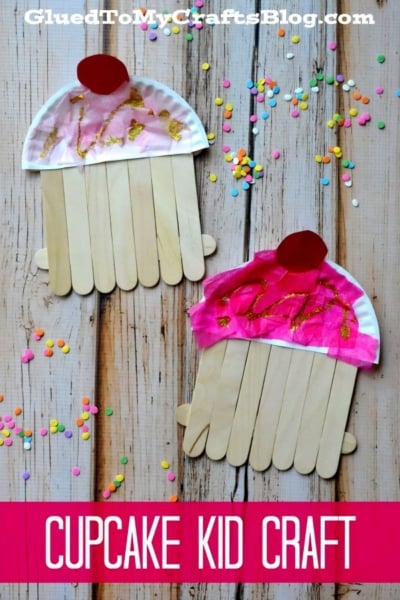
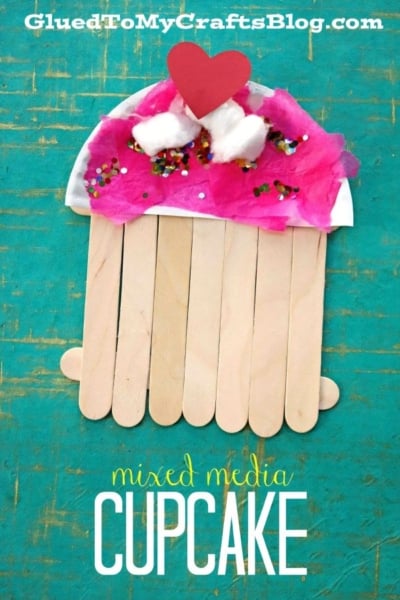
Grab our favorite books via our Amazon affiliate link! In our Amazon storefront you will find books, toys and craft supplies we absolutely love using for our Glued To My Crafts tutorials!
If you've enjoyed our content or have any thoughts to share, we'd love to hear from you! Mention @gluedtomycrafts or tag #gluedtomycrafts on Instagram!