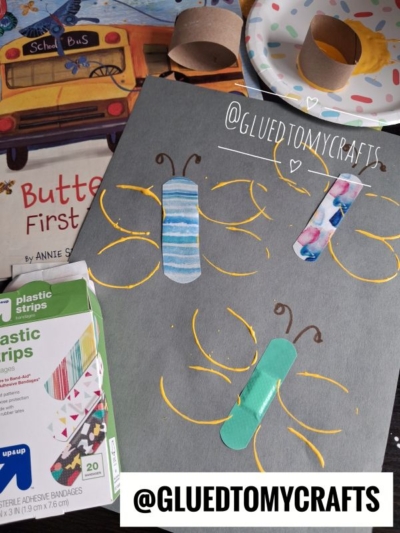
Butterflies have a funny way of showing up right when we need a little courage. That’s exactly what happens in the sweet children’s book Butterflies on the First Day of School, where a nervous little girl learns that those flutters in her tummy can turn into something beautiful. If you’re looking for a hands-on way to bring that story to life, this craft is pure magic.
We’re going to make adorable butterflies using two surprising household heroes: an empty toilet paper roll and a box of colorful patterned bandages. It’s simple, it’s budget-friendly, and best of all, kids of all ages can join in. Let’s get crafting!
Craft Supplies:
Gather these simple supplies before you begin:
- Toilet paper roll segments – one or two empty cardboard tubes
- Colorful patterned adhesive bandages – these become the butterfly bodies, so pick fun prints and colors
- Yellow paint – washable is best for easy cleanup
- A paper plate – to hold your paint
- Gray cardstock or construction paper – this dark background really makes the yellow pop
- A brown marker – for drawing the antennae
That’s it! No fancy tools required.
Directions:
- Take your empty toilet paper roll and gently pinch one end so it forms an oval or teardrop shape. This little squeeze is what transforms a plain circle into a perfect butterfly wing. Don’t press too hard, you just want a soft, rounded oval.
- Squeeze a puddle of yellow paint onto your paper plate. Spread it out just enough so your cardboard stamp can pick up an even coat. A shallow puddle works better than a thick blob.
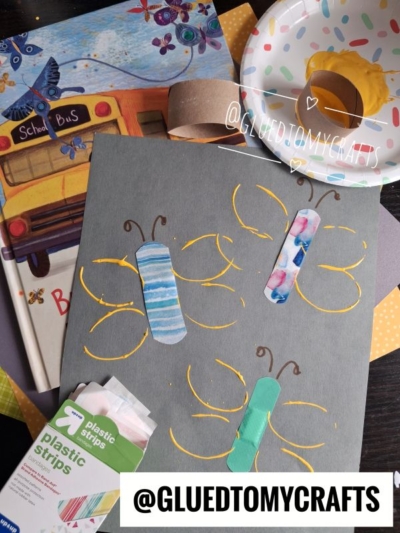
- Press the pinched end of your tube into the paint, then stamp it onto your gray paper. You’ll make four wing shapes in total: two on the left side and two on the right, arranged so they mirror each other. Leave a small gap down the middle where the butterfly’s body will go. Encourage kids to press firmly and lift straight up for the cleanest prints. If a wing looks faint, simply dip and stamp again.
- Once your wings are stamped, peel a patterned bandage and stick it vertically right down the center, between the two sets of wings. This becomes the butterfly’s body, and the fun print acts like natural decoration. You can wait for the paint to dry first, or press the bandage on while the wings are still wet, whatever your little artist prefers.
- Grab your brown marker and draw two curved lines extending up from the top of the bandage. Add a tiny loop or dot at the end of each one. And just like that, your butterfly comes to life!
RELATED —> Paint Splat Butterfly Craft
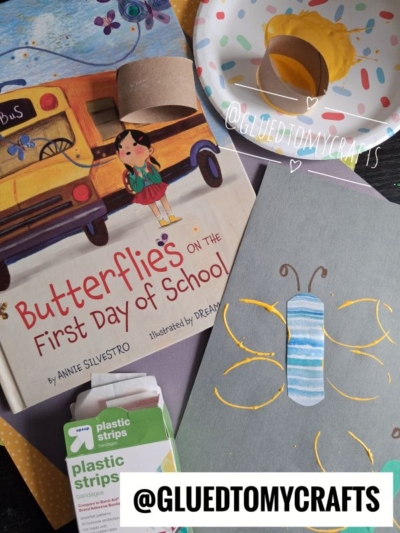
GRAB THE “Butterflies on the First Day of School” BOOK VIA OUR AMAZON AFFILIATE LINK
There’s something wonderful about watching kids turn everyday odds and ends into something they’re proud of. Pair this craft with a read-aloud of Butterflies on the First Day of School and you’ve got a cozy activity that soothes nerves and sparks imagination all at once.
So grab those cardboard tubes, pull out the bandage box, and let your little ones make their own beautiful butterflies. We can’t wait to see them take flight! Happy crafting, my friends!

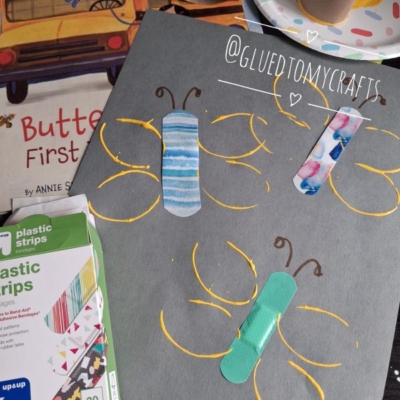
Toilet Roll Stamped Band-Aid Butterfly Craft Idea
Discover this easy toilet roll stamped bandaid butterfly craft for kids! Stamp yellow wings and add patterned bandage bodies. Try it today with your little ones.
Here’s your checklist of supplies to bring this craft to life:
- Cardstock Paper
- Craft Paint
- Band-Aids
- Embellishments
- Toilet Paper Roll
Prepare your creative haven by laying down a protective cover before the crafting magic begins!
Directions:
- Take your empty toilet paper roll and gently pinch one end so it forms an oval or teardrop shape. This little squeeze is what transforms a plain circle into a perfect butterfly wing. Don't press too hard, you just want a soft, rounded oval.
- Squeeze a puddle of yellow paint onto your paper plate. Spread it out just enough so your cardboard stamp can pick up an even coat. A shallow puddle works better than a thick blob.
- Press the pinched end of your tube into the paint, then stamp it onto your gray paper. You'll make four wing shapes in total: two on the left side and two on the right, arranged so they mirror each other. Leave a small gap down the middle where the butterfly's body will go. Encourage kids to press firmly and lift straight up for the cleanest prints. If a wing looks faint, simply dip and stamp again.
- Once your wings are stamped, peel a patterned bandage and stick it vertically right down the center, between the two sets of wings. This becomes the butterfly's body, and the fun print acts like natural decoration. You can wait for the paint to dry first, or press the bandage on while the wings are still wet, whatever your little artist prefers.
- Grab your brown marker and draw two curved lines extending up from the top of the bandage. Add a tiny loop or dot at the end of each one. And just like that, your butterfly comes to life!


Grab our favorite books via our Amazon affiliate link! In our Amazon storefront you will find books, toys and craft supplies we absolutely love using for our Glued To My Crafts tutorials!
If you've enjoyed our content or have any thoughts to share, we'd love to hear from you! Mention @gluedtomycrafts or tag #gluedtomycrafts on Instagram!