We are keeping the craft tutorials this year on Glued To My Crafts SUPER UNIQUE and today we are adding this Popsicle Stick Otter craft tutorial to the website archives!
It’s a first-seen-here idea and I just hope you love it as much as I do! My ultimate goal is that YOU are inspired to recreate some of your own otter friends with your child today!
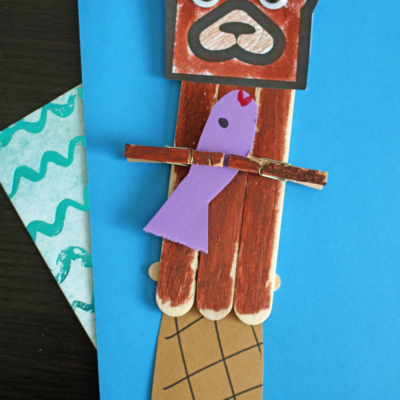
Otter Popsicle Stick Craft
Are you looking for a creative activity for your kids to do? Or maybe you’re an educator in need of something fun to engage your students with? Either way, we have just the thing for you: a Popsicle Stick Otter craft!
It’s easy and affordable too – all you need are some simple supplies like popsicle sticks, paint, and glue to create this cute little otter.
And the best part is that it gives kids the opportunity to explore their creativity while having a great time along the way. So make sure they come prepared with imaginations ready to take flight! You can find ALL the details you need to know, along with a free printable, in the full tutorial below!
Just one last note – I highly suggest this craft for the older children in your home since a glue gun is involved. Other than that – this tutorial is super easy, just like ALL the tutorials you can find on Glued To My Crafts right now! Happy crafting, my friends!
RELATED —> Popsicle Stick Bunny

It’s otter-ly cute! Whether for a nature lesson plan or a rainy day, our Popsicle Stick Otter craft tutorial is sure to be loved!
Craft Supplies:
- Jumbo Popsicle Sticks – 3 per craft
- Mini Popsicle Sticks -2 per craft
- Mini Clothespins – 2 per craft
- Low Temp Glue Gun
- Brown Craft Paint
- Paint Brush
- Paper Plate
- White Cardstock Paper
- Otter Head Printable – on our landing page
- Brown Cardstock Paper
- Choice of Color Cardstock Paper
- Scissors
- Black Marker
Directions:
- First get the glue gun hot and ready!
- Assemble the base of your otter friend by gluing THREE jumbo popsicle sticks and TWO mini popsicle sticks together to look like a fence {3 next to each other and the mini popsicle sticks across}
- Set aside to let it dry completely.
- When the popsicle stick shape is secure enough, go ahead and squirt your craft paint on the paper plate.
- Now paint your newly made popsicle stick shape completely with the dark brown craft paint.
- Go ahead and also paint your TWO mini clothespins, if you like, as well.
- Set all the painted pieces aside.
- Grab all your various sheets of cardstock paper.
- Cut out your head shape, a fish for him to hold and his long tail.
- Use the Sharpie marker to give some “detail” to the otter’s tail.
- Glue on the googly eyes as well.
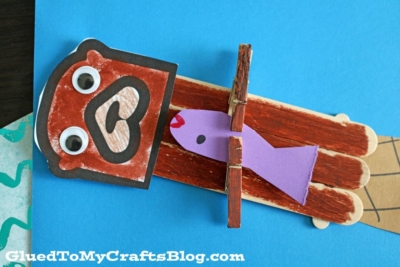
- Now go ahead and glue ALL the paper pieces to the painted popsicle stick shape from earlier. The tail will go on the back of the popsicle stick shape, while everything else on the front.
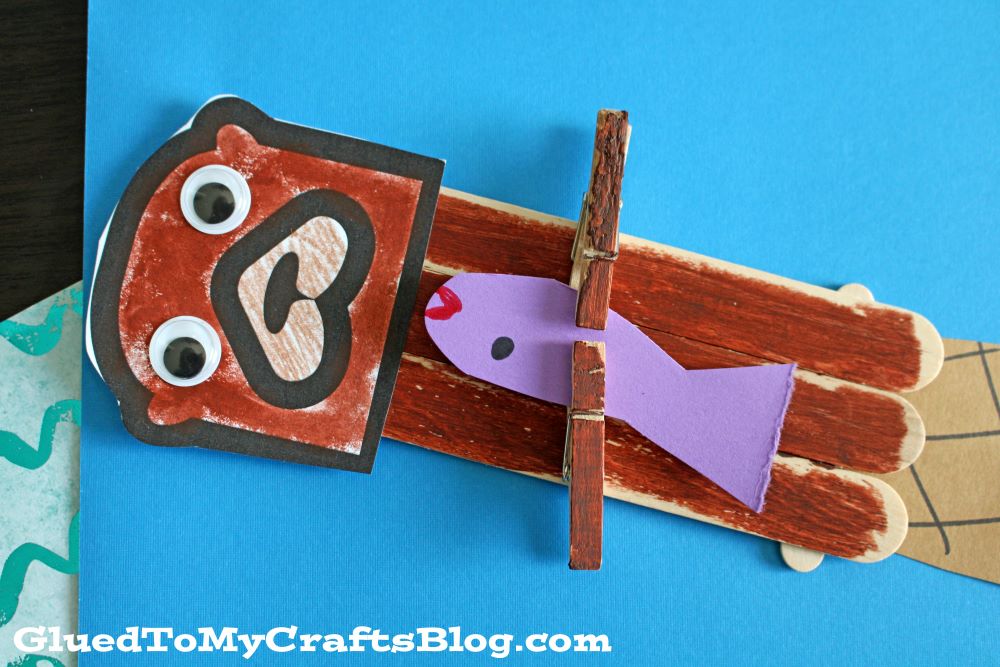
- This next step is CRUCIAL. Take your TWO mini clothespins and pinch them around the fishshape, to look like his hands/arm are holding it.
- To finish off the Popsicle Stick Otter craft, hot glue the combined piece you just made, to the center of the painted popsicle stick shape.
- Add any other embellishments you see fit.
- Then let it dry completely before displaying proudly!!!
RELATED —> Paper & Chalk Gnome
We have the BEST kid craft tutorials on the internet {if I do say so myself!}
Just check out our Lumberjack Bear, Snowy Mountain and Skunk popsicle stick craft posts, that hundreds of people have been recreating this season!
All of which are instant creativity at your fingerprints and super unique to our website!

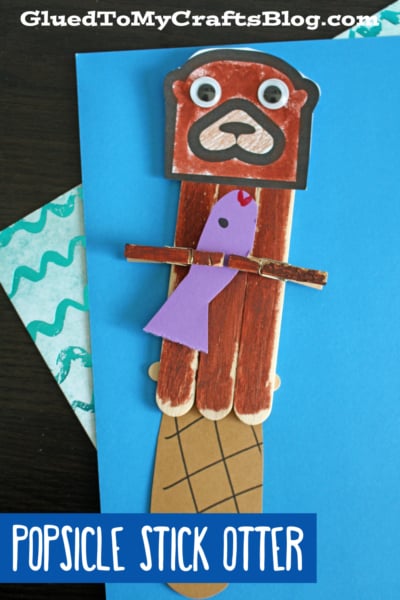
Popsicle Stick Otter Craft Idea For Kids
Here’s your checklist of supplies to bring this craft to life:
Prepare your creative haven by laying down a protective cover before the crafting magic begins!
Directions:
- First get the glue gun hot and ready!
- Assemble the base of your otter friend by gluing THREE jumbo popsicle sticks and TWO mini popsicle sticks together to look like a fence {3 next to each other and the mini popsicle sticks across}
- Set aside to let it dry completely.
- When the popsicle stick shape is secure enough, go ahead and squirt your craft paint on the paper plate.
- Now paint your newly made popsicle stick shape completely with the dark brown craft paint.
- Go ahead and also paint your TWO mini clothespins, if you like, as well.
- Set all the painted pieces aside.
- Grab all your various sheets of cardstock paper.
- Cut out your head shape, a fish for him to hold and his long tail.
- Use the Sharpie marker to give some "detail" to the otter's tail.
- Glue on the googly eyes as well.
- Now go ahead and glue ALL the paper pieces to the painted popsicle stick shape from earlier. The tail will go on the back of the popsicle stick shape, while everything else on the front.
- This next step is CRUCIAL. Take your TWO mini clothespins and pinch them around the fishshape, to look like his hands/arm are holding it.
- To finish off the Popsicle Stick Otter craft, hot glue the combined piece you just made, to the center of the painted popsicle stick shape.
- Add any other embellishments you see fit.
- Then let it dry completely before displaying proudly!!!


NEED MORE HELP DOWNLOADING OUR FREE PRINTABLES? PLEASE REFER TO OUR FAQ PAGE