Perfect for a zoo lesson plan, a story book theme or any day of the year you just need a boredom buster!

This kids craft is perfect for when you need a boredom buster. It’s also great as a zoo lesson plan or for any day of the year that you’re inspired by lions! All you need is some paint and paper. Let the fun begin!

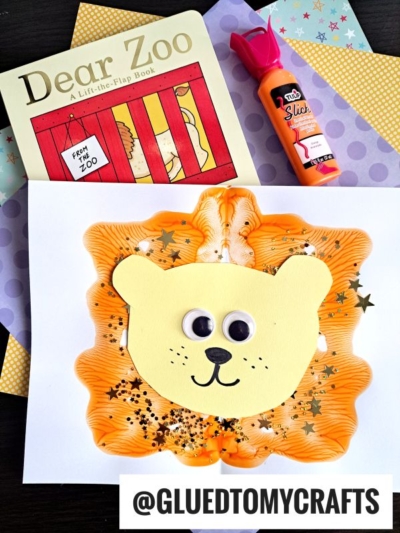
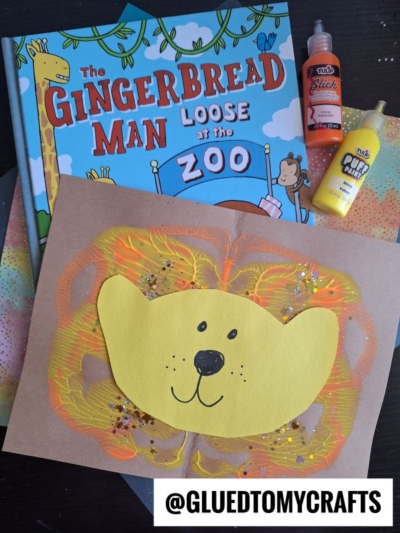
Paint Splatter Lion Mane Craft
ROAR into crafty fun with Glued To My Crafts and our latest Paint Splat Lion Mane kids craft idea! Perfect for a zoo themed craft day or any day of the year! Think of this as an evergreen craft idea that you can bookmark today and refer back to, anytime the crafty mood strikes!
It’s ROAR-SOME crafty fun that needs to be recreated today!!!


Learn how to make this adorable paper & paint splat lion with this easy tutorial. Kids will love crafting this fun animal!
CRAFT SUPPLIES:
- White Cardstock Paper
- Tan Cardstock Paper
- Yellow Tulip Puffy Paint
- Orange Tulip Puffy Paint
- Paper Craft Scissors
- School Glue or Glue Stick
- Googly Eyes
- Marker
DIRECTIONS:
- First things first – fold your white cardstock paper in half. Straight up the center.
- Next open it back up and squirt a few lines of yellow & orange paint squiggles with ON ONE SIDE before closing up the cardstock paper again.
- Once the paper is closed for the second time, gently take your hand and “caress” the paint around inside, so it makes a fun symmetrical “lion mane” print design on both sides of the paper {keep in mind – paint might ooze from the sides of the cardstock, so be sure to work in an area that can get dirty!}
- Now you are ready to open it back up to reveal the lion fur design underneath.
- Next grab your tan cardstock paper and the scissors.
- Cut out a lion head shape and glue it to the center of your paint covered paper piece.
- Follow that up by gluing on the wiggle eyes and drawing on a smile.
- Once finished, add any other embellishments you like.
- Then set aside to let it dry completely, before displaying proudly!
RELATED —> Lion Mane Card

Hopefully this is something you will be encouraged to recreate with your child today!
And if you like it, be sure to also head on over to my blog post titled Paint Splat Snails as well. It’s just like this post but we added some paper plates to the paint marbled mix!
So what are you waiting for?! This lion craft is waiting for you to recreate it today! Happy crafting, my friends!!!

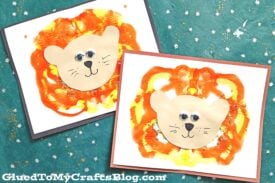
Paint Splat Lion Craft Idea For Kids
Perfect for a zoo lesson plan, a story book theme or any day of the year you just need a boredom buster!
Here’s your checklist of supplies to bring this craft to life:
Prepare your creative haven by laying down a protective cover before the crafting magic begins!
Directions:
- First things first - fold your white cardstock in half. Straight up the center.
- Next open it back up and squirt a few lines of yellow & orange paint squiggles with ON ONE SIDE before closing up the cardstock paper again.Tulip Puffy Paint
- Once the paper is closed for the second time, gently take your hand and "caress" the paint around inside, so it makes a fun symmetrical "lion mane" print design on both sides of the paper {keep in mind - paint might ooze from the sides of the cardstock, so be sure to work in an area that can get dirty!}
- Now you are ready to open it back up to reveal the lion fur design underneath.
- Next grab your tan cardstock paper and the scissors.Cardstock Paper
- Cut out a lion head shape and glue it to the center of your paint covered paper piece.
- Follow that up by gluing on the wiggle eyes and drawing on a smile.2 Wiggle Eyes
- Once finished, add any other embellishments you like.
- Then set aside to let it dry completely, before displaying proudly!

CLICK HERE TO PRINT THE DIRECTIONS FOR THIS CRAFT
If you've enjoyed our content or have any thoughts to share, we'd love to hear from you! Mention @gluedtomycrafts or tag #gluedtomycrafts on Instagram!