Are you looking for a fun spring themed craft? Check out our Q-Tip Painted Handprint Cherry Blossom Tree tutorial and be inspired!

Q-Tip Painted Handprint Cherry Blossom Tree
Hi friends! It’s mid-month again and the Kids Craft Stars are joining forces for our next addition of our MONTHLY kid craft challenge post!
Every month this year, we will have a challenge between us bloggers to in-cooperate a different craft medium or theme into a simple tutorial. This month’s challenge was Q-TIPS and with spring just around the corner it seemed pretty fitting for my son & I to make a cherry blossom tree in honor!
So without further ado – today I present to you our Handprint Cherry Blossom Tree craft tutorial that is not only super simple but a perfect artwork piece that can be displayed in your home during the spring months AND kept as a keepsake in your scrapbook for years to come!
Check out the full tutorial below, as well as links to the other bloggers participating in this challenge. I just know you are going to love EVERYTHING you find in this post! Happy crafting my friends!
RELATED —> Popsicle Stick Tree Branch

Looking for creative craft ideas for kids? Check out this fun and easy way to make a handprint cherry blossom tree with just some paint, q-tips and your child’s hands!
Craft Supplies:
- Unused Q-Tips
- Pink Craft Paint
- White Craft Paint
- Light Blue Cardstock Paper
- Brown Cardstock Paper
- Small Paper Plate
- Craft Scissors
- Pencil or Pen
- Glue Stick
- Embellishments
RELATED —> Q-Tip Painted Christmas Palm Trees


Directions:
- First trace/trim out your child’s handprint/arm out of the brown cardstock paper. This is the start of the cherry blossom tree.
- Grab your glue stick and glue that cutout to the center of your light blue cardstock paper.
- Now grab your craft paint and squirt it on the paper plate.
- Have your child take a q-tip, dip it into the paint, then onto the branches of their “handprint” tree.
- Repeat until your cherry blossom tree is nice and full.
- To finish off the Q-Tip Painted Handprint Cherry Blossom Tree – add other embellishments you see fit {like a bird sticker in the tree.}
- When done crafting, set aside to let it dry completely, before displaying proudly!!!
RELATED —> Thumbprint Cherry Blossom Tree Branch
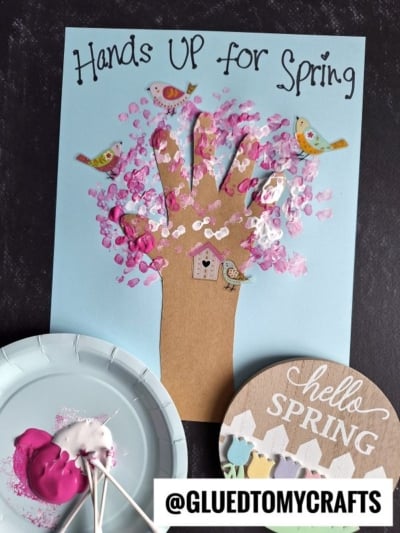
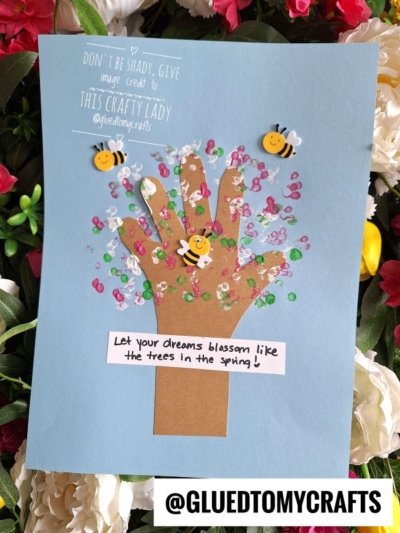
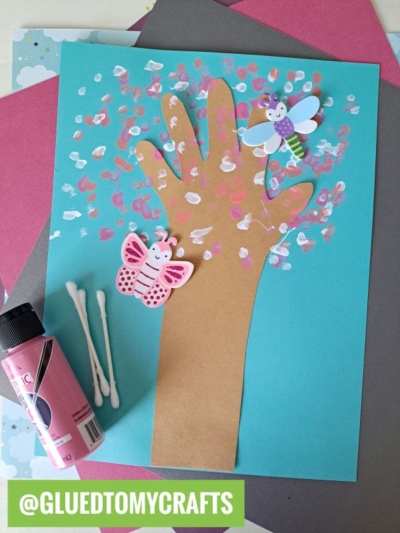
Be sure to check out the fun blog posts below, to see what the other bloggers in the challenge came up with for our q-tip craft challenge!
- Q-Tip Flowers Craft | I Heart Crafty Things
- Spring Tree Flower Bud Craft | A Little Pinch of Perfect
- Make A Q-Tip Weaving Loom for Kids | hello, Wonderful
- Q-Tip Calla Lilies | Easy Peasy and Fun
- Q-Tip Painted Back To School Apple | Glued To My Crafts


Q-Tip Painted Handprint Cherry Blossom Tree Craft Idea
Here’s your checklist of supplies to bring this craft to life:
- Pencil or Pen
Prepare your creative haven by laying down a protective cover before the crafting magic begins!
Directions:
- First trace/trim out your child's handprint/arm out of the brown cardstock. This is the start of the cherry blossom tree.
- Grab your glue stick and glue that cutout to the center of your light blue cardstock.
- Now grab your craft paint and squirt it on the paper plate.
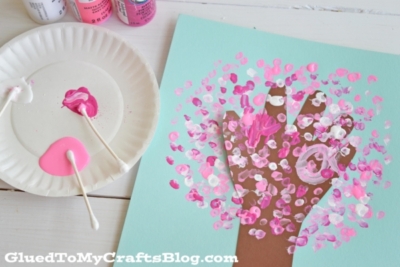
- Have your child take a q-tip, dip it into the paint, then onto the branches of their "handprint" tree. Repeat until your cherry blossom tree is nice and full.
- To finish off the Q-Tip Painted Handprint Cherry Blossom Tree – add other embellishments you see fit {like a bird sticker in the tree.}
- When done crafting, set aside to let it dry completely, before displaying proudly!!!


Grab our favorite books via our Amazon affiliate link! In our Amazon storefront you will find books, toys and craft supplies we absolutely love using for our Glued To My Crafts tutorials!