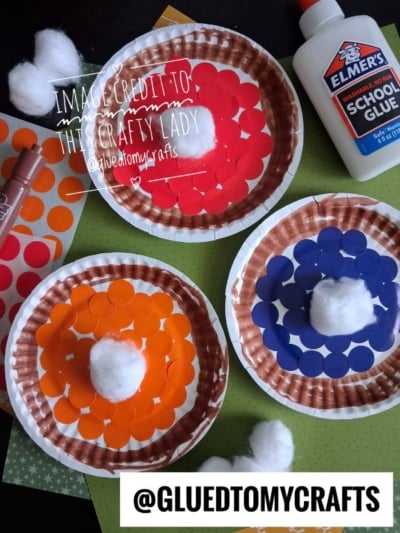
Nothing says Thanksgiving quite like a table full of pies. This year, your little ones can bake up a whole batch, no oven required! This paper plate and dot sticker pie craft is simple, cheerful, and almost mess-free. It’s perfect for toddlers and preschoolers who love to peel, stick, and squish.
You only need a handful of supplies, and most of them are probably already in your craft bin. In about 15 minutes, your kids can make a cherry pie, a pumpkin pie, and a blueberry pie, each topped with a fluffy “whipped cream” cotton ball. They’re adorable on a classroom bulletin board, a fridge, or even as placemats on the kids’ table at Thanksgiving dinner. Let’s get baking!
Craft Supplies:
Gather these supplies before you start:
- White paper plates (one per pie)
- Colored dot stickers in red, orange, and blue
- Brown markers (washable is best for little hands)
- White cotton balls (one per pie, plus a few extras)
- Elmer’s school glue (washable, no-run glue works great)
Directions:
Each pie follows the same three easy steps: color the crust, add the filling, and top it with whipped cream. Here’s how to do it.
- First things first – hand your child a paper plate and a brown marker. Show them the bumpy outer rim of the plate and explain that this is the pie crust.
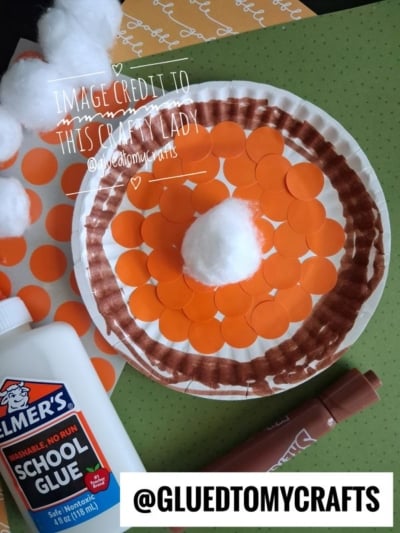
- Let them color all the way around the edge with the brown marker. Don’t worry about staying in the lines! Messy, thick strokes actually look more like a real, golden-brown crust.
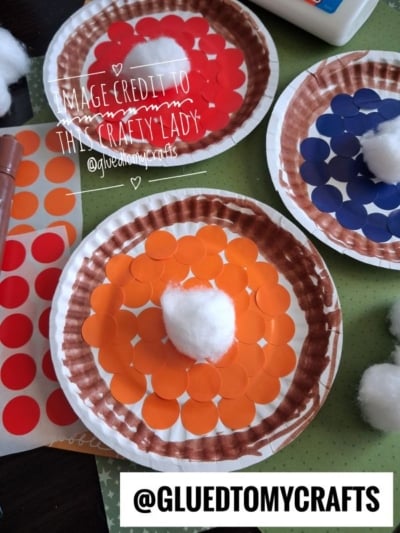
- Now comes the fun part. Choose a flavor and grab the matching dot stickers: Cherry pie: Red dot stickers Pumpkin pie: Orange dot stickers Blueberry pie: Blue dot stickers
- Have your child peel the stickers one by one and press them into the center of the plate. Encourage them to overlap the dots and fill the whole middle so no white shows through. The more stickers, the yummier the pie looks!
- Squeeze a small dot of Elmer’s glue right in the center of the pie. Then let your child press a white cotton ball on top of the glue. Ta-da! Instant whipped cream.
- Hold the cotton ball in place for a few seconds so it sticks. Then set the pie aside to dry flat for about 15 to 20 minutes.
- Repeat steps 1 through 3 with a new plate and a new sticker color. By the end, you’ll have a full Thanksgiving dessert spread: cherry, pumpkin, and blueberry pies, each with its own fluffy topping.
RELATED —> Paper Plate Pumpkin Pie Slice Craft
This paper plate and dot sticker pie craft proves that the best holiday activities don’t need fancy supplies or hours of prep. With a few plates, some stickers, and a handful of cotton balls, your kids can create something they’re truly proud of.
So clear off the table, set out the supplies, and let your little bakers get to work. Whether you’re in a busy classroom or a cozy kitchen, these sweet paper pies are sure to bring smiles, giggles, and plenty of Thanksgiving cheer.
Happy crafting, and happy Thanksgiving!

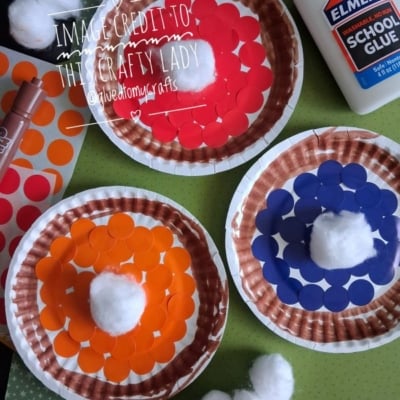
Paper Plate and Dot Sticker Pie Craft Idea For Thanksgiving
Make an easy paper plate pie craft with your kids this fall! This simple craft uses dot stickers to "bake" the most perfect pumpkin, apple and blueberry pies!
Here’s your checklist of supplies to bring this craft to life:
- White Cotton Balls
- Small Paper Plates
- Dot Stickers
- School Glue
Prepare your creative haven by laying down a protective cover before the crafting magic begins!
Directions:
- First things first - hand your child a paper plate and a brown marker. Show them the bumpy outer rim of the plate and explain that this is the pie crust.
- Let them color all the way around the edge with the brown marker. Don't worry about staying in the lines! Messy, thick strokes actually look more like a real, golden-brown crust.
- Now comes the fun part. Choose a flavor and grab the matching dot stickers: Cherry pie: Red dot stickers Pumpkin pie: Orange dot stickers Blueberry pie: Blue dot stickers
- Have your child peel the stickers one by one and press them into the center of the plate. Encourage them to overlap the dots and fill the whole middle so no white shows through. The more stickers, the yummier the pie looks!
- Squeeze a small dot of Elmer's glue right in the center of the pie. Then let your child press a white cotton ball on top of the glue. Ta-da! Instant whipped cream.
- Hold the cotton ball in place for a few seconds so it sticks. Then set the pie aside to dry flat for about 15 to 20 minutes.
- Repeat steps 1 through 3 with a new plate and a new sticker color. By the end, you'll have a full Thanksgiving dessert spread: cherry, pumpkin, and blueberry pies, each with its own fluffy topping.

Grab our favorite books via our Amazon affiliate link! In our Amazon storefront you will find books, toys and craft supplies we absolutely love using for our Glued To My Crafts tutorials!
If you've enjoyed our content or have any thoughts to share, we'd love to hear from you! Mention @gluedtomycrafts or tag #gluedtomycrafts on Instagram!