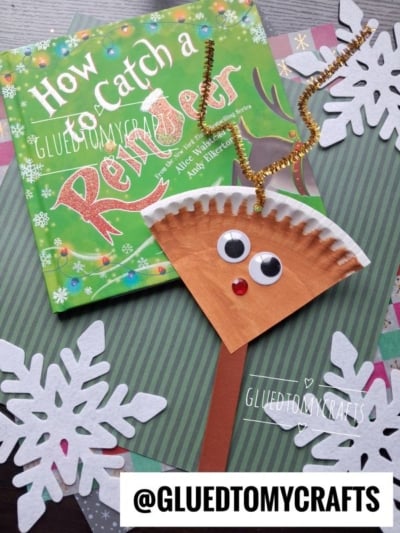
Few things spark holiday magic like a great story followed by a hands-on craft. This paper plate reindeer puppet is cheerful, simple, and made for little hands. It’s a perfect match for a Christmas story time built around How to Catch a Reindeer by Alice Walstead and Andy Elkerton, from the New York Times bestselling How to Catch series.
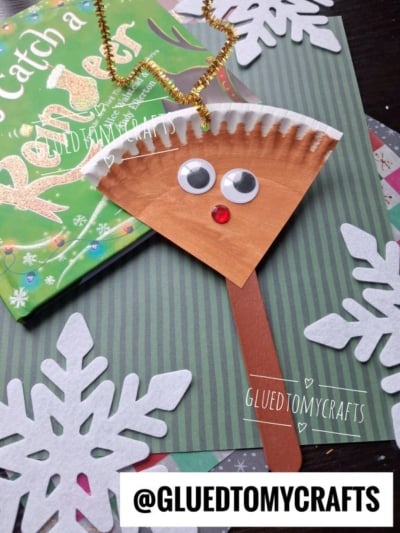
In the book, kids dream up clever traps to catch one of Santa’s speedy reindeer. After the story, your young readers get to “catch” a reindeer of their own and take it home. With googly eyes, a sparkly red nose, and shiny gold antlers, this little puppet is full of personality and ready to join the fun.
The craft works for preschoolers, kindergartners, and early elementary kids. It’s ideal for classrooms, libraries, homeschool groups, or a cozy afternoon at the kitchen table.
Craft Supplies:
- White paper plate (one plate makes FOUR reindeer)
- Brown paint (washable tempera or acrylic)
- Paintbrush or foam brush
- Two googly eyes per reindeer
- One red rhinestone or gem for the nose
- One gold glittery pipe cleaner per reindeer
- One jumbo craft stick
- Hole punch
- Glue (school glue, tacky glue, or a low-temp glue gun for adults)
- Scissors
GRAB THE BOOK “HOW TO CATCH A REINDEER” VIA OUR AMAZON AFFILIATE LINK
Directions:
Step 1: Cut a Triangle Wedge From the Paper Plate
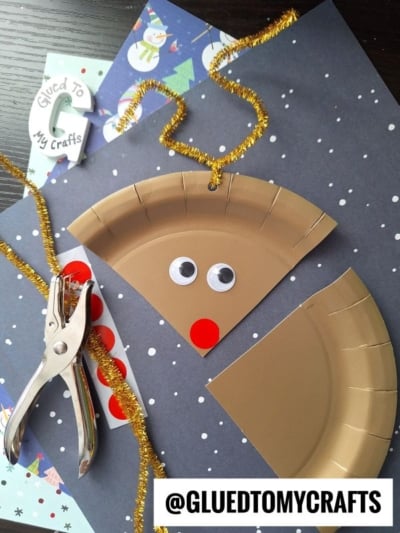
Go ahead and cut your paper plate into FOUR equal sized triangle pieces. Each wedge becomes one reindeer face. The wide, curved edge with the ridged rim will be the top of the head. The pointed tip will be the chin.
Tip: Lightly trace the lines with a pencil first if you want neat, even pieces.
Step 2: Paint the Wedge Brown
Paint your paper plate piece completely brown. Let the paint dry completely before moving on. This usually takes 10 to 15 minutes, depending on how thick the paint is.
Tip: This is a great time to read the story, or a second holiday book, while the paint dries.
Step 3: Add the Googly Eyes
Place a small dot of glue in the middle of the wedge for each eye. Press the googly eyes side by side and hold for a few seconds.
Step 4: Glue On the Red Gem Nose
Add a dab of glue just below the eyes, toward the pointed tip. Press the red rhinestone or gem into place.
That shiny nose gives every reindeer a little Rudolph sparkle.
Step 5: Punch a Hole for the Antlers
Use a hole punch to make one hole at the top center of the wedge, just below the ridged rim. Make sure it’s not too close to the edge so the paper doesn’t tear.
Step 6: Thread and Shape the Gold Pipe Cleaner Antlers
Push the gold glittery pipe cleaner through the hole until both sides are even. Now for the fun part!
Bend each end upward and outward to form antlers. Twist small loops, zigzags, or curls along each side to make branches. Kids love shaping these, and no two pairs come out the same.
Step 7: Attach the Craft Stick Handle
Flip the reindeer face over. Spread glue along the top few inches of the wide craft stick. Press it onto the back of the wedge near the pointed tip, so most of the stick hangs below the chin.
Hold it in place for a moment, then let it dry fully before playing. If you’re using a low-temp glue gun, an adult should handle this step for a faster, sturdier hold.
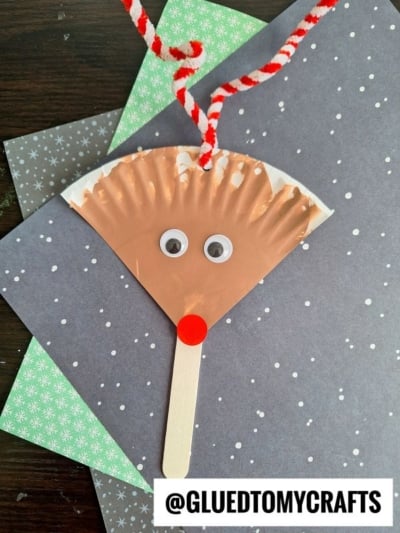
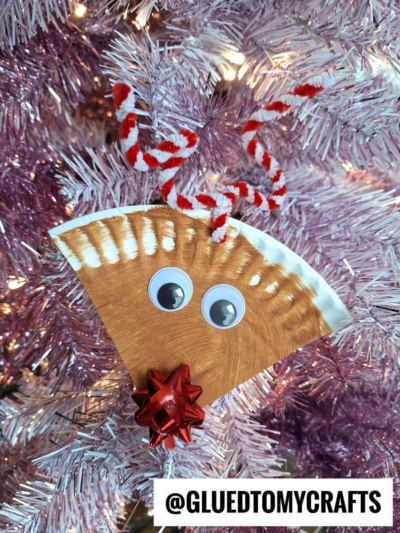
Your reindeer puppet is ready to prance!
RELATED —> Easy Paper Plate & Dot Sticker Christmas Tree Craft
GRAB THE BOOK “HOW TO CATCH A REINDEER” VIA OUR AMAZON AFFILIATE LINK
This paper plate reindeer puppet brings a favorite holiday story to life in a way kids will remember. It’s simple to prep, joyful to make, and even more fun to play with once the glue is dry.
We’d love to see your reindeer! Snap a photo of your story time crafts and share them with friends, fellow teachers, and families. Every puppet has its own personality, and each one is worth celebrating.
Happy crafting, happy reading, and good luck catching a reindeer this Christmas! 🦌✨
